The Life of a Crafter
Has this ever happened to you? A few weeks ago, I was creating cards for an upcoming class. I finished the card and had 2 jewels on it. After looking at it again, I decided to raise the height of the sentiment so I removed the embellishments and put them on my desk. When I went back to add them to the revised version, I only found one jewel and couldn’t find the other one anywhere.
How could that be, when I hadn’t moved from the desk? I looked on the floor, looked under my stamp cases (I’ve found missing stamps there before!). I cleared everything on my desk and NOTHING! It was late so I decided to just leave it and find it later or simply replace it. Woke up the next day and after getting ready, all of a sudden I noticed the missing jewel stuck right around my wedding band! It went through sleep and hand washing but still made it through. So next time I lose an embellishment, I need to look at my hands as well. How many things ‘disappear’ while you’re crafting?
What’s the Big Deal?
How do you store your embellishments, specifically your adhesive-backed rhinestones and jewels? Do you get frustrated with the way they’re stored? Would you use them more often if you had a better solution? Chances are you would.
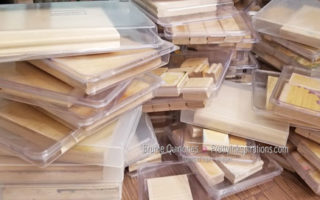
When I started purchasing embellishments, I used to store them in a small basket. After storing them like that for a while, I switched to a Stampin’ Up! stamp case to keep them contained. I have a few from the time I converted my wood stamps and transferred my photopolymer stamps to envelopes.
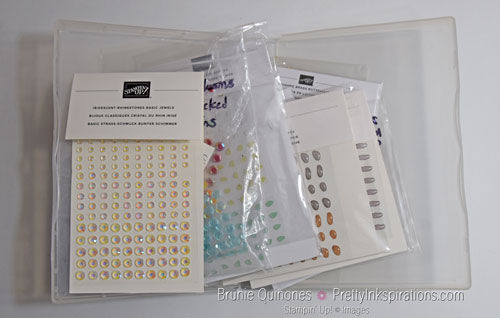
When the original packaging tears, depending on the embellishment, I transfer them into a small ziploc bag and place them inside the case. Sometimes I leave it attached to the paper backing with the embellishments exposed. On occasion I’ve found a piece or two loose or attached to another backing. Another issue I have is that they come in different sizes and that looks messy to me. For easier storage and to have better access, I like items to be the same size.
Get Them Organized
Recently, I came across on Pinterest the perfect solution from The Paper Pixie. She used a 4″ x 6″ vinyl pocket – that can be used to store your passport. The vinyl is pretty sturdy.
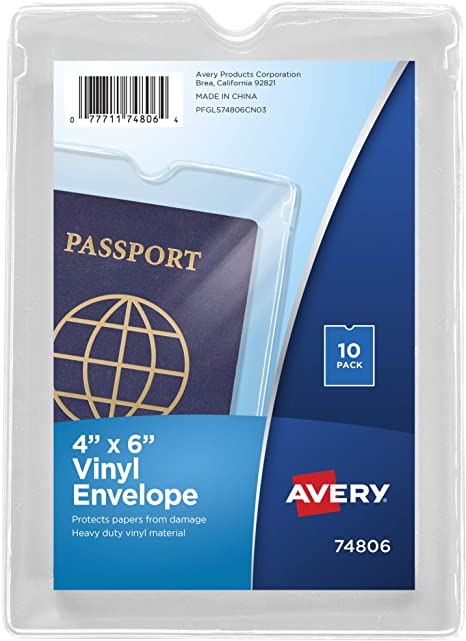
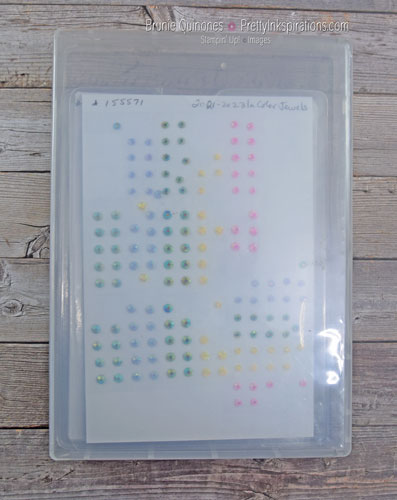
It’s the Avery 74806 Top-Load Clear Vinyl Envelopes w/Thumb Notch, 4 x 6, Clear (Pack of 10). You can find them at Amazon. She recommended you remove the embellishments from the paper backing and adhere the film to a 4″ x 6″ cardstock then place inside the pocket.
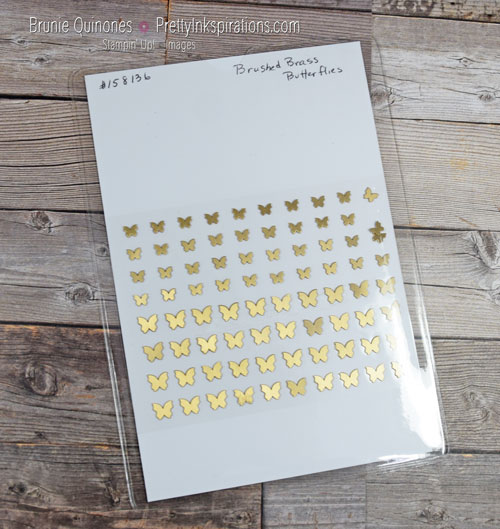
I agreed with that process because it would be easier to remove from the pocket. I cut several 4″ x 6″ thick white cardstock pieces and adhered the embellishment film to the cardstock. Because sometimes I need to cut strips for classes, I only adhered the center of the film for easier access. If you don’t need to do that, then I would adhere the entire film to the cardstock. I labeled the cardstock with the name of the embellishment and item number at the top. You can go all out and use a label maker but I chose to write it.
Storage Solution Solved
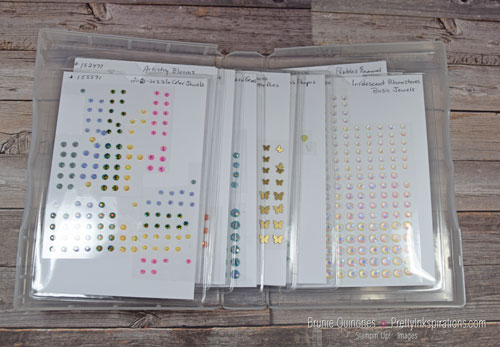
I still keep my embellishments in a case but it’s so much neater. I can see and grab what I need quickly. You can use a basket, a drawer or whatever works best for you to store your pockets.
Who doesn’t use embellishments, whether a simple piece or many? They add a special touch to your project so why not keep them handy and ready to use.
Check out other posts on storing and organizing your stamps and dies.
If you would like to place an order for any of the many embellishments Stampin’ Up! has to offer, please visit my online store. Thank you for choosing me as your demonstrator.
Thanks for stopping by . . . till next time . . . happy organizing!