Last week’s post was about organizing and categorizing your stamps. Today’s topic is about organizing your dies. The first die cutting machine I bought was a small Cuttlebug. I had very few dies so I stored them in a small binder. When I became a Stampin’ Up! demonstrator back in 2010, I purchased a Big Shot die cutting machine and with the addition of more dies, I needed storage and organization.
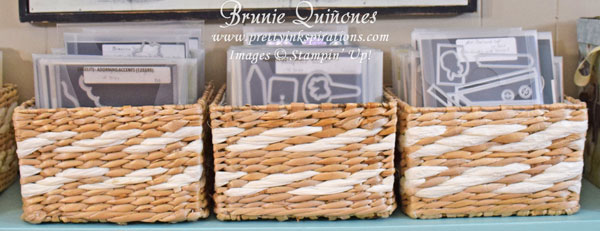
Stampin’ Up!’s dies come in a sturdy plastic envelope and when you open it up, the dies are attached to a thin cardboard. When you remove them, you have to be careful not to bend or break because the glue that holds them is pretty strong. For me, using that same cardboard with adhesive would not work every time I’m going to use my dies, and keeping them loose in the plastic envelope was not an option either. So what to do? I decided to use magnet cards to hold my dies in place and not use the envelopes at all. I got these magnet cards from Stamp n Storage (5″ x 7″ & 6″x 7″ cards) and also got these from Amazon (5″ x 7″). I stored them in a medium size basket I got at the store. That worked for a while but I found that I could easily lose a die, which I did. So I got the original plastic envelopes out of storage and placed my magnet card with the dies into the envelope and in the basket – that’s how I currently store them. When putting the magnet card in the envelopes, I found that I needed to trim it a little to fit the envelope, but was no big deal.
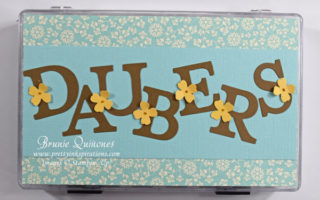
I labeled each magnet card with the name of the die and the number of dies in the set. I also included on the label the name of the coordinating stamp if it has one. Before I put my dies back in my basket, I always make sure I have all the dies accounted for.
A while back, I used to cut out the picture of the dies from an extra catalog or print an image from the website and glue it to the back of my magnet card so I knew exactly which dies belong with this set. I don’t do this anymore because I’ve come up with a better way.
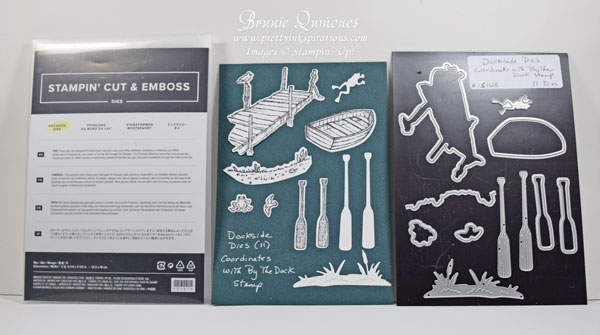
I stamp and die cut each die in the set and glue it onto a cardstock which allows me to see how they look and also see the dies that belong to the set. I keep it together in the envelope with the magnet card and dies. By die cutting all my dies – (I must confess, this takes a while, especially if you’re trying to go way back to your older dies), I get familiar with them and sometimes find different ways to use them. Some dies are straight forward as it just die cuts a stamped image, but some sets have extra dies that don’t correspond to any stamp image and can be used as a border, stencil or in other ways. I store my dies in alphabetical order so I can find them easily.
Some people choose to store their dies in the same case with the coordinating stamp, but I like to store them separately because sometimes you can use the dies in various ways. I’m all for using my dies as much as I can so knowing what I have is a must. Just as I’ve categorized my stamps, I’ve been categorizing my dies except I do this on my computer instead of binder. I have a list of about 50 categories and under each category, I list the dies that correspond to that category. For example, under the category of borders, I have about 20 die sets listed and among them, I have the In The Woods dies.
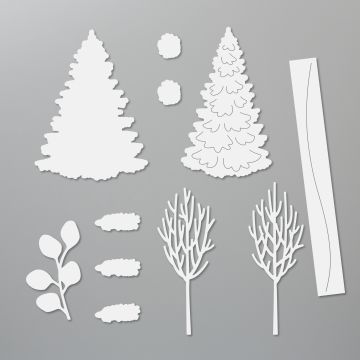
Although the coordinating stamp set Winter Woods doesn’t have a border, the dies do so if I needed that type of border for a project I would probably overlook it if it wasn’t categorized. Listing the dies under different categories allows you to quickly find just what you need for your project with dies that you probably wouldn’t think of.
So to recap my die organization process . . .
- Open it – remove it from the packaging
- Get magnet and put a label on it with the name of the die set, number of dies, and name of coordinating stamp (if applicable)
- Die cut the dies and adhere it to a cardstock – (I use white cardstock for my dies and a dark cardstock to adhere it to)
- Place the dies on a magnet with ridges side up – it adheres better
- Place everything in a plastic envelope and store it alphabetically in a basket
- Categorize dies
The reason for organizing your craft supplies is so they can be used as much as possible. If you find that my method is too much work, find what works best for you to keep track of what you have so you can enjoy them frequently.
Are you ready to die cut and organize? Do you have a special way of organizing your dies? Let me know by leaving me a comment below.
Thanks for stopping by . . . till next time . . . happy cutting . . . Brunie
Shop at my online store for all your Stampin’ Up! supplies. Thank you for choosing me as your demonstrator.