Do you still have wood stamps in your stamp collection?
Do you love your wood stamps or not?
Have you run out of room to store them?
Some people love wood mount stamps and some don’t want to have anything to do with them.
Early in November right after I held my last class for the year, I decided to convert all my wood stamps into cling stamps for a few reasons.
- Needed the space.
- Wanted to store them with my other stamps.
- Wanted quick access in order to use them more often.
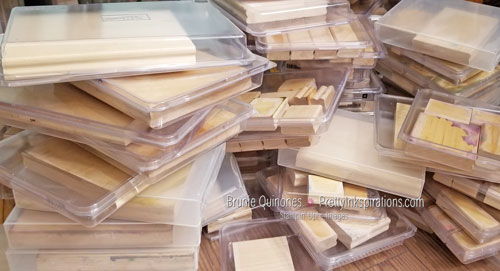
Before I converted them, I had separated my woods in 4 categories – sentiments, general, backgrounds and Christmas, but it still wasn’t a quick grab. I’ve been wanting to do this for a long time but thought I needed to get foam and that would be too costly and time consuming. I’m so glad I was wrong!
The Old & New
Before the invention of the platform stamp positioner, if you wanted to make sure your image was straight you used a Stamp-a-ma-jig positioner. Check out how the stamp-a-ma-jig works here. It took a while if you wanted to do multiples. You had to place the plastic on the cardstock, position the stamp-a-ma-jig, remove it and place stamp. If you wanted your image darker, it wasn’t always a guarantee that you were going to have the right placement when you stamped it again.
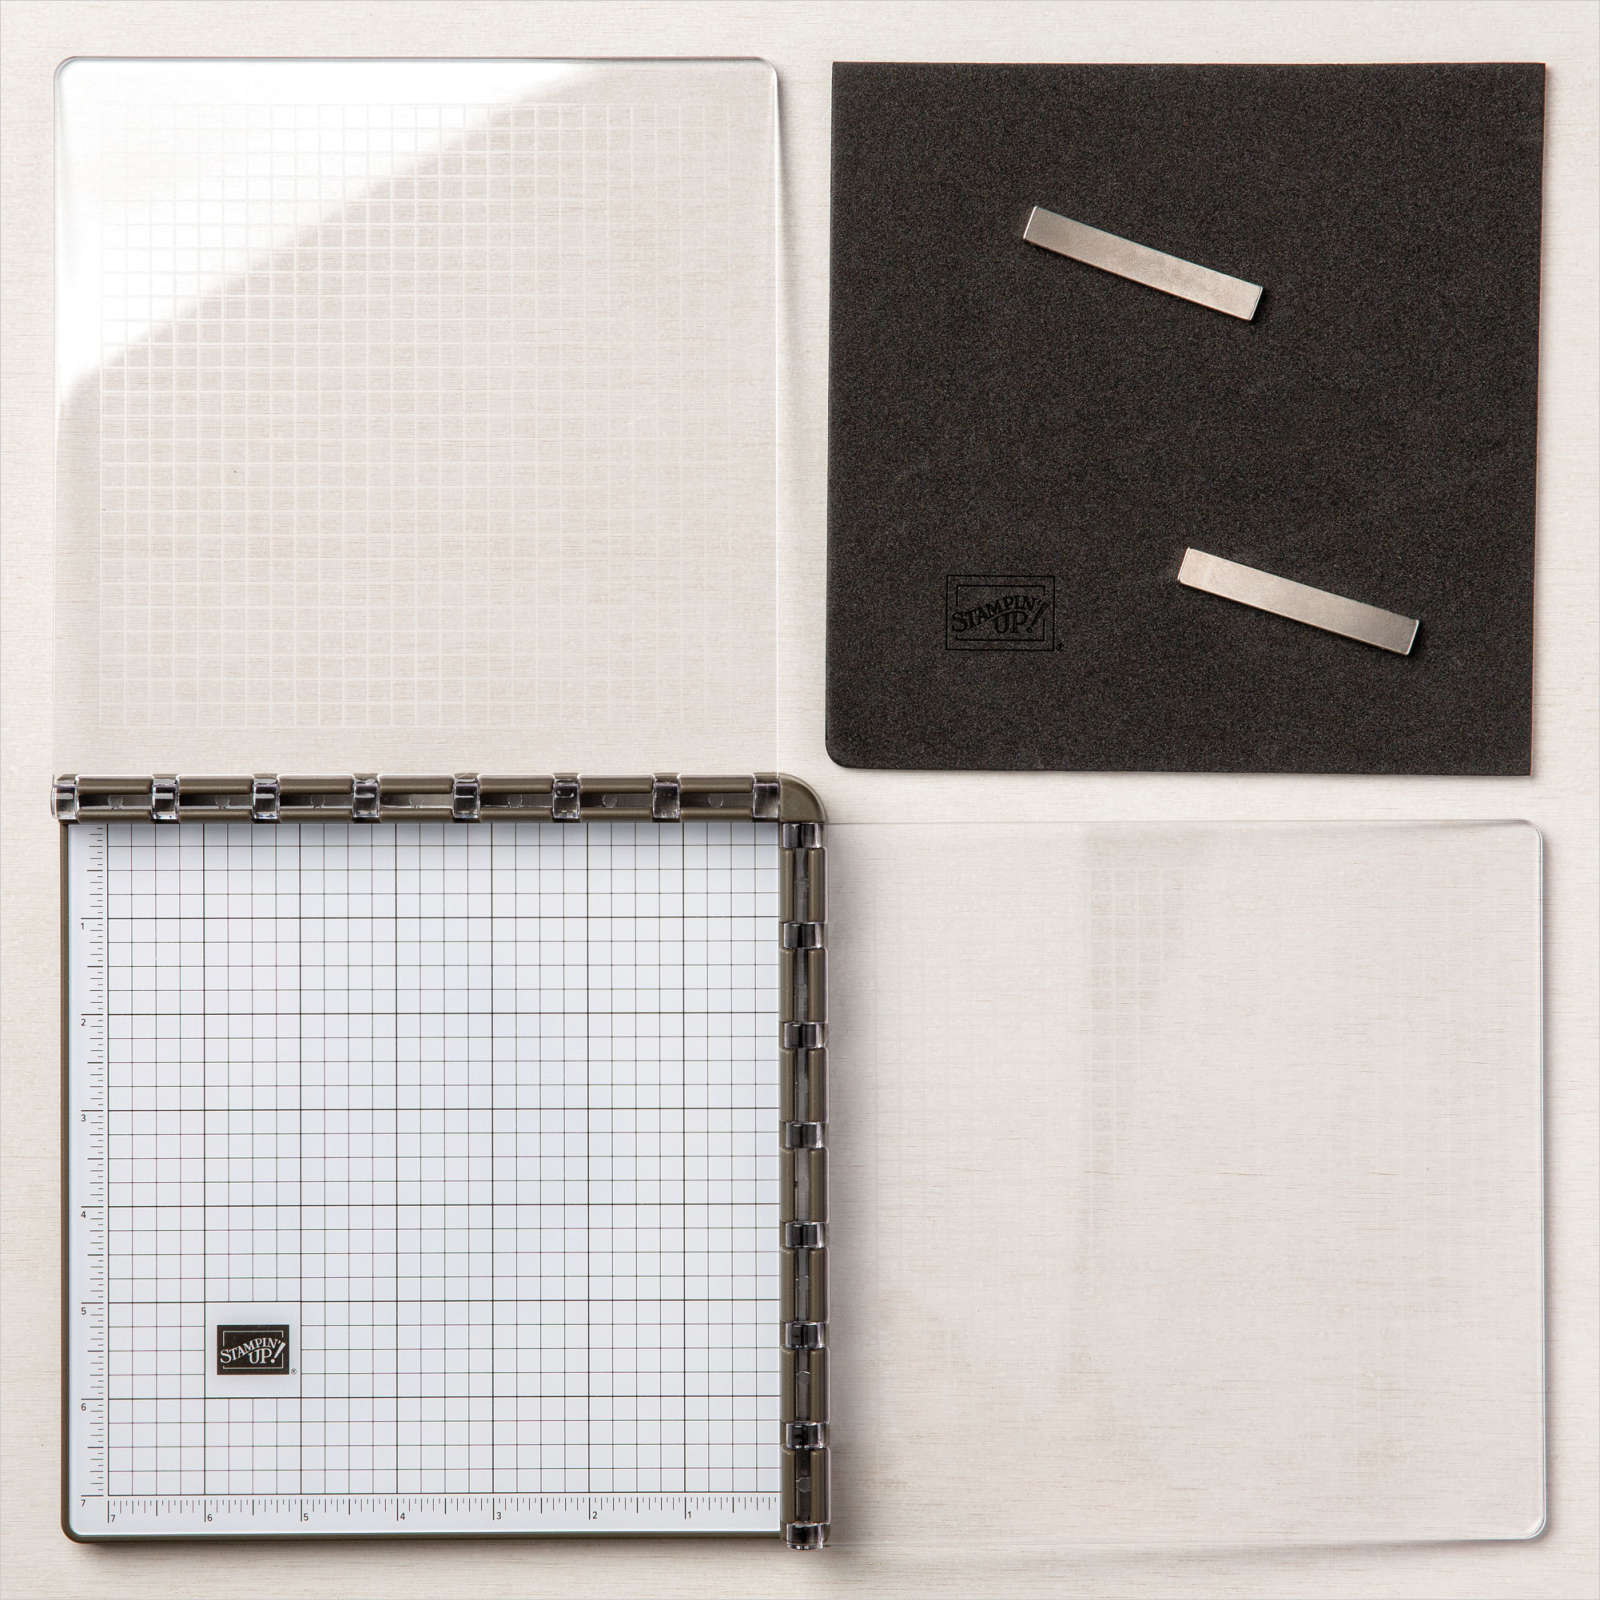
In comes the Stamparatus and everything changes! Before Stampin’ Up! introduced the Stamparatus, I bought the Misti, the first stamp positioner. I prefer the Stamparatus because of its open sides which makes it easier if you’re using a larger piece of paper and the extra plates. You can read more about the Stamparatus here.
Now that the Stamparatus is available, that made my decision to convert my woods easier. That means I no longer need the Stamp-a-ma-jig and I can use all my stamps with the Stamparatus. Yes!!
The Process
This. Was. Not. A. Small. Task. Not when you have 91 wood sets to convert! I counted all the images in the 91 sets, and I converted approximately 500 stamps! Regardless of how many sets, I was up to the task and once I started there was no stopping me. I spent an entire weekend non stop working on this.
I removed one of the stamps from the wood by reaching under the foam, pulled and lifted the foam up from the wood. To my amazement, it was not too bad so I proceeded with the removal of the rest of the stamps.
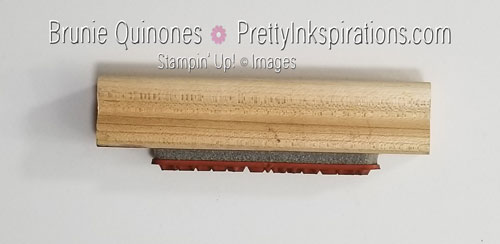
If you have trouble removing the stamp from the wood, I’ve heard that some people put it in the microwave for 2-3 seconds to loosen it up.
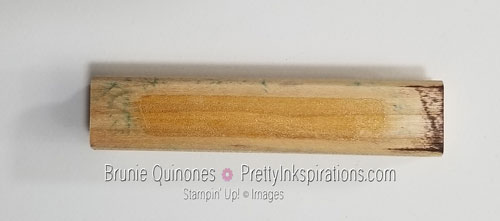
If you find that when you’re removing the foam, it’s brittle and breaks, you may need to replace the foam. Stampin’ Up! used to sell this foam but no longer does. You can use EZ Mount Foam Sheets or maybe there’s something else out there. Out of the hundreds I removed, I didn’t have that issue.
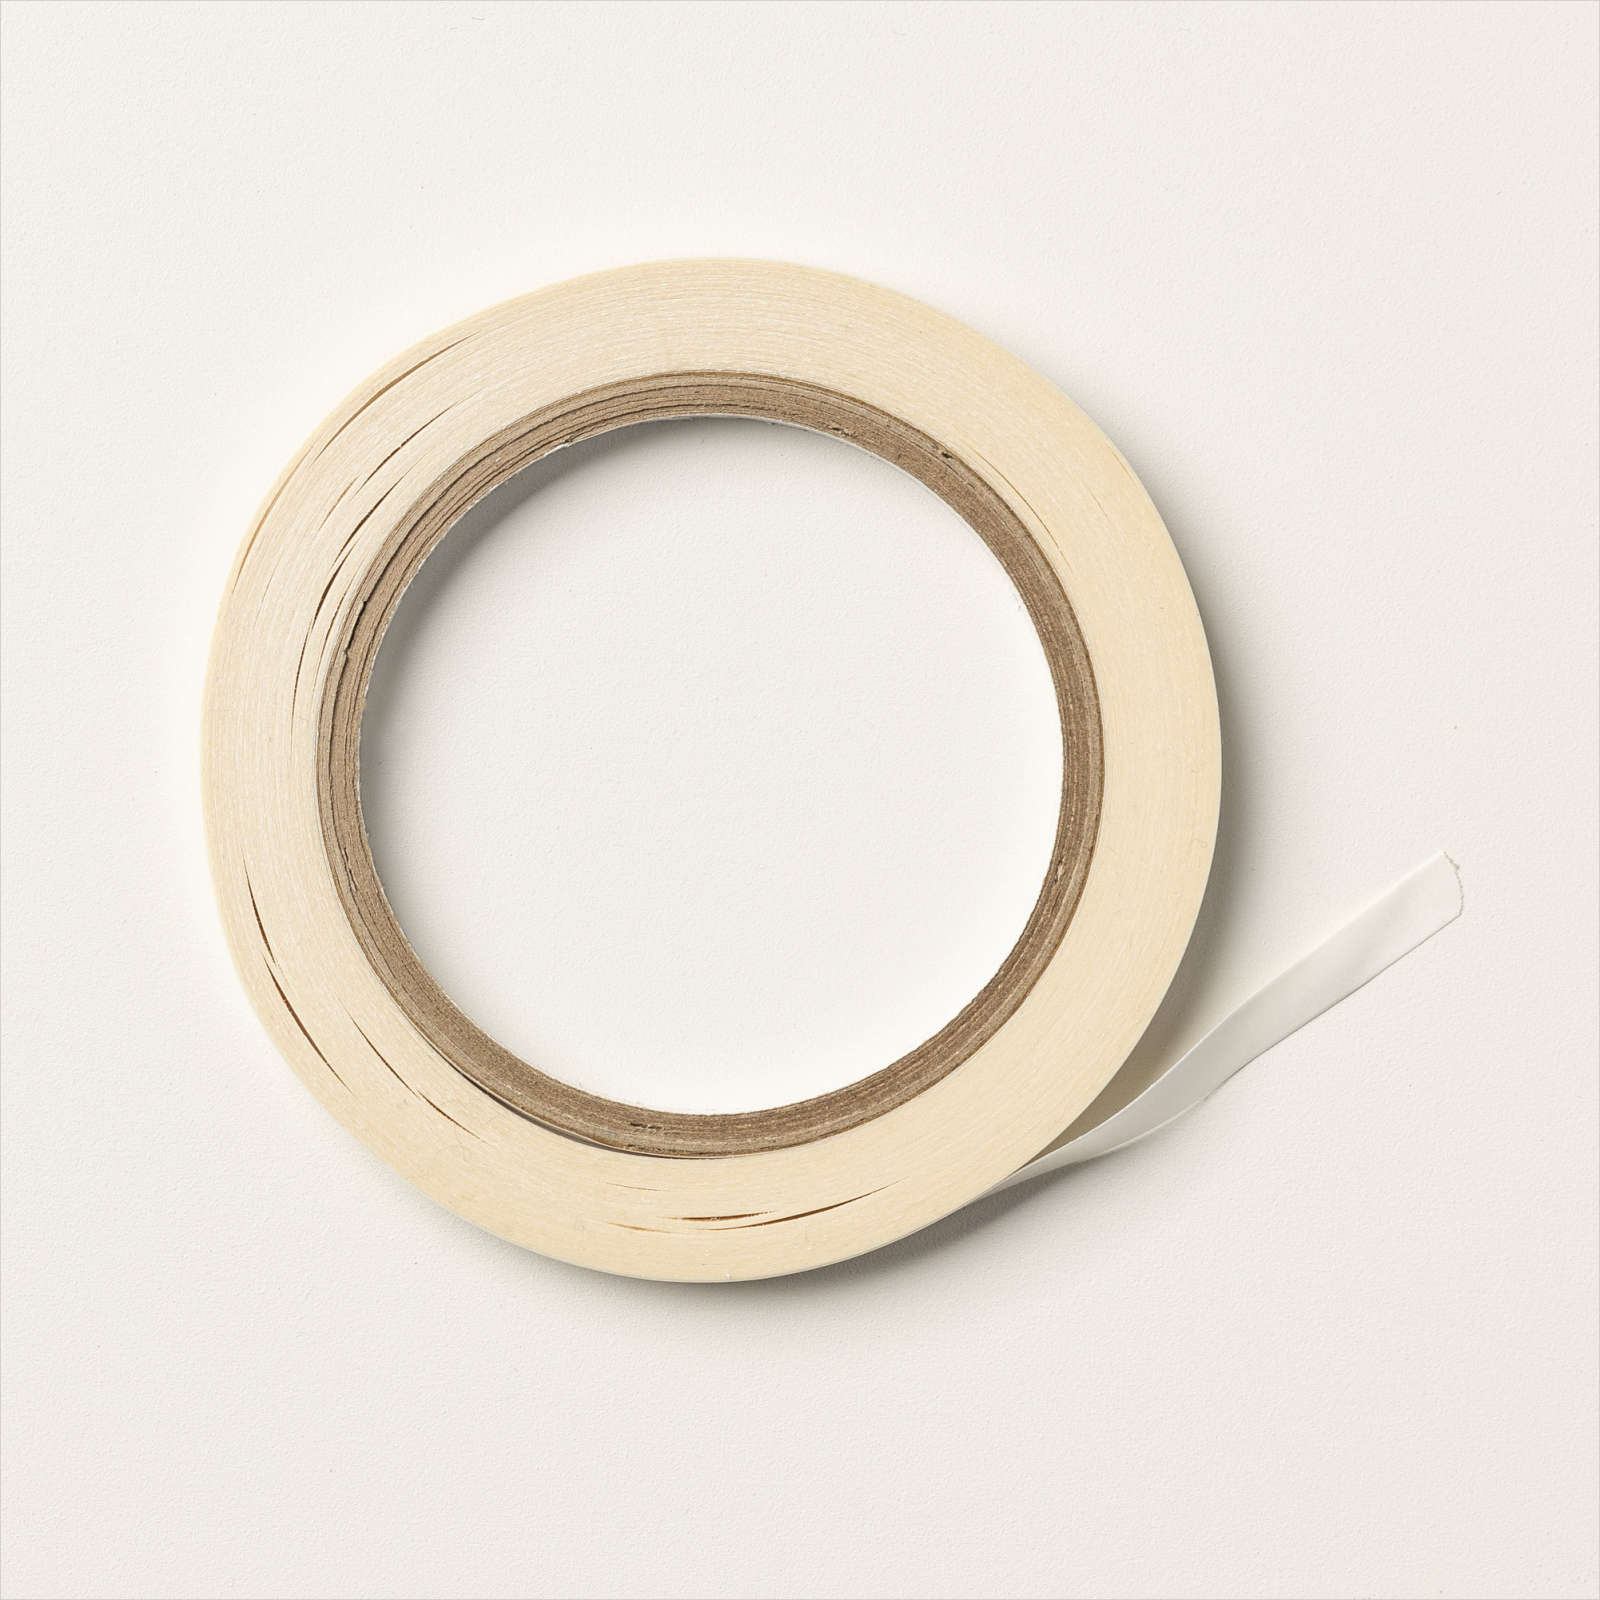
I encountered one issue where ten out of the 500 stamps I removed, the rubber became separated from the foam. I started using Tear & Tape but decided to use liquid glue instead and had no issue.
Once I removed the stamp from the wood, I peeled off the sentiment label and mounted it onto the foam.
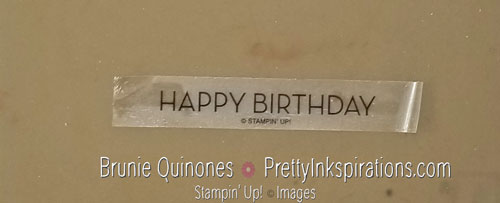
The label was still sticky and adhered nicely onto the foam. I had no problem with any of my stamp labels, but if you find that your labels are not as sticky, try applying a very small amount of liquid glue. I trimmed the label to fit the rubber.
Converting Stamps to Cling Stamps
After I adhered the label to the stamp, I converted it to a cling stamp because the removed label was most probably not going to adhere to the clear block. If you’ve been around Stampin’ Up! products for a while, perhaps you remember that our clear mount stamps used to fall off the block when the label was applied. A couple of years ago, Stampin’ Up! introduced cling adhesive to apply to these labels to remedy that issue. To make it a cling stamp, just take one or two of the cling adhesive strips and stick it on top of the label. You do not need to cover the entire stamp with the adhesive.
End Result
I’m so glad I took the plunge and converted all my wood stamps. Now all my stamps are together in alphabetical order and in the same type of stamp cases. I separated the Christmas stamps and put them on a different shelf since I mostly use them during the holiday. I’ve already started using my converted stamps more and now I just need to look in one place. Not to mention all the space that I gained!!
If you still have wood mount stamps, are you ready to take the plunge? Leave me a comment and let me know if you’re keeping or converting your wood stamps.
Thanks for stopping by . . .till next time . . .

Supplies
If you would like to purchase any of the supplies below, click on any of the pictures and add it to your cart or if you want everything listed below, click on the Add All to Cart button below which takes you to my online store.