If you’ve been stamping for a while as I have, you’ve probably accumulated many crafting tools, paper, ink and stamps. If you have a lot of stamps, you may tell yourself, ‘I’m not buying anymore’, but then you come across a set you just gotta have and more stamps are added to your collection. As a stamper, stamps usually have their own dedicated space.
Having a specific space for your crafting supplies is key to using your stuff. I have many stamps and recently I converted my wood stamps into cling stamps. You can read about that here. As a result, I have more space available. My Stampin’ Up! cardstock and wood stamps were in the same shelving unit because my woods didn’t fit anywhere else. When I converted my wood stamps, that space was freed up so I moved my patterned paper with my cardstock. This unit is now all paper. Love it!
Before I converted my wood stamps, I changed the way I store my Photopolymer stamps. The main reason for the change is that I wanted more storage space.
Process
Last year Stampin’ Up! added the images on the right side of the insert cover. It makes it easier and quicker to use because all you need to do is place the stamps on the matching image in the case. There’s no need to put the acetate on top of stamps – one less step. This idea is great, but since I had already planned to store them differently, I went ahead with the change. I’m willing to take the extra step in order to save storage space.
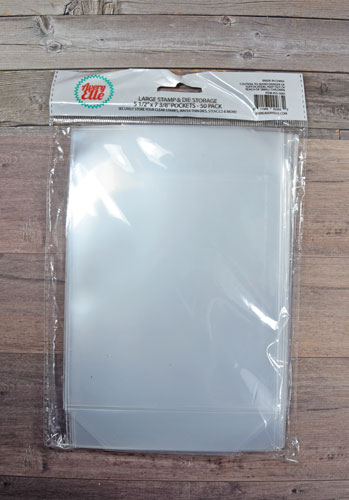
I removed my photopolymer sets from the stamp case and put them into an Avery Elle large storage pocket. These pockets are pretty sturdy.
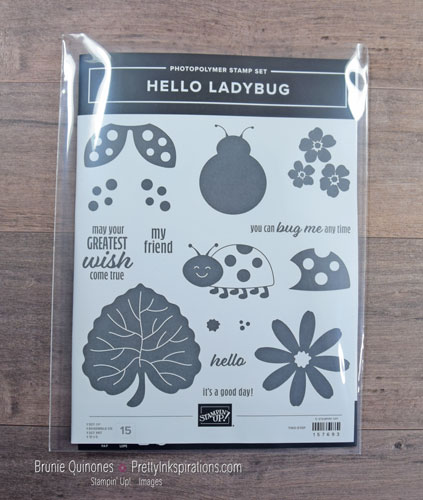
I cut the cover in half and adhered the acetate to the side of the sheet with the images then placed the stamps on top. This allowed the images to face the back and not in between the cover.
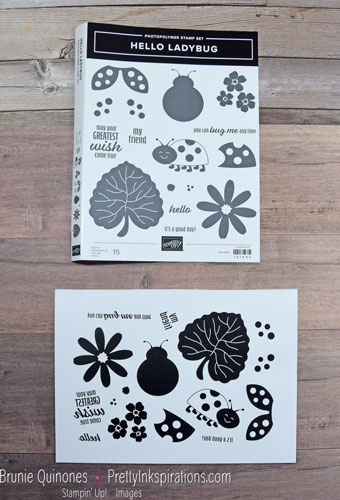
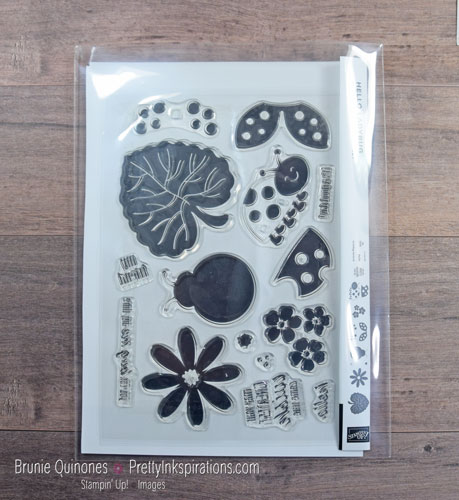
To avoid the stamps sticking to the envelope, I placed the acetate on top of the stamps.
Task Accomplished
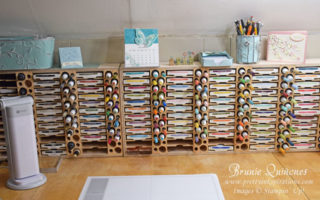
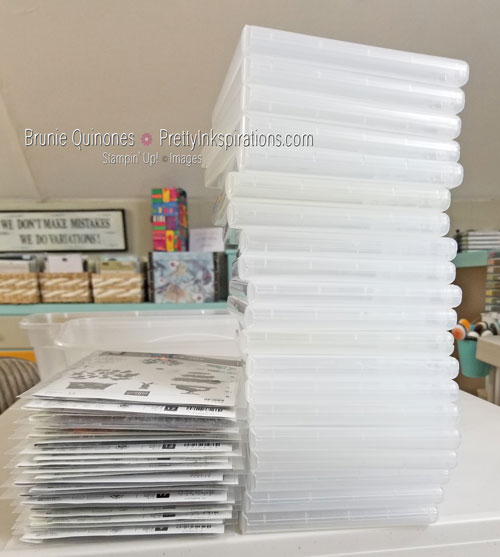
I converted about 140 photopolymer stamps into this type of storage. Most of my stamps are stored in DVD free standing towers. Here’s an example of how much space I saved – seven stamp cases is the equivalent of twenty photopolymer sets in storage pockets. That means I saved 13 spots in my dvd tower. I can store 3 – 4 pockets in one slot. That’s a big difference!
This storage system comes in handy when you’re going away and want to take a few stamps with you. Imagine the space you save for other crafting supplies!
What To Do With The Stamp Cases
What do you do with all the empty stamp cases? I used a lot of them to store the converted wood stamps. Many of my wood stamps were in plastic flimsy cases so I threw them away.
Nothing goes to waste in the crafting world. I’m using some of the the empty cases to store embellishments. Here are some more ideas for the empty stamp cases:
- note pad holder
- Stampin’ Dimensionals
- Stampin’ Write Markers
- Dies
- Paper Pumpkin or other kit stamps
- Shammy
I still have a good amount left so I’ll be ready when an idea comes to mind. Do you have any ideas?
Do you like the pocket storage idea or the stamp cases to store your photopolymer stamps? I would love to hear of any ideas you have and/or what your storage preference is. Leave me a comment and let me know.
Thanks for stopping by . . . till next time . . .

If you like storing craft supplies in stamp cases, you can purchase a pack of 4 from my online store.