Last week we finished our series on Card Making For Beginners. Today we begin a new Series – Organization! Whether you’re a new or a seasoned stamper, organization is key to getting the most out of your supplies.
Everyone has their own definition and method of organizing. Have you ever been in a situation where someone in your home has a pile of papers on the table and you view it as a mess, but they view it as an organized pile? If you move anything, they know it has been moved even if it was in the middle of the pile! Can anyone relate? There are people that can find just what they need in that ‘organized mess’ and for others, having a pile of papers looks like a mess because it is a mess so they waste a lot of time looking for something.
I’ve mentioned many times here, I love organizing especially my craft supplies. It may sound weird, but I thrive on organization. I’m constantly trying to find better ways to organize so I can be as efficient as possible. Why waste time on finding something when I can use that time to craft? Everyone has their own style of organizing their craft supplies and many times, the way we go about it has to do with the space we have available.
Today I want to talk about organizing and categorizing your stamps to save you time. If you’re just starting to build a stamp collection, then this is a perfect time to organize before your collection gets bigger. I’ll be sharing what works for me, and hopefully you’ll find tips you can use for yourself.
Where Do I Start?
For years now when I get a new stamp, I go through a process before I play with them. Stampin’ Up! stamps come inside a DVD type of case and on the outer part there’s an insert with the stamp images. I remove that insert and make a copy of it on my printer and put it in a binder alphabetically.
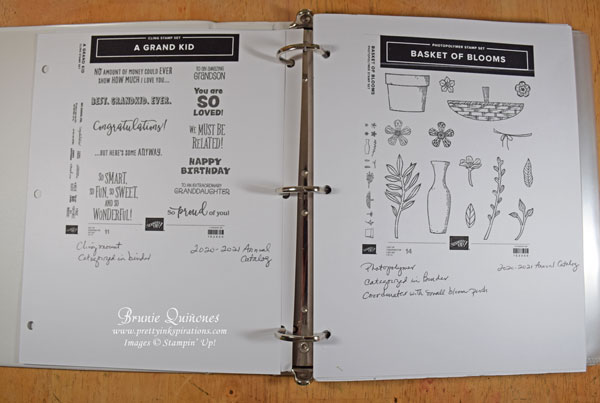
Binder with stamp sets
I write notes on each stamp page – the type of stamp it is (cling, photopolymer, etc.), the catalog it’s in, any coordinating product such as a punch or die, and if it was categorized in my category binder. As an alternative, you can also scan it onto your computer if you prefer to go paperless. Because I’m a demonstrator, I have two of these binders – one for my active stamps and one for my retired stamps, but you can keep it in one.
Categorized Binders
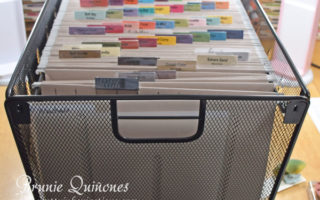
The next thing I do is categorize the images and sentiments in two separate binders. This takes work, especially if you have a good size collection of stamps, but it is well worth it when creating. It will save you time!
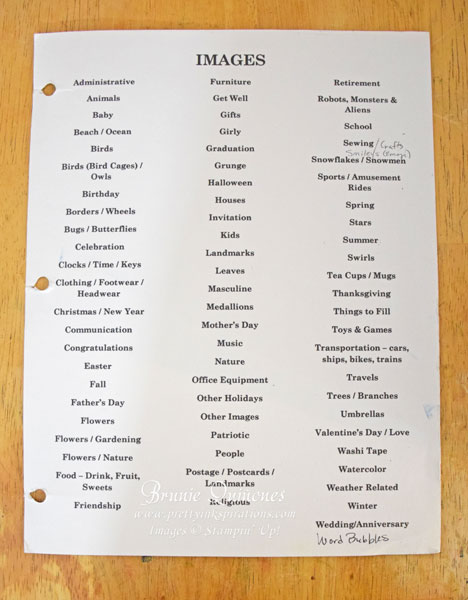
The first page in each of the categorized binders is a list with all the categories. I looked at my stamps and if I had more than 2 images in that category, I gave it its own page.
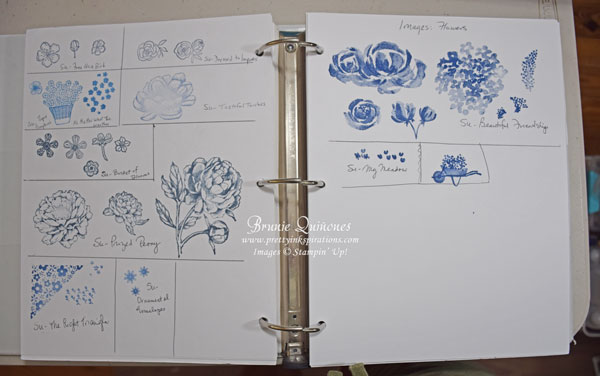
Categorized Image Binder
I stamped all the images and sentiments from each stamp I own. To save time, I stamped them all with the same color ink. Next to the image/sentiment, I wrote the name of the stamp the image/sentiment it’s from. Not only am I categorizing my stamps, but it allows me to see how they look once they’re inked up. Sometimes I don’t get a perfect stamped image, but I’m okay with that. The purpose is to get it categorized. I can honestly say that I have inked up ALL my stamps!
Why Categorize Your Stamps?
Here’s how categorizing your stamps saves you time – instead of going through all your stamps to see which birthday sentiment or image looks best for your project, you can check the binder and see them all at a glance. Sometimes you find ones that you forgot you had that would works perfectly.
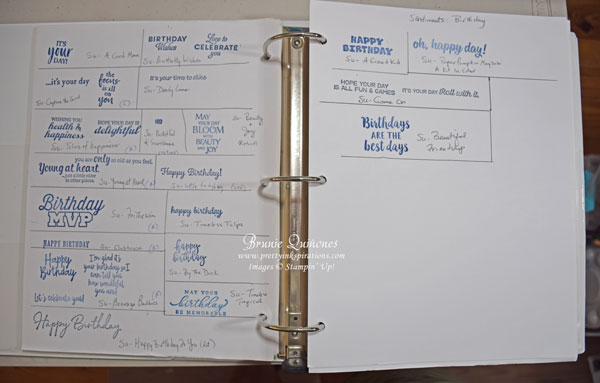
Categorized Sentiments Binder
When I first started doing this, I typed all the pages with headings and typed the category list because I wanted it to look neat. I also gave each image(s) or sentiment(s) from one stamp its own line, but as my collection grew, my headings were handwritten and so were added categories due to time. Instead of having a line designated for one stamp set, I created sections to fit more as shown in the pictures.
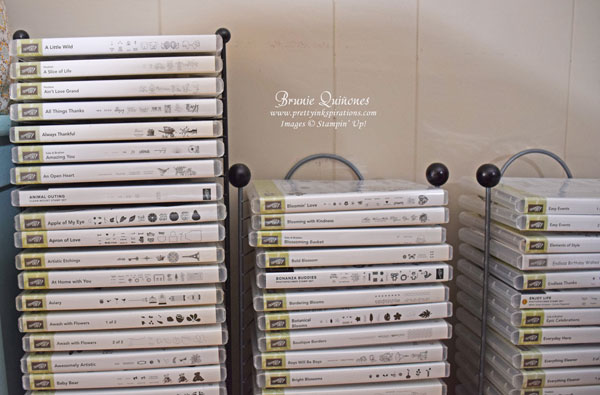
Once I categorize the stamps, I store them alphabetically in a DVD tower which I got at Target a while back. This helps me to quickly find the stamp set with the image I’m looking for. Again, because I’m a demonstrator, I keep my retired and active stamps grouped separately.
I hope my method of stamp organization helped you in some way. Perhaps, this may sound too overwhelming, especially if you have a big stamp collection, but it doesn’t have to be if you do it over a period of time. Once you’re caught up, it’s easier as you get new ones.
Ready to organize and categorize your stamps?
Thanks for stopping by . . . till next time . . . Brunie
Shop at my online store for all your crafty supplies.

[…] week’s post was about organizing and categorizing your stamps. Today’s topic is about organizing your […]
[…] After I adhered the strips, I just felt it needed something to tie it together so I took out my categorized binder and looked for some image I could put in between and this was just the right size. I’m so […]
[…] out other posts on storing and organizing your stamps and […]
[…] of things I do when I’m stuck and not sure what else to do. First, as I’ve mentioned in another post, I stamp all my images in my binder when I get a new stamp. Besides categorizing them, this helps […]