Hello Crafting Friends!
This vibrant colorful card was created with the Butterflies & Flowers Layering Decorative Mask. Except for the sentiment there was no stamping involved. These colors and flowers make me happy.
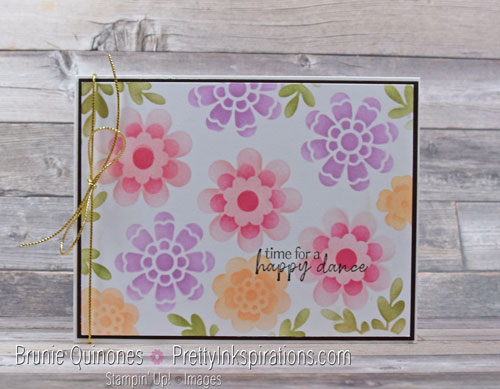
The Butterflies & Flowers Mask was on backorder for a while but it is now available. The pack comes with six stencils – three with a background design, one layered butterfly design and 2 flower designs. To create with these masks, there are various tools you can use. For color, you can apply ink using either the blending brushes or sponge daubers. If texture is what you want, use the embossing paste and palette knives. Remember you can always add color to the embossing paste using the ink refills.
Card Details

A few tips you need to know when working with masks . . .
- Anchor your cardstock and mask so they won’t move while you’re applying the desired color / texture medium. I’ve used washi tape and painter’s tape.
- Cover any areas on the mask you don’t want to ink so when you’re applying ink in the desired section, you won’t get any unwanted lines or smudges.
- Be aware of the mask edges when applying ink so you won’t get any unwanted hard lines.
To create this card I started with the shape first and then I added the flower detailed layer. The detail really makes it pop. I used Blending Brushes for all color applications.
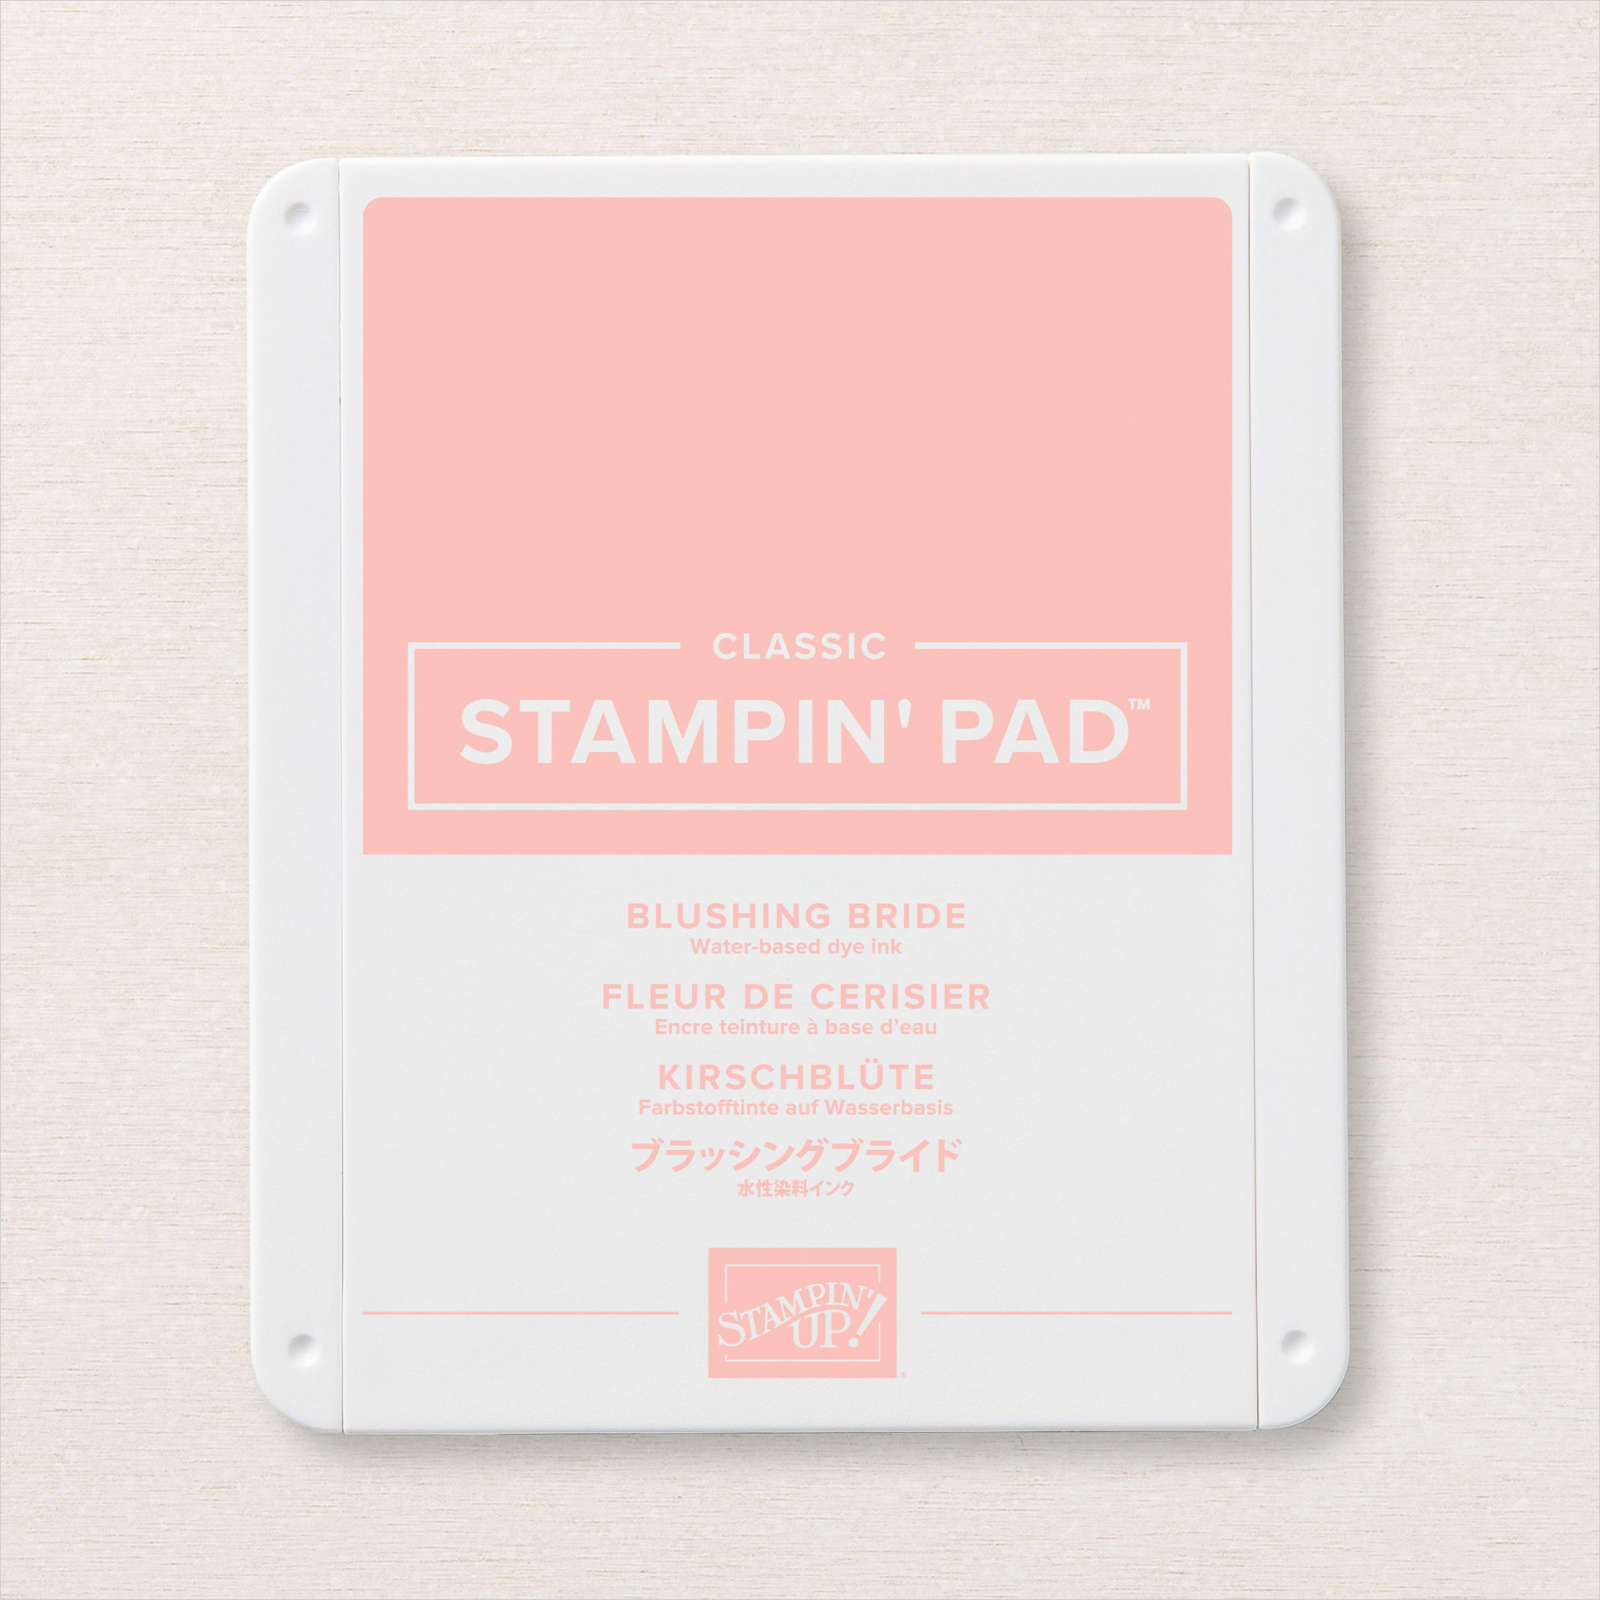
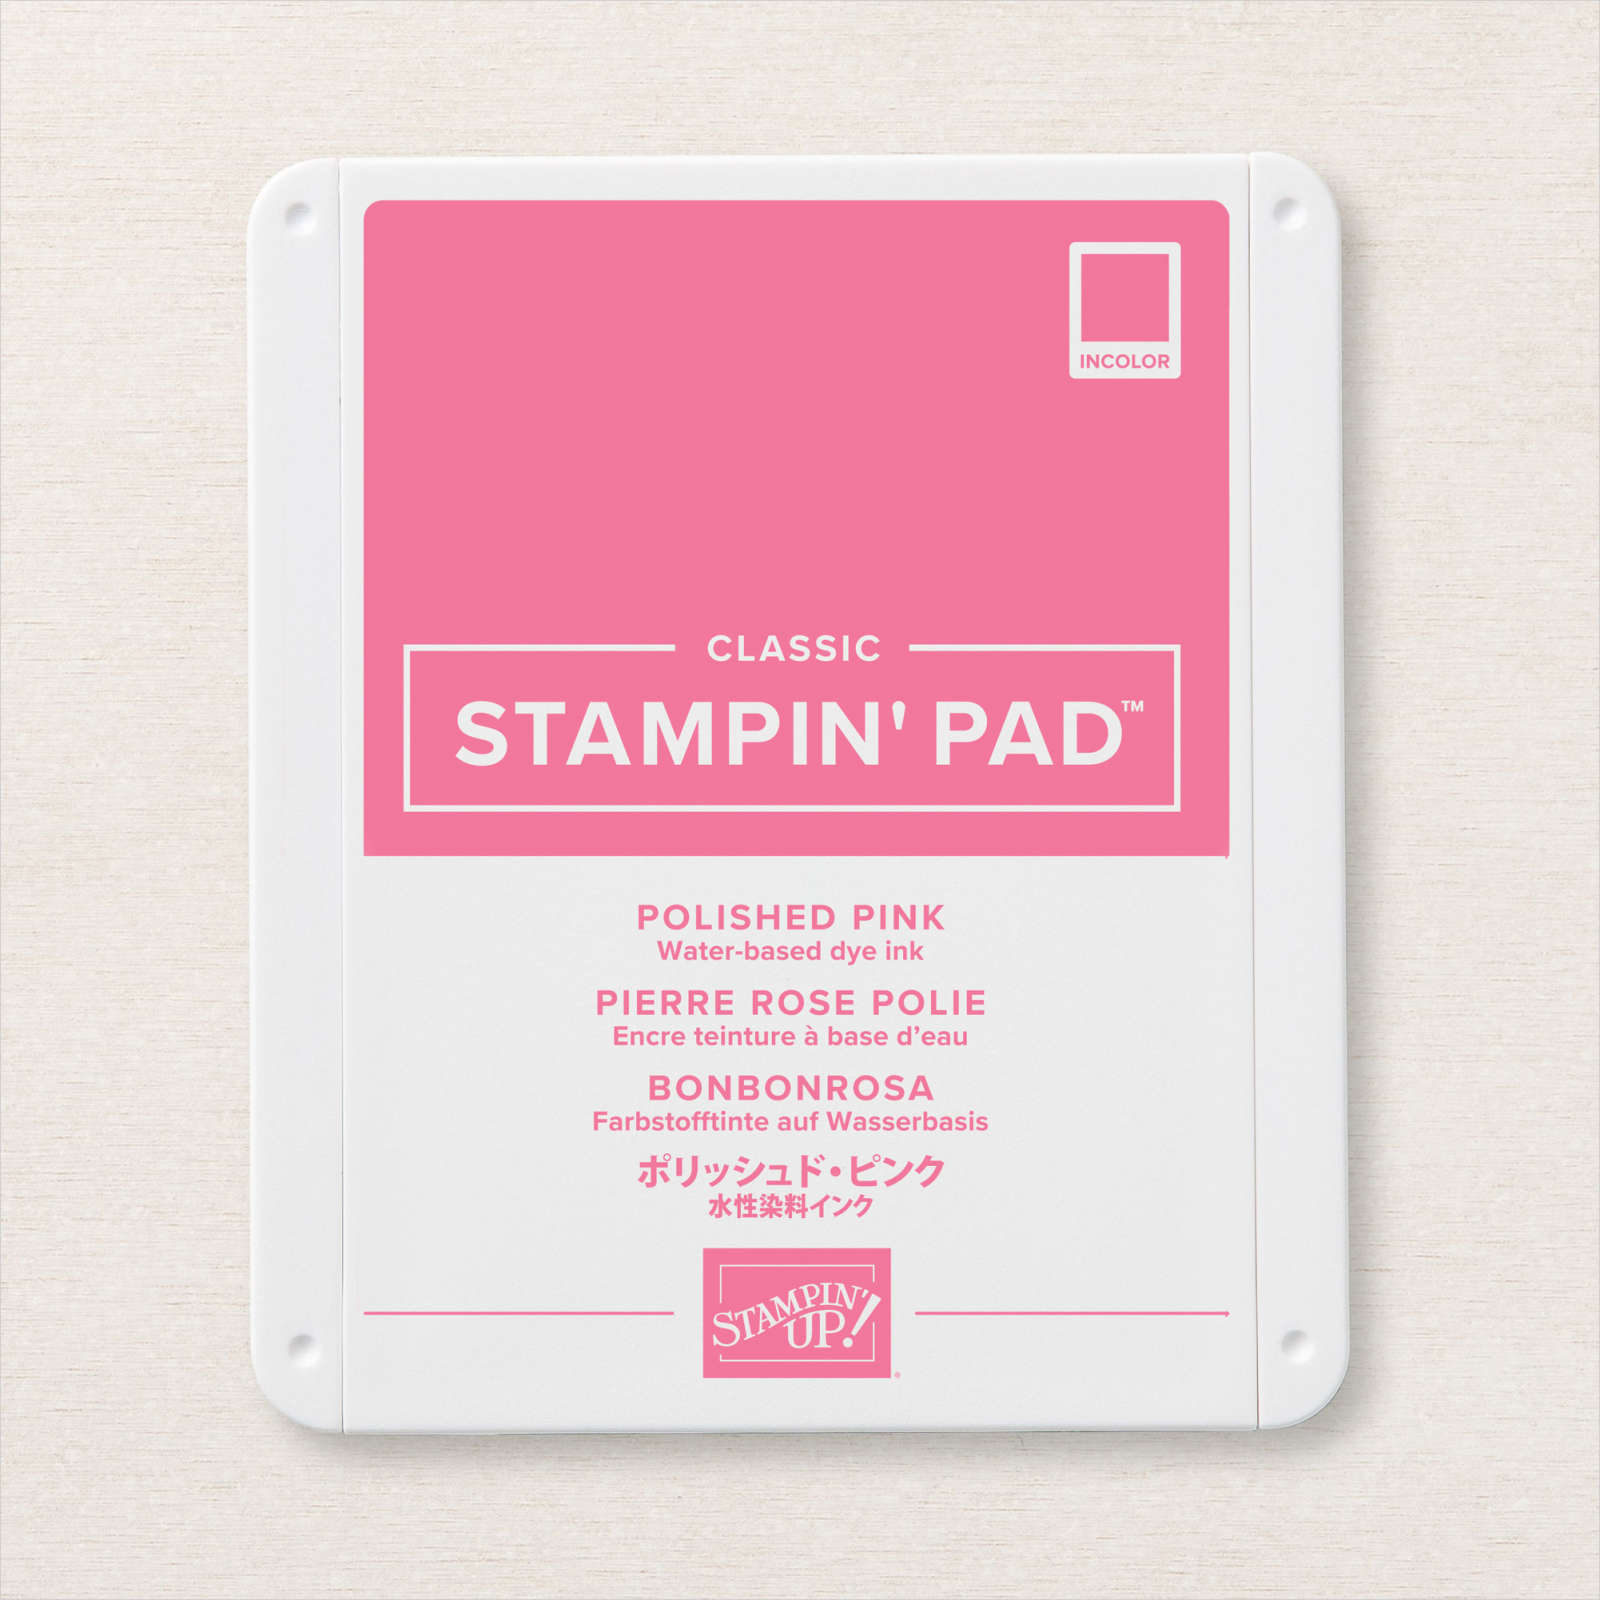
- I used the bigger flower shape and detail for the pink flowers using Blushing Bride and Polished Pink inks.
- No extra detail or layering was done to the purple flower. I sponged as is with Fresh Freesia.
- The peach flower was done with the medium flower shape and layered with coordinating flower detail. Pale Papaya ink was used for both.
- The smallest flower on the right was inked with Pale Papaya and the 2 smallest flower shape and details was used.
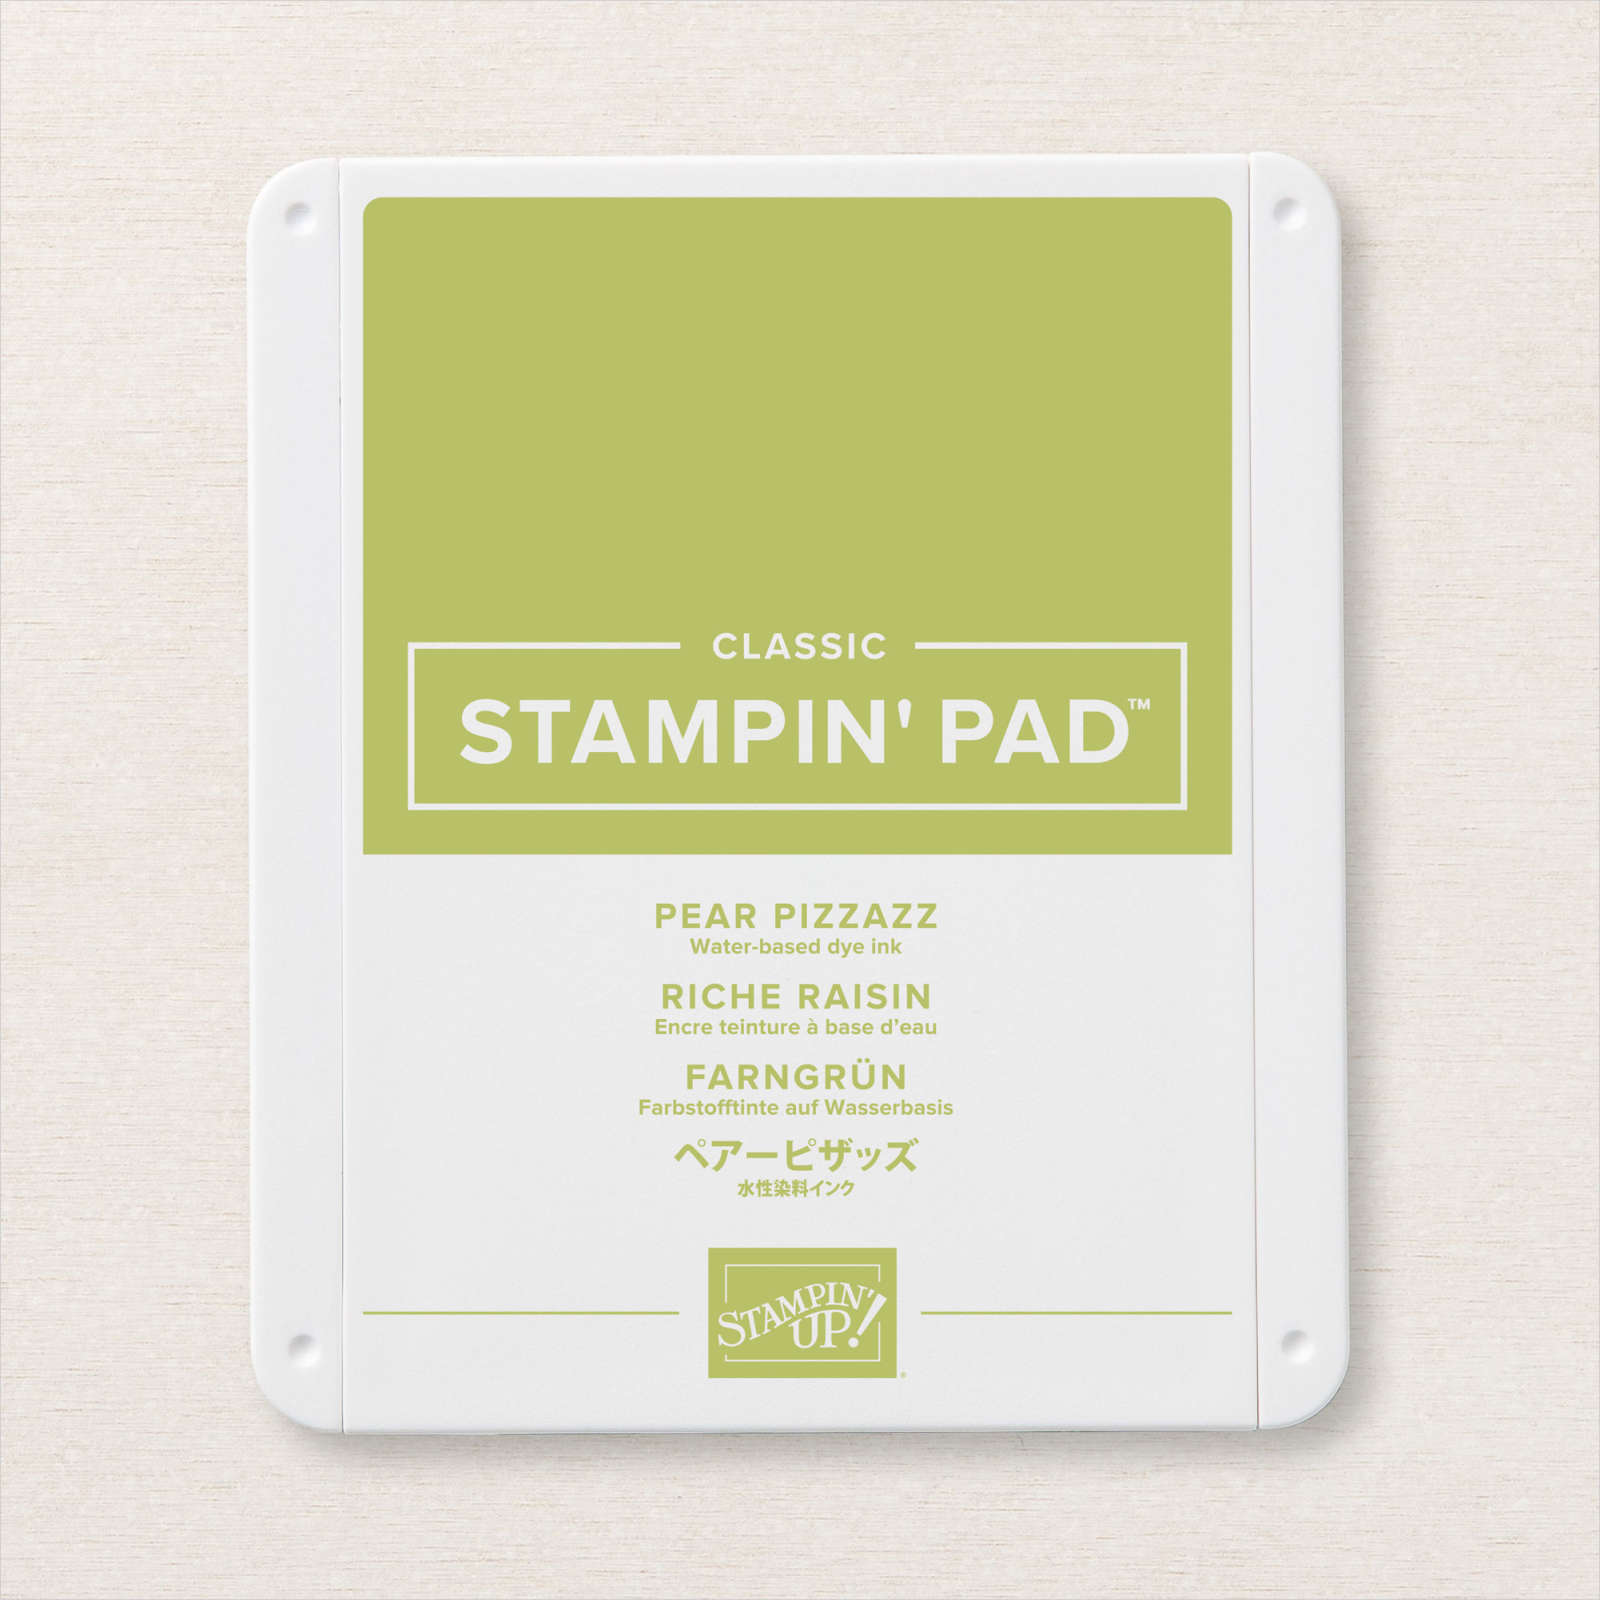
- Leaves were sponged with Pear Pizzazz.
- Card base is thick white cardstock with an Early Espresso layer 4-1/8″ x 5-3/8″.
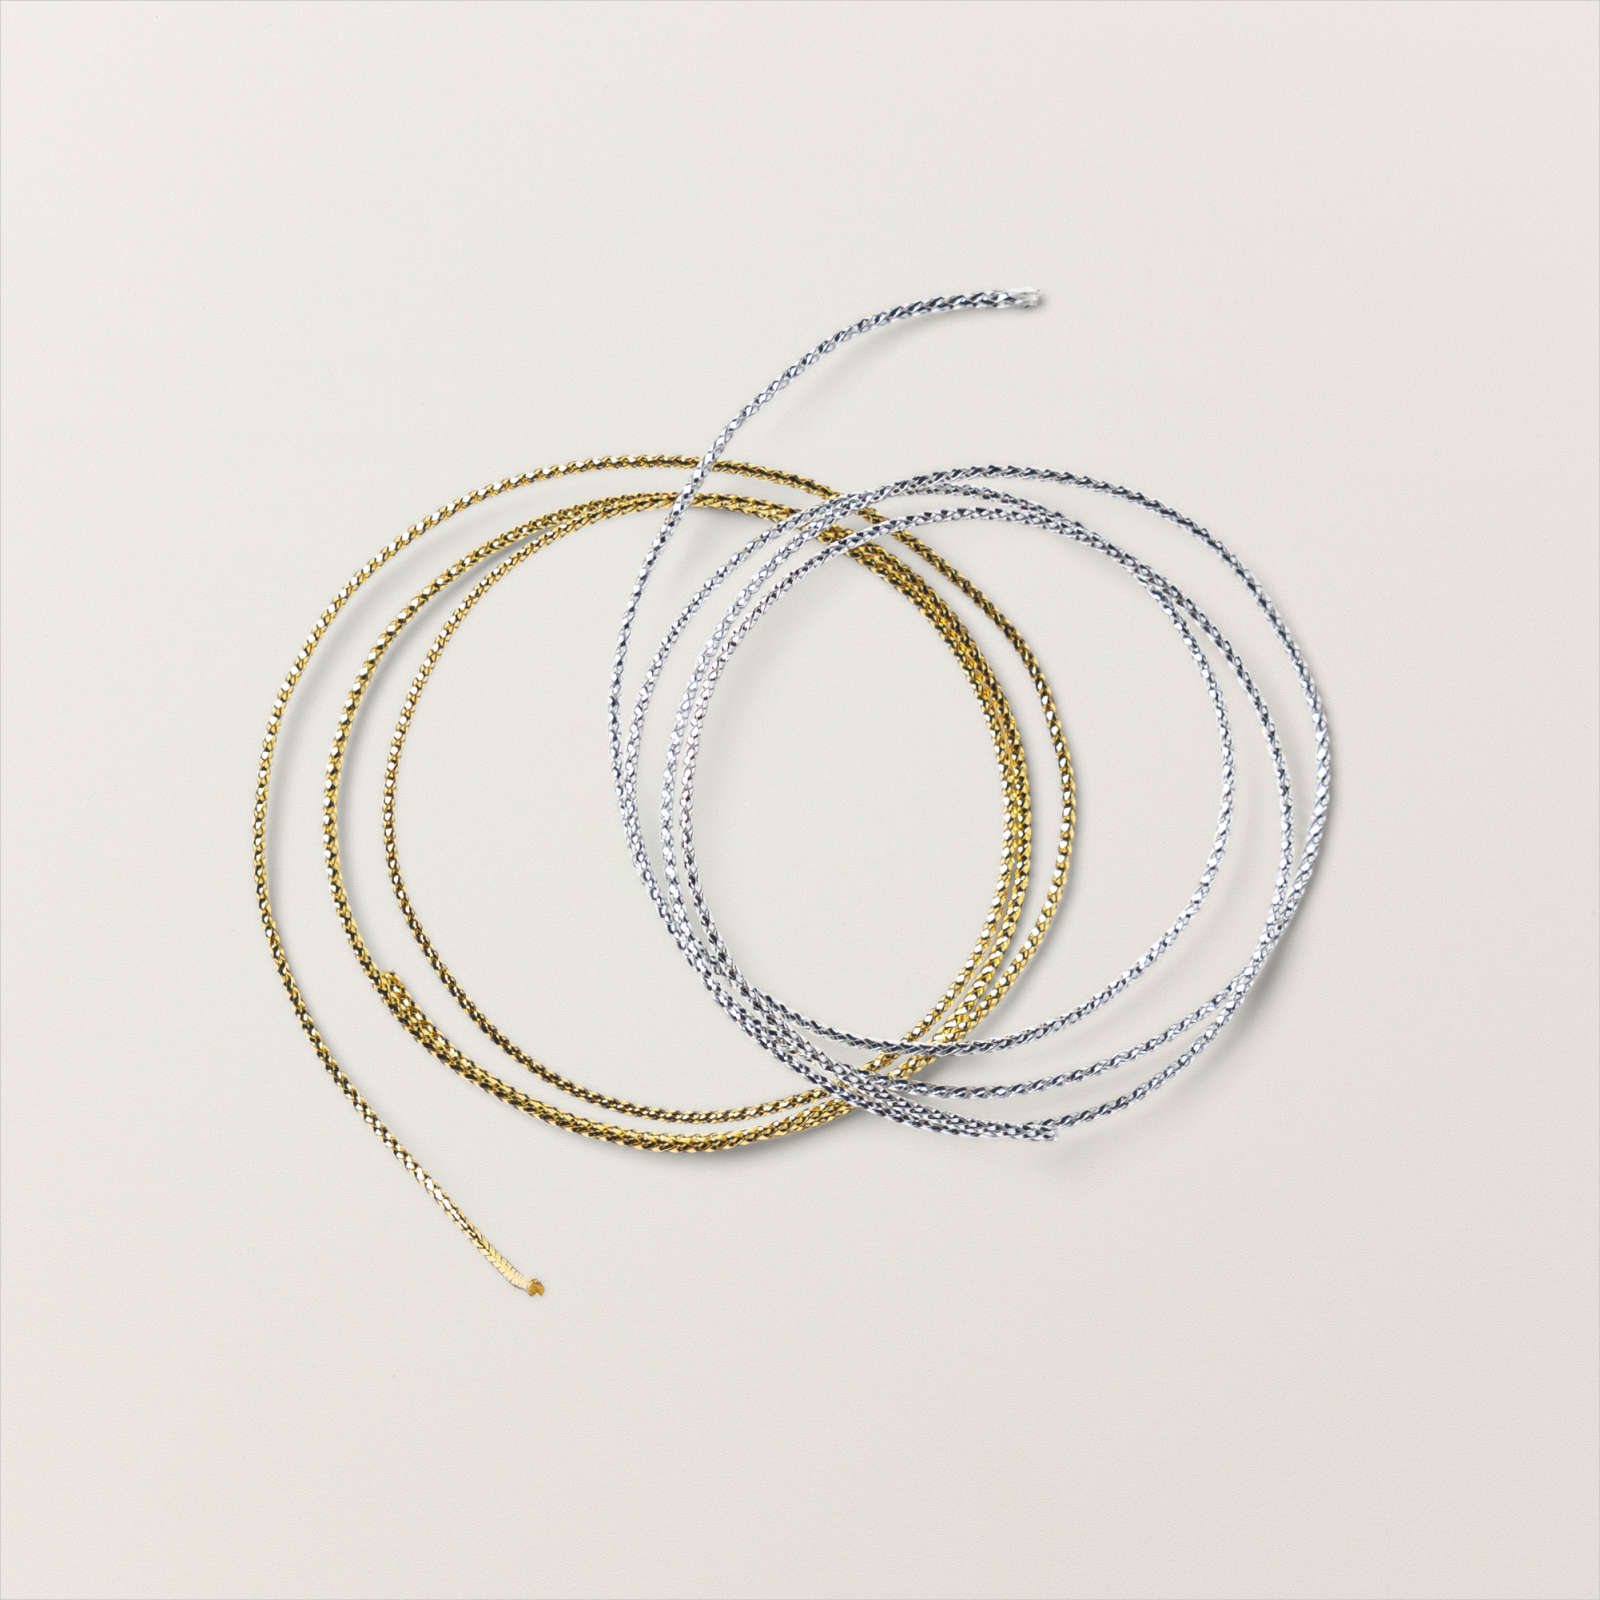
- To complete the card, I added gold trim.
- Since I wanted the flowers to be the focus, I kept the sentiment simple, but with a cheerful message. The sentiment is from the Flowing Flowers stamp stamped with Early Espresso.
You can see how I partially used one of the background masks in another card here. In my next post, I’ll show you another design.
What do you think of this mask? I love these designs! Ready to try it?
Thanks for stopping by . . . till next time . . .

Card Supplies
Below are the Stampin’ Up! supplies used for today’s project. If you would like to purchase any of the supplies, click on the Add All to Cart button below it will take you to my online store. From there, you can see your cart and remove or add any products you like.