Hello Crafters! Today’s card is all about dies specifically Beautiful Brushstrokes.
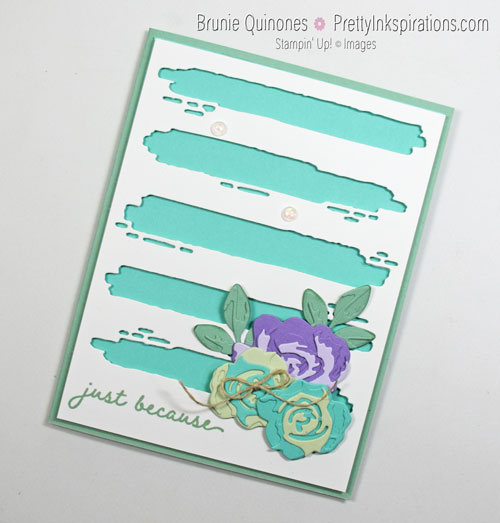
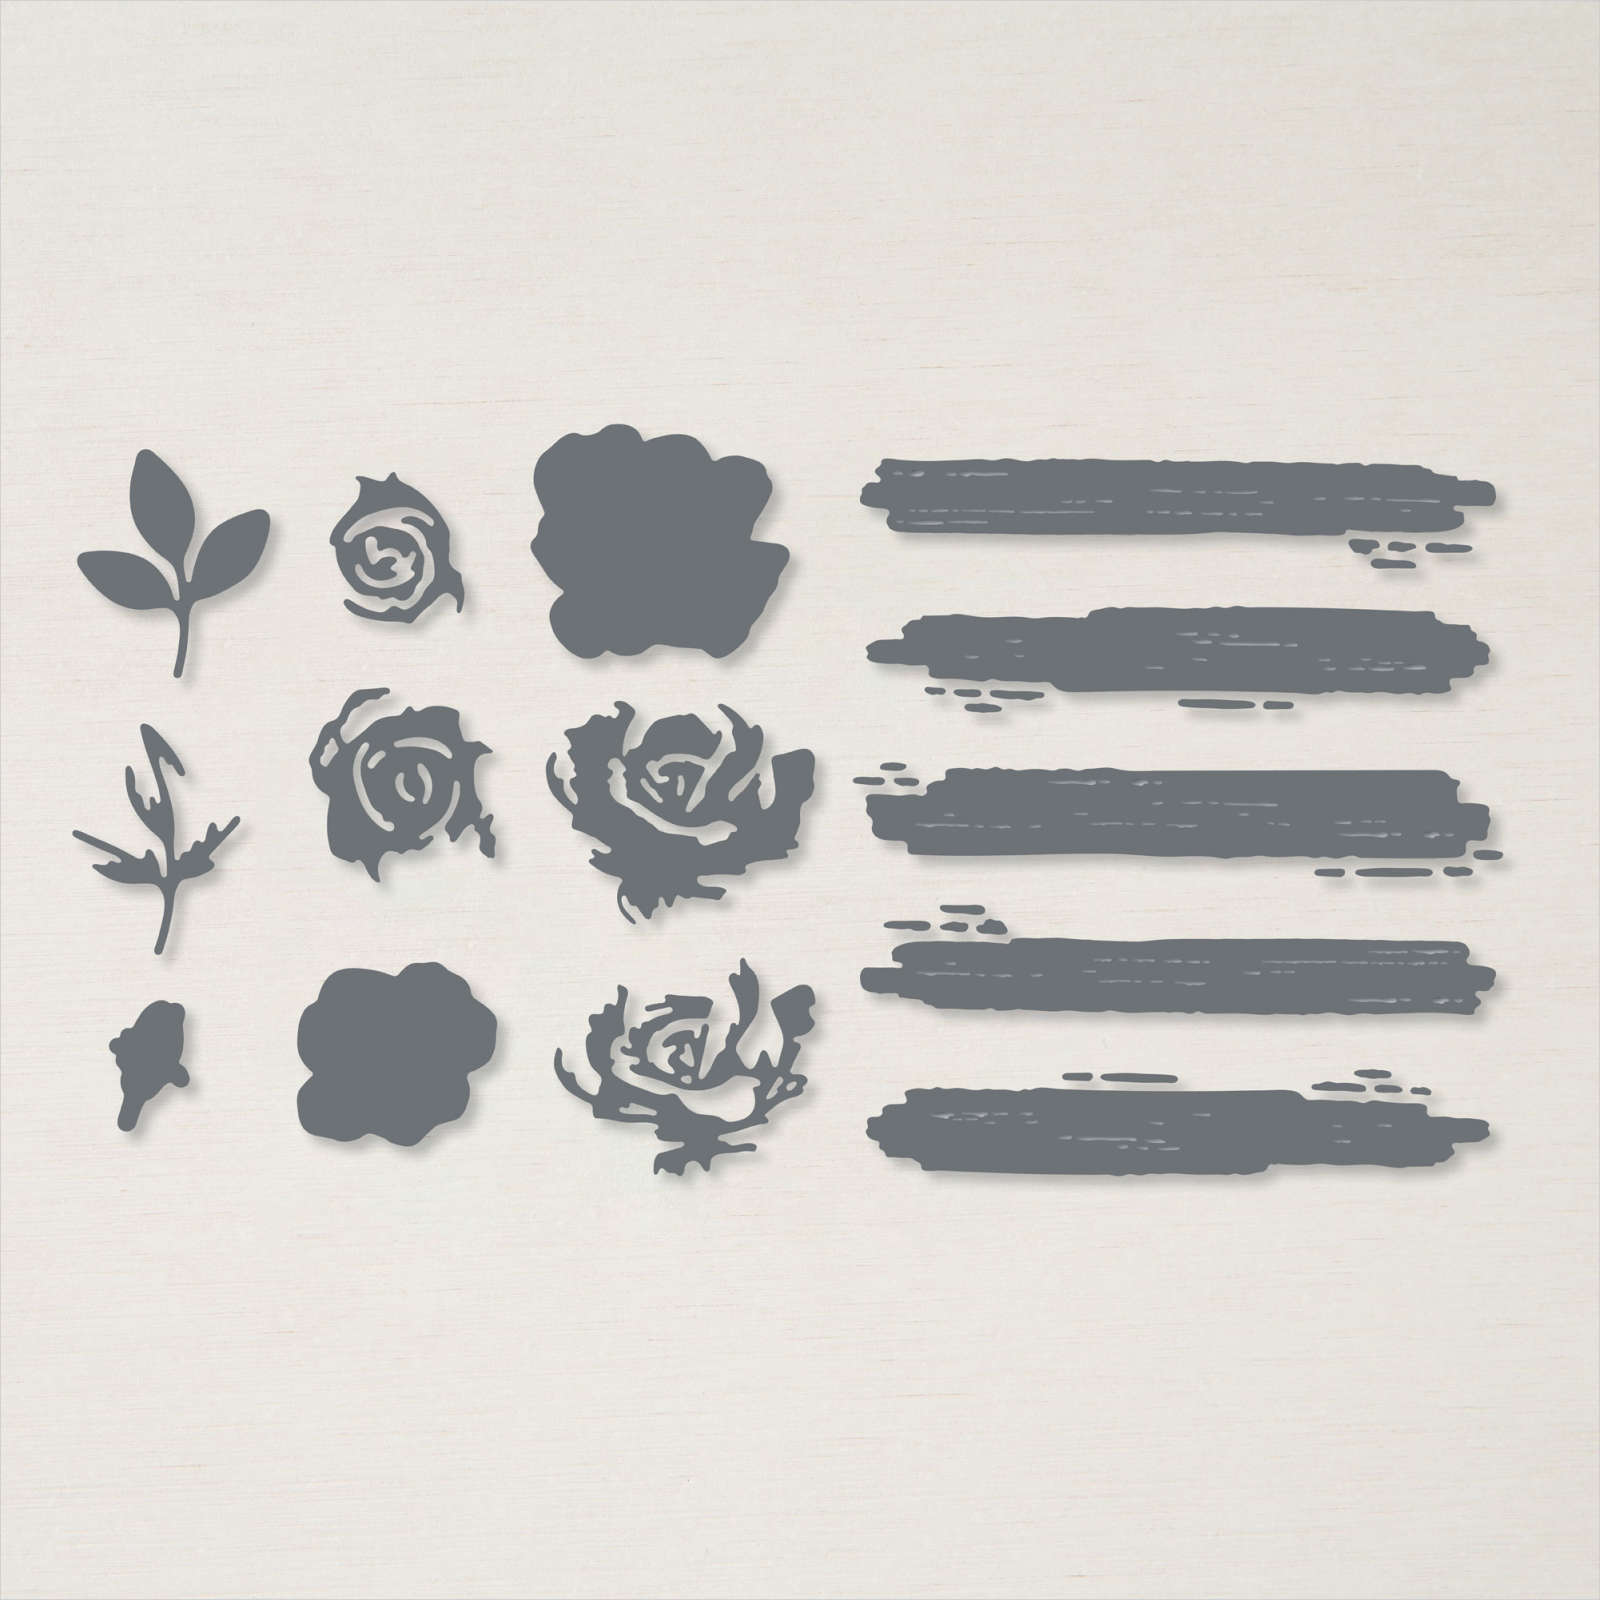
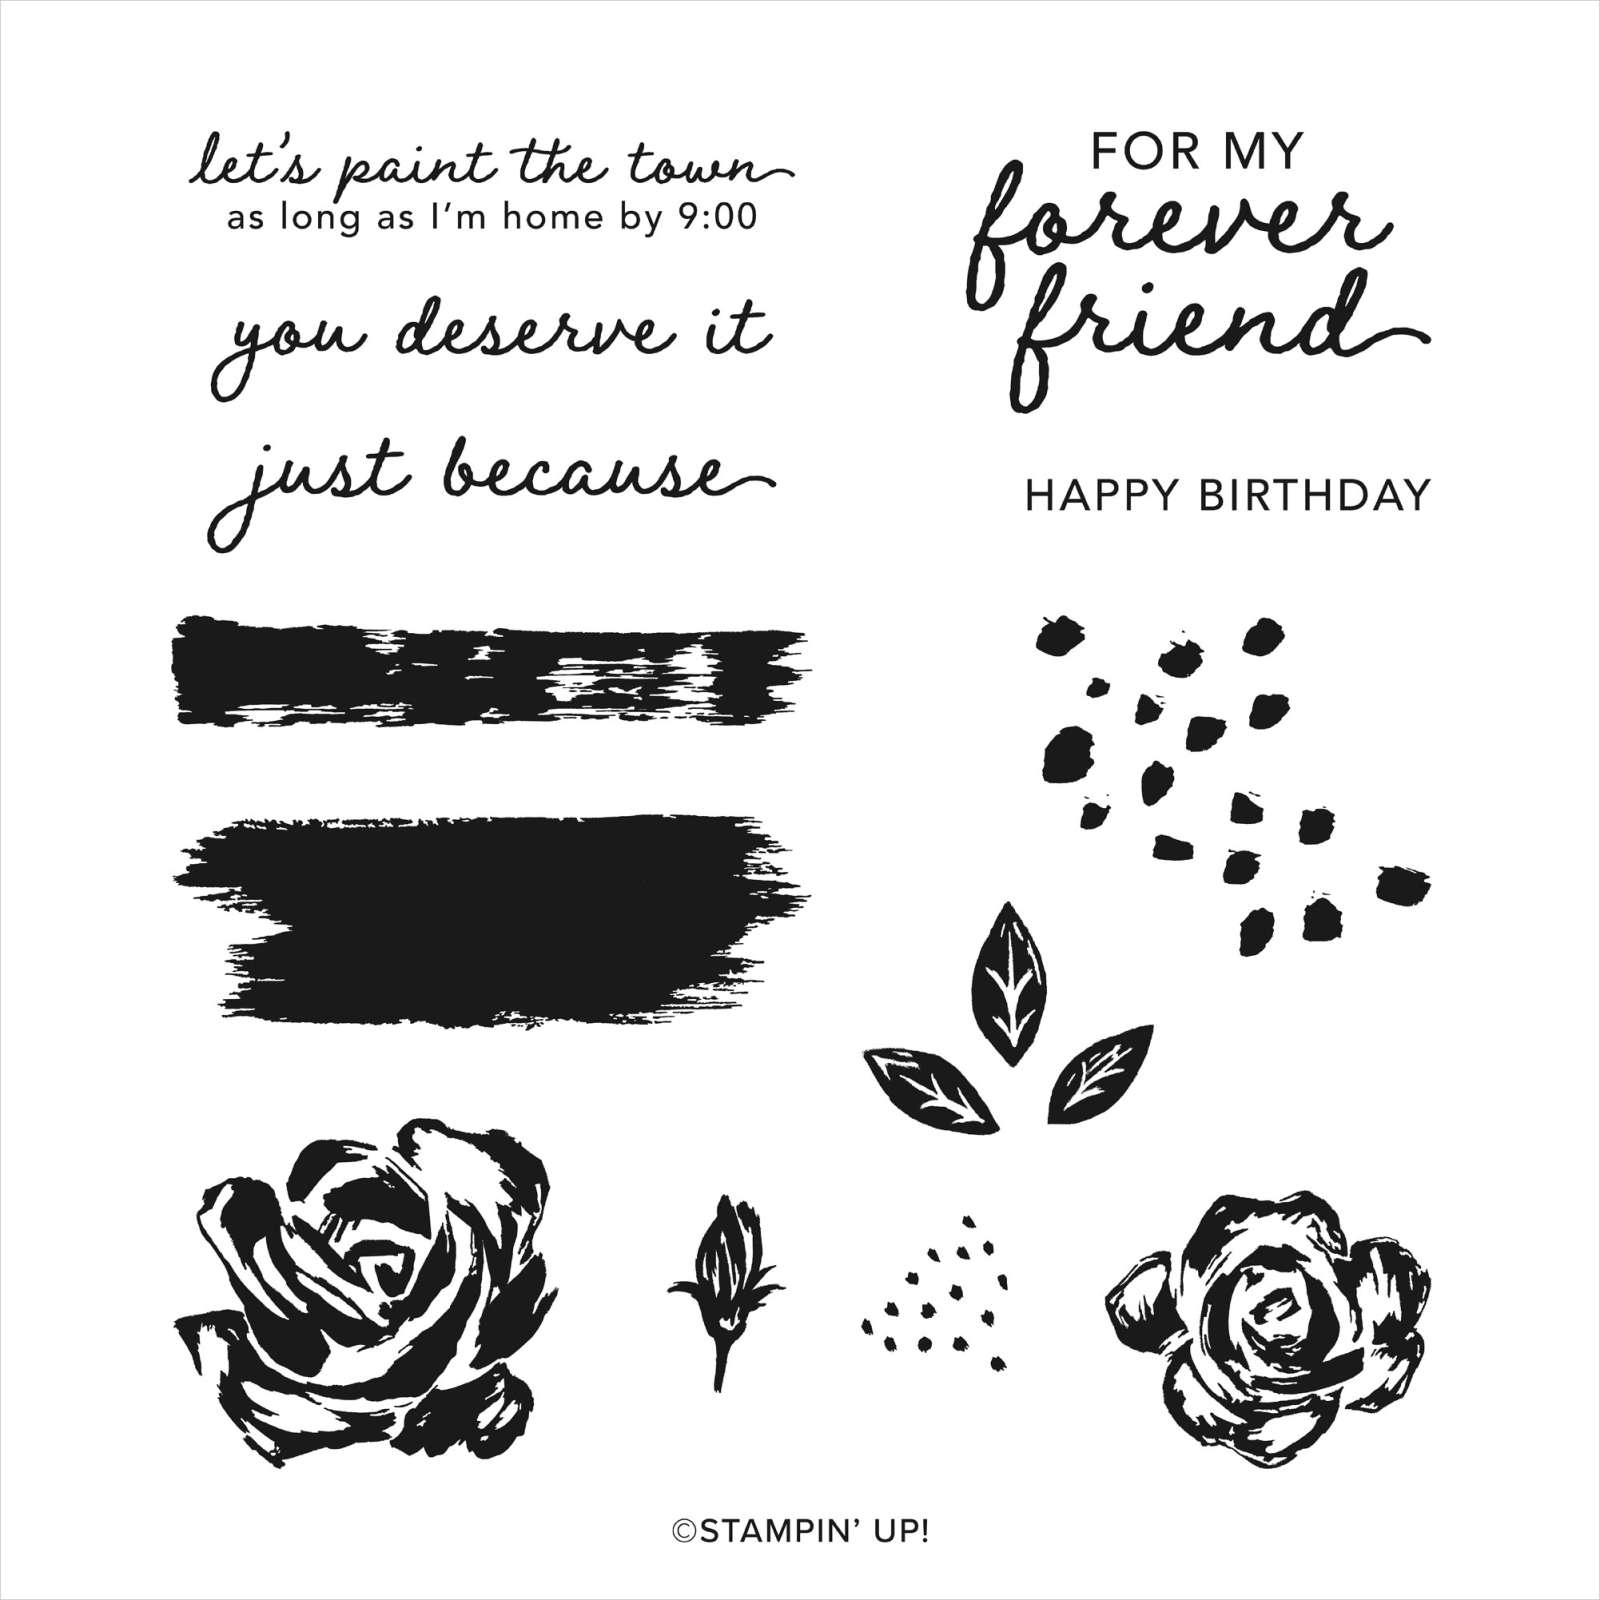
Beautiful Brushstrokes comes with 10 dies consisting of layered roses, leaves and a brushstroke piece that can be used as a backdrop like I did on this card. You can also use the die cut brushstrokes pieces individually to create another look. We’ll see this in another post. The dies are part of a bundle with the Brushed Blooms stamp but either one can be purchased by itself.
These dies can stand alone and you can use all the dies without having the coordinating stamp. There are times that I buy a die set and not the coordinating stamp or vice versa. In this post you can see how I used the Garden Wishes dies without the stamp. Let’s look into the details of this card.
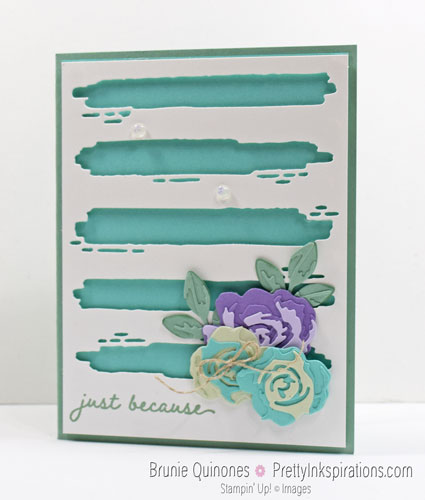
Card Details
- Card Base – Mint Macaron 5-1/2″ x 4-1/4″ scored at 4″
- Layer peeking through white cardstock is Coastal Cabana 5-1/4″ x 4″
- Die cut is white 5-1/4″ x 4″
- Sentiment is stamped with Mint Macaron ink
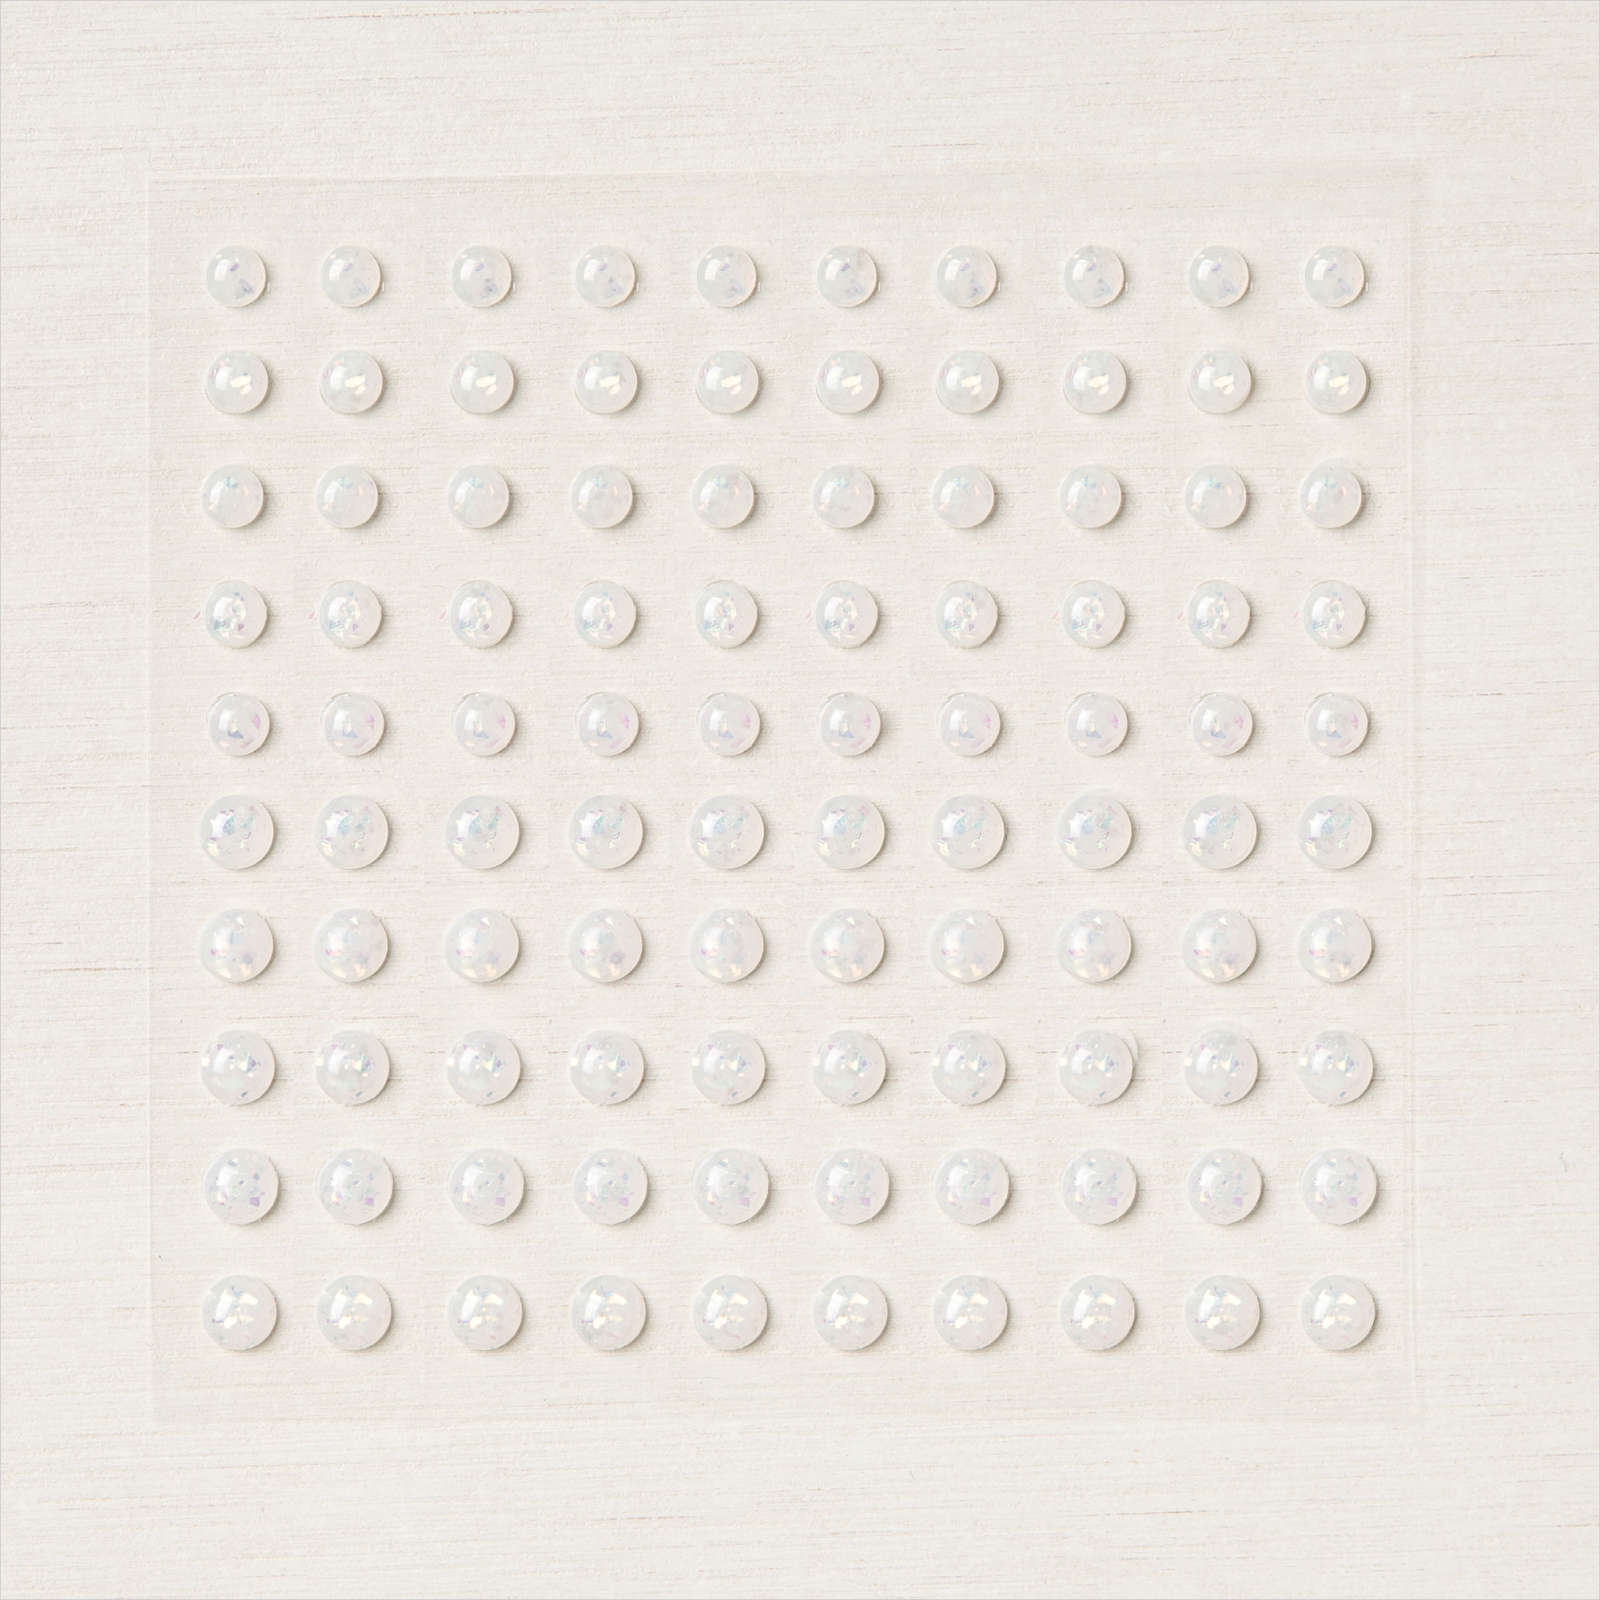
- Placed 2 opal rounds embellishments
Flower Assembly

Let’s look at the picture above with the dies for reference. To assemble the flowers, I die cut the solid big flower die and the detailed one right underneath with Highland Heather cardstock. I then die cut the 3rd detailed layer with Purple Posy. I adhered all the layers with small dabs of Liquid Glue.
For the 2nd and 3rd rose, I used the smaller solid flower and adhered the other 2 detailed die cuts. The first 2 layers of the 2nd rose was die cut with Soft Sea Foam cardstock and top layer with Coastal Cabana and added a linen thread bow. For the 3rd rose, the top 2 layers were die cut with Coastal Cabana and top layer with Soft Sea Foam. I adhered the bottom rose with a Stampin’ Dimensional.
I die cut the leaves with Mint Macaron and sponged the edges with a sponge dauber. The detailed part of the leaves was die cut with the same colored cardstock.
Tomorrow we’ll look at a simple card using the Brushed Blooms stamp.
Thanks for stopping by . . . till next time . . .
Below are the Stampin’ Up! supplies used for today’s project. If you would like to purchase any of the supplies, click on the Add All to Cart button below it will take you to my online store. From there, you can see your cart and remove or add any products you like.
