I intended to get this post out a couple of weeks ago, but things came up and wasn’t able to finish writing it. Since then, unfortunately the stamp set I’m focusing on today is no longer available. If you were able to get this set before it retired, then here are a couple of card ideas for you. Besides the retired Gumball Greetings stamp, I also used the Dots & Spots die – one of my favorite dies as mentioned in my Annual Catalog favorites post.
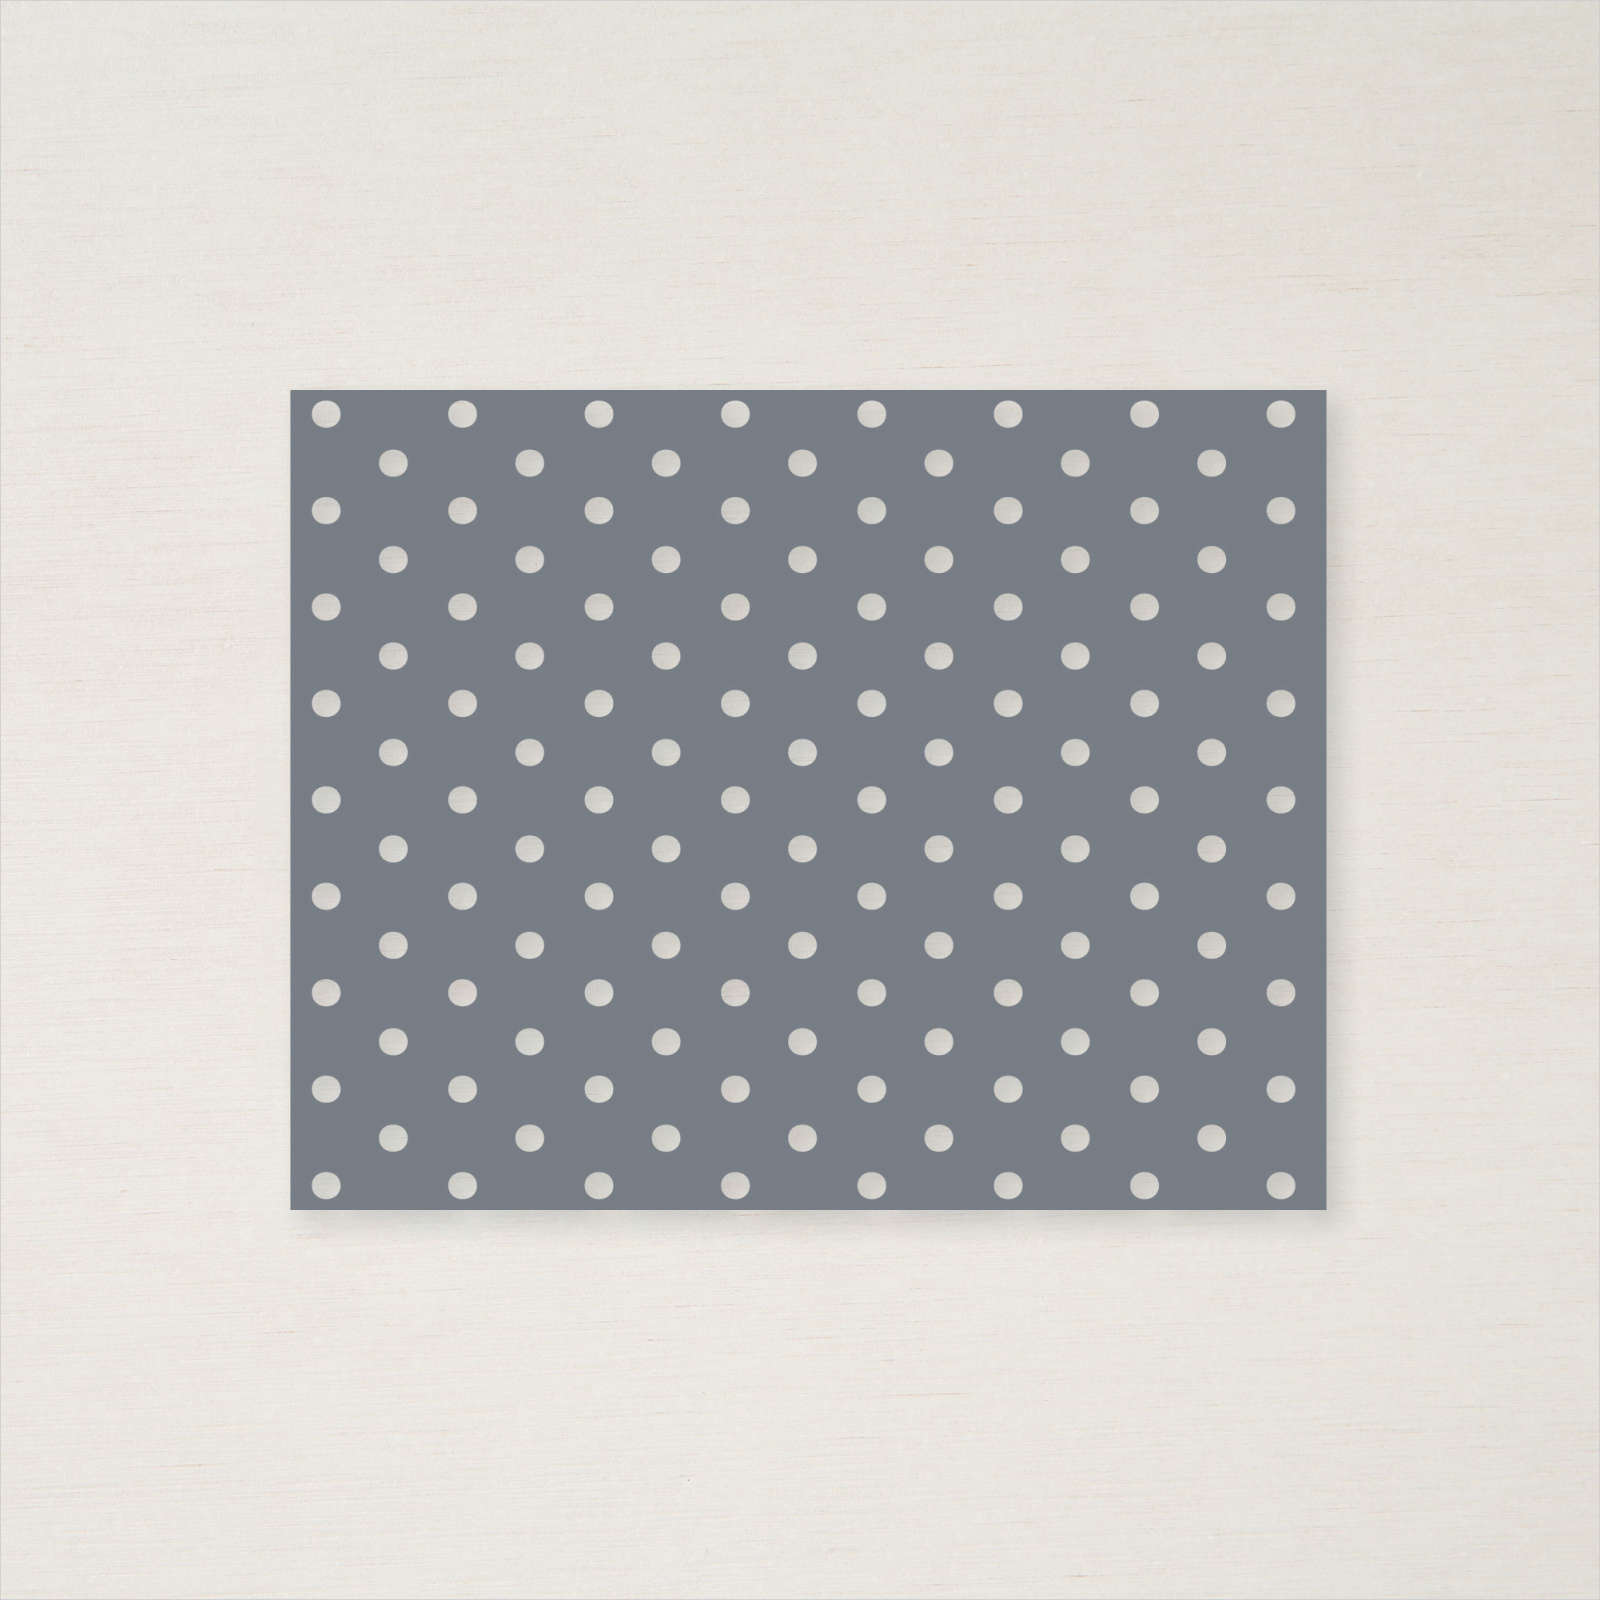
The Dots & Spots die is one big die. Here are a couple of ways to use it.
- Use it for backgrounds with different colored cardstock behind it.
- When you die cut your cardstock, keep the dots to make shaker cards.
- Add more texture by embossing the cardstock with any of your favorite embossing folders after you’ve die cut your cardstock.
- Use the entire die or simply cut a piece as I did on this card.
- Die cut different colored cardstock for your front panel with white cardstock behind it. For a quick card, just add a sentiment to your colorful palette.
Gumball Greetings Card
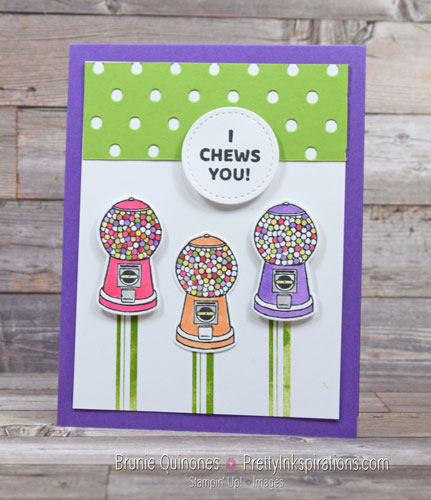
I stamped and die cut 3 gumball machines and colored all the gumballs with Stampin’ Blends.
- Gorgeous Grape card base 5-1/2″ x 8-1/2″
- Basic White cardstock 5″ x 3-3/4″
- Granny Apple Green cardstock 1-3/8″ x 3-3/4″ die cut with Dots & Spots die.
- Three gumball machines were stamped with Memento Black ink, die cut with the gumball machine dies and adhered with dimensionals.
- Sentiment was stamped with Memento Black ink. I used the retired Stitched Shapes dies for the circle.
Another Gumball Card
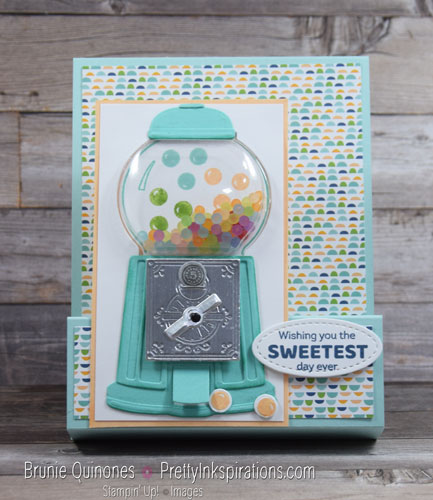
For this card, I used the Gumball Machine dies to make a shaker pop up card. I stamped the gumballs on the cardstock so that there’s something to see when the frosted beads are at the bottom.
Although I like the gumball dies, it does take a while to assemble so it’s definitely not a mass producing card, but it’s worth it. At first glance, you may wonder why it takes time to assemble.
Here are a couple of reasons why. . . there are small details that need to be adhered – like the two slim die cuts on top and bottom of lid and at the bottom of the machine base. There’s the layer over the base. The silver plate and all the elements in that section. I love the colorful beads, but you have to make sure you keep them contained or they would roll right off your work space. When die cutting these dies, I would suggest using adhesive sheets to make it easier to adhere.
This is definitely a card for someone special.
Last Chance Products
There are only 6 more days to get your favorite retiring products. Supplies are available while they last.
Thanks for stopping by . . . till next time . . .

Card Supplies for 1st Card
Below are the Stampin’ Up! supplies used for today’s project. If you would like to purchase any of the supplies, click on the Add All to Cart button below it will take you to my online store. From there, you can see your cart and remove or add any products you like.