Hello Stampers!
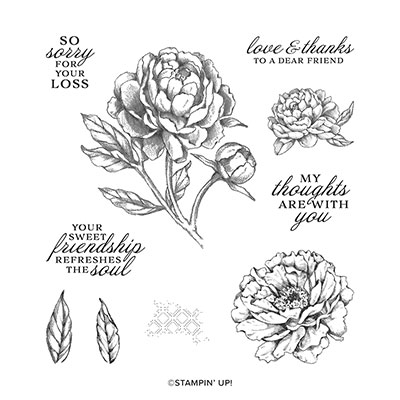
Today’s card is showcasing two of my favorite products from the 2020-2021 Annual Catalog – The Prized Peony Bundle (stamp & dies) and the Stacked Stone Stamp.
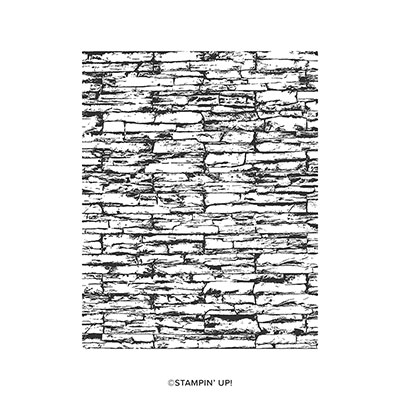
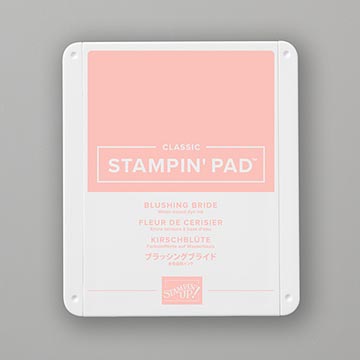
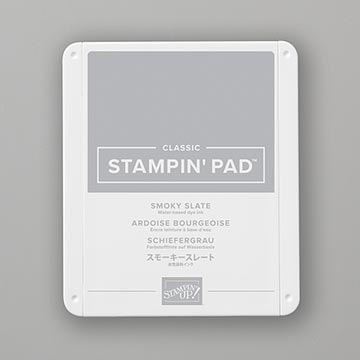
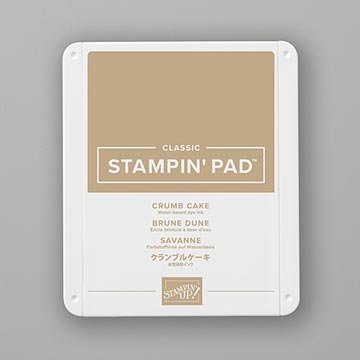
Before we talk about this beautiful flower die, let’s talk about the Stacked Stone background stamp. I love the real look of stacked stone, so when I saw this stamp, it went immediately on my wish list. A lot of times, when I see stacked stone, I see various stone colors so to imitate that look, I stamped the image with Basic Gray ink onto Smoky Slate cardstock and then sponged some areas with Blushing Bride and Crumb Cake ink.

Now let’s talk about the Prized Peony Bundle. Instead of stamping the flower on this card, I chose to die cut the flower to make the peony.
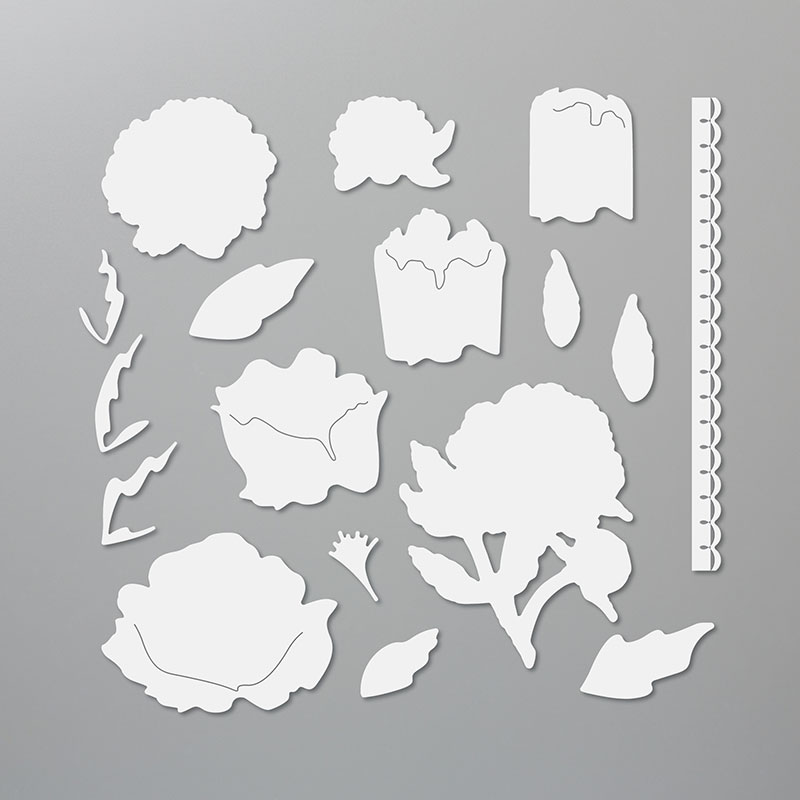
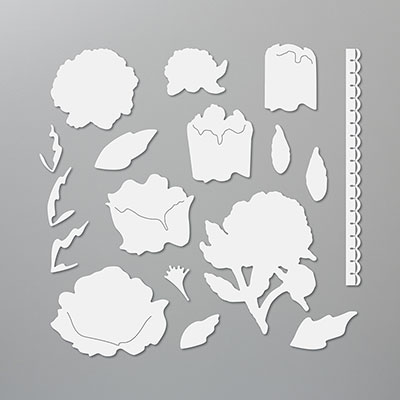
When you first see the Peony Dies, you may be puzzled as to how to assemble this flower so let me simplify it for you.
Some of the dies are to die cut the stamped flowers, but others are to create the peony flower on my card.
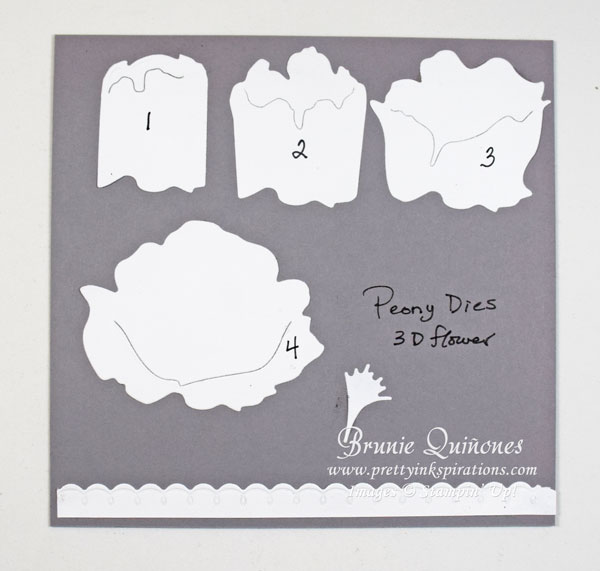
The first thing you need to do is find the dies that I have numbered 1 – 4. Get whatever cardstock color you like and die cut the flower parts. Once you do that, you will assemble the flower starting with the smallest die to largest. Here’s the progression: Die cut #1 gets inserted into #2. These then get inserted into #3 and then into #4. They should all line up on the bottom on the back side. The stamen gets inserted between 2 and 3.
Here are a couple of tips for your flower:
- If you want to sponge the edges of your flower and leaves, do it before you assemble the flower.
- To add more dimension, curl the edges of the flower outward using your bone folder or with your fingers.
- As you insert each die cut, add a small amount of liquid glue midway to the back of the die cut – making sure bottoms are aligning
- Besides regular cardstock, consider using vellum cardstock for a softer look of your flower, following the above steps.
Did you notice the dainty border die cut on the right of my card? That’s part of the Peony Dies. I love it! The solid gray cardstock behind the flower was stamped with one of the images from the stamp set. The sentiment was stamped onto Basic Gray cardstock with VersaMark ink and heat embossed with white embossing powder, then fussy cut around it and adhered with a couple of mini dimensionals. Be on the lookout for more cards with this bundle.
Click here to see a simple one layer card using just the largest flower of the stamp set (scroll all the way down to see card). Now do you see why I love the Prized Peony bundle? Whether you use just the stamp set or dies, you’ll get gorgeous flowers.
If you’ve been following my Card Making For Beginners series, make sure to come back tomorrow as we discuss the difference between the various inks.
Thank you for stopping by . . . till tomorrow . . . Brunie
If you would like to purchase Stampin’ Up! supplies to make this card or any other supplies, please go to my online store. Thank you for choosing me as your demonstator.


[…] In this post, I used the Peony Dies to make a dimensional peony, but in today’s post I’m using dies to die cut the stamped images. I also used the Forever Flourishing Dies for all the leaves. […]
[…] Stacked Stone […]
[…] another card using this set and another one here using the Peony […]