In Part 2 of this series, we went over the basic tools you need to get started with making cards. Part 3 we discussed how to cut and score your cardstock. Today I’ll show you how to stamp your images, but before I do that, let’s talk about stamps and a few things you need to know.
Stamps:
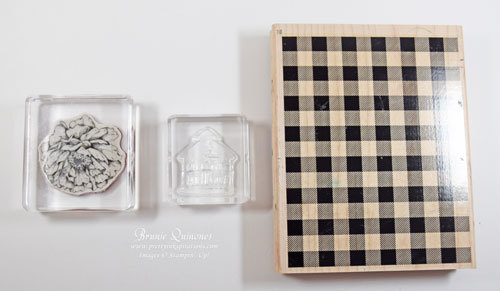
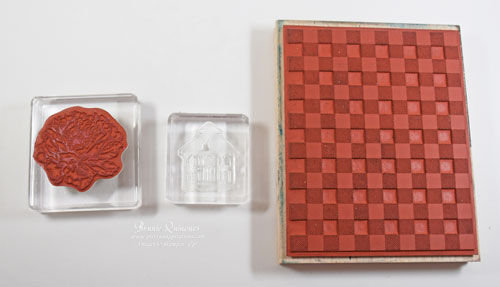
There are cling mount, photopolymer, and wood mount stamps – so what does that mean?
- Cling mount stamps are made out of red rubber with a layer of foam and have a printed image of the stamp that you can adhere to top of foam
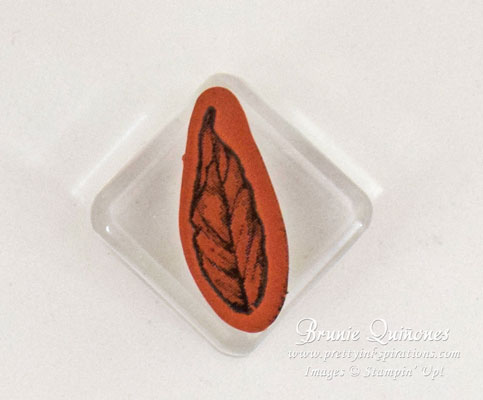
- Photopolymer stamps are transparent and makes it easier to see where you’re stamping – mounts on clear blocks
- Wood mount stamps are made out of red rubber with a layer of foam just as the cling mount, but is mounted on wood instead of clear block. The printed image is adhered on top of the wood.
- Because the cling and the wood stamps are not transparent, adhering the image onto the stamp or wood makes it easier for placement.
- Note: The only wood mount stamps that Stampin’ Up! offers is the background stamps. The wood is included with the stamp. It also comes in cling.
Clear Blocks:
The blocks below are what you will need to mount your Cling and Photopolymer stamps (sold separately). They come in various sizes because stamps come in different sizes. One thing you need to keep in mind is that you need to select a clear block that is just right for your stamp.
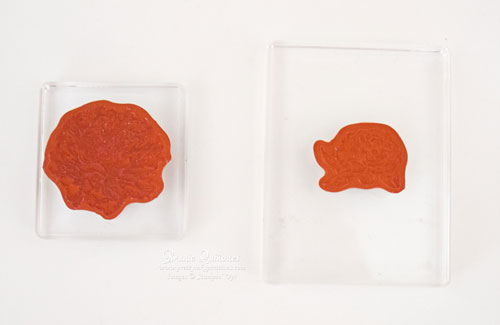
1st block is fitted correctly. 2nd block is not the right size – has too much empty space.
If you have a larger stamp, choose a block where the entire image is going to fit. In this picture the stamp hangs beyond the block – that is not the right size for this stamp. The part that is beyond the block will not stamp properly.
(For all background stamps, you will need the F block).
You can download a clear blocks template with measurements here.
How to Ink & Stamp
Once your stamp is mounted on a clear or wood block, we’re ready to stamp/
Before you stamp, the first thing you will need is a solid flat surface.
Ink your stamp, by lightly pressing your stamp against the inkpad.
Proper inking of stamp
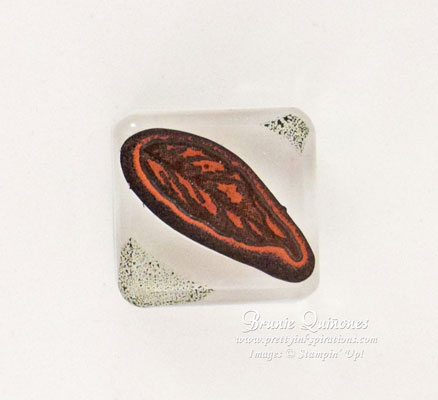
Do not press down hard on the ink, or your stamp will have too much ink. Also by pressing down hard, areas of your block will get unwanted ink around the edges of the stamp as well as the block.
You may need to practice a bit to get a feel for the desired pressure. Use scrap paper until you feel comfortable.
Here are tips for stamping:
- Ink properly and stamp straight down on cardstock
- hold block with both hands if block is large; if small, one hand is fine
- apply pressure as you’re stamping your image
- before you place your stamp to your cardstock, make sure there is no ink on your block (will smudge your cardstock) nor on the edges of the stamp (will create a halo over your image)
- lift stamp straight up
- DO NOT rock the stamp back and forth
- if it’s a large stamp (such as background stamp using the F block, lay your stamp on the flat surface face up and ink on top, making sure entire stamp is covered with ink. Stamp your image by placing your cardstock on top of the inked surface (stamp still face up on surface). Place a scrap paper over the cardstock and rub over it. This will give you a better stamped image.
- It is preferable, if you use a foam mat under your cardstock when using photopolymer stamps to get a better stamped image
Cleaning Your Stamps:
Once you finish stamping, clean your stamps so they’re ready for the next time. This will also help your stamps last longer. There are several ways to clean your stamps and I have used all three below depending on my project:
- simply shammy
- stampin scrub & stampin’ mist (cleans and conditions your stamps)
- baby wipes – no alcohol or it will dry out your stamps
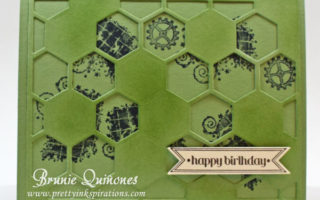
So now that you know what tools you need, how to cut, and how to stamp, here are a few samples of one layer cards using just ink and stamp. #simplestamping.
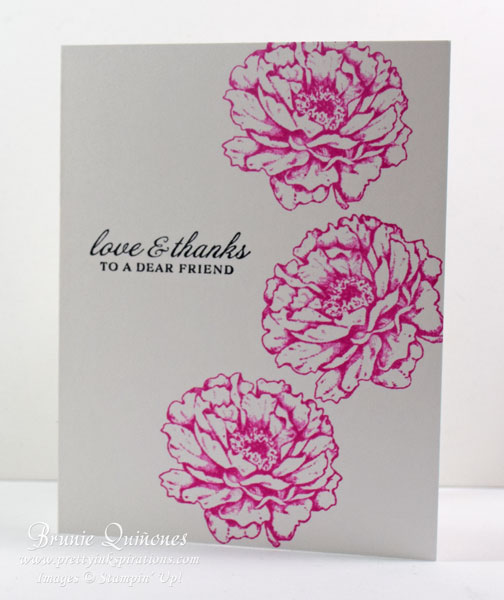
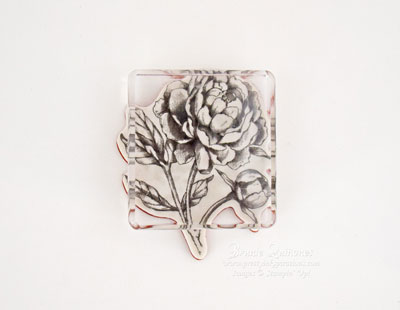
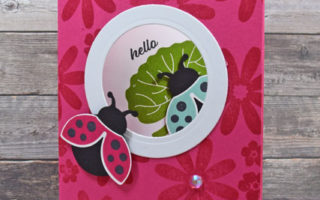
one layer card on thick Whisper White cardstock, stamped with 2 ink colors – Magenta Madness for the flowers and Early Espresso ink for the sentiment. The stamp is Prized Peony.
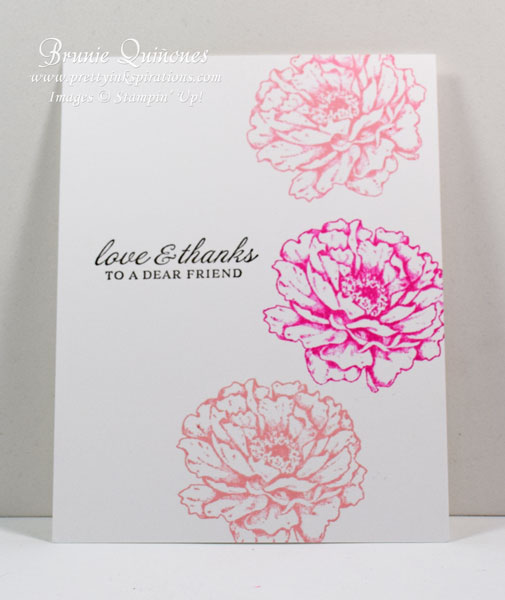
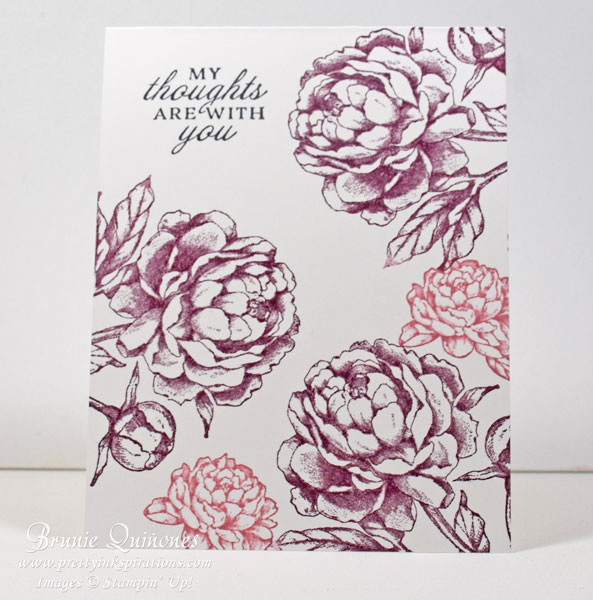
Here’s another card, same cardstock, same layout as above using 3 colors, Magenta Madness and Blushing Bride inks for the flowers and Early Espresso ink for the sentiment.
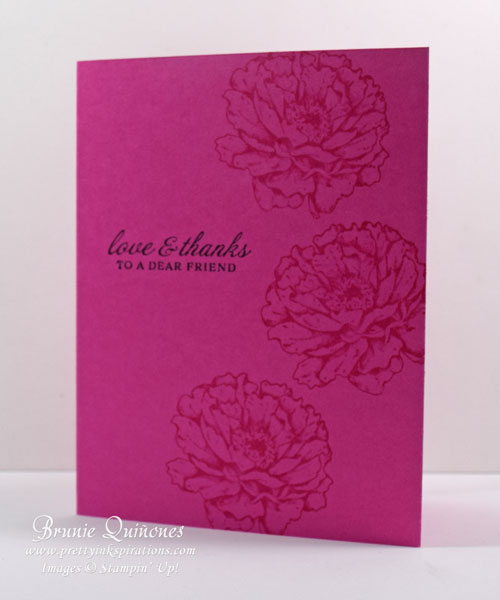
This card is stamped on Magenta Cardstock with Magenta Madness ink and Early Espresso ink for sentiment
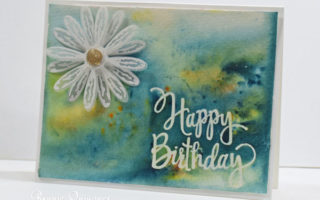
Here’s a card using the same stamp set with different images, different layout and 2 different colors: Rich Razzleberry, Rococo Rose and Memento Black ink
Lots of information and pictures, but hope you have found this helpful. Let me know if you have by commenting below.
These cards used only 1 layer of cardstock, next time we’ll discuss layering cardstock.
Thanks for stopping by . . . happy stamping . . .till next time . . . Brunie
[…] here to see a simple one layer card using just the largest flower of the stamp set (scroll all the way […]
[…] 5 in the series. Tomorrow we’ll be focusing on card layering. See Part 1, Part 2, Part 3 and Part 4 of this […]