Sponges & Sponge Daubers are one of those inexpensive craft items that you can’t do without. I reach for them quite a bit. You can create scenery, give your images depth, give your project the vintage look and so much more.
The first thing I do when I get a pack of sponges, which by the way they come 3 in a pack, is cut each one in four equal parts. So out of your 3 sponges, you can get 12 smaller sponges. Here’s why I do that . . . I have a sponge for each of the ink colors. This prevents your ink pads from getting discolored by another ink color especially when you use a dark color on a light color ink. Another way to prevent this is to also wipe your sponge on paper a couple of times to remove the excess color before placing it on the lighter ink pad. I find it easier to have a sponge for each color.
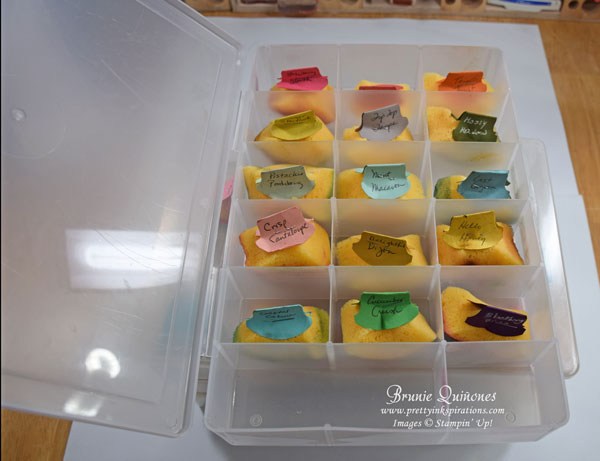
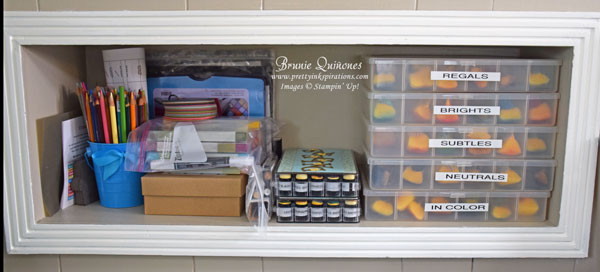
I bought an inexpensive jewelry case at one of the craft stores and placed a sponge in its own section. I used my Label Punch (retired) and made tabs for each one, folded it in half, wrote the name of each color on both sides, and then stapled it to the sponge. That helps to identify them because looking at the bottom of the inked sponge doesn’t always help you. The Decorative Label punch, or a circle punch works just as well to make a tab handle or anything you have in your craft supplies to make one.
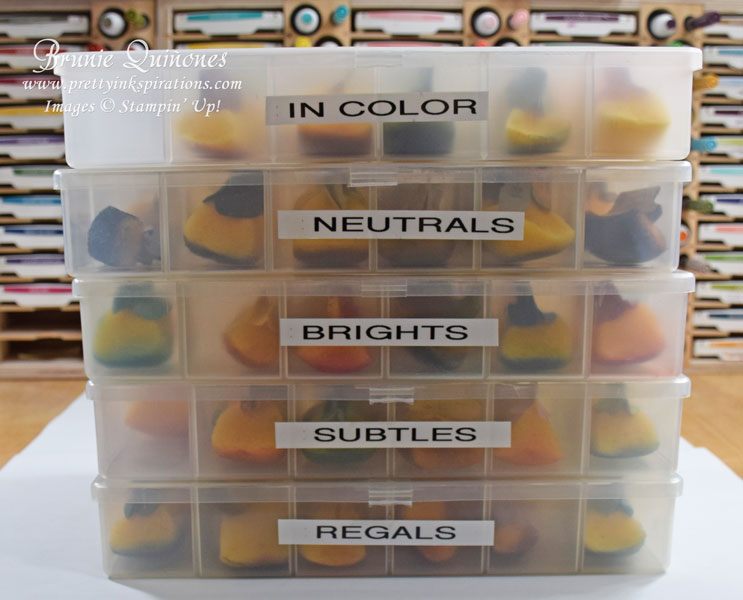
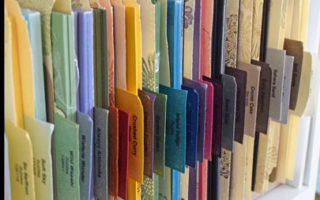
I also separate my sponges by collection – In Colors, Neutrals, Regals, Subtles, Brights. This case has 17 compartments. For some of the colors, I have 2 of the same color in a section because I’ve needed extra ones for classes and they fit perfectly. You may find something else that fits your organization style better and that’s okay, too.
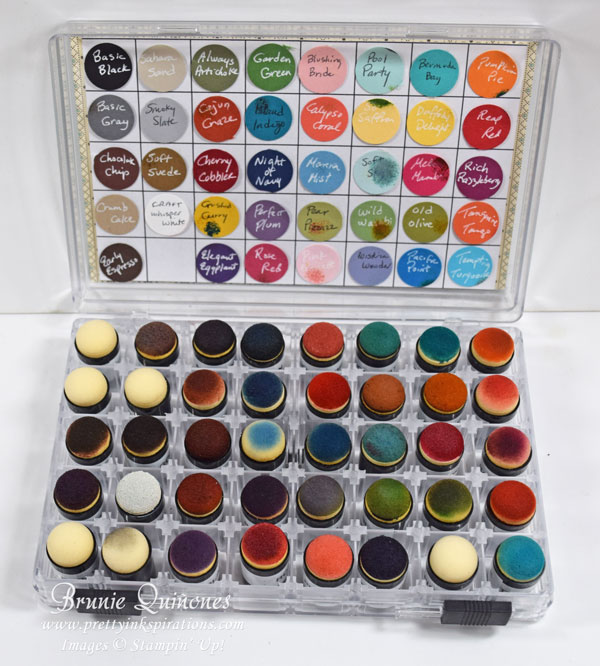
My Sponge Daubers are just as important as my sponges. They are round with the sponge on top and have an opening for you to put your finger in. This helps keep your fingers clean. I purchased a small case several years ago that a friend found while attending one of her scrapbook events (thank you, Linda!) and knew I would love it so she contacted me and sent me a picture. I immediately said yes and bought two of them. I keep my 4 ink collections in one and my In Colors and some retired colors in the other case. The case has 40 compartments (8 across and 5 rows down). and has sliding locks which prevents it from opening. I made my own chart but recently replaced it with a chart I downloaded from Scrapbook.com which fits right inside the case. The case they have on their website is a different brand but looks similar to mine.
I punched out cardstock with my 3/4″ circle punch, labeled each one and lightly adhered it to the chart – this allows me to remove and add another color if I need to. Actually, I need to replace a couple of them that accidently got smudged when I was switching them to the new chart . . .no big hurry, they just look loved. I matched the punched cardstock with the location of each dauber. I made a label with my Brothers label machine and adhered it around the dauber, which helps to identify them. You may think I’m overdoing it, but if I can decorate something that looks plain, then I do it – I just like to make them pretty.
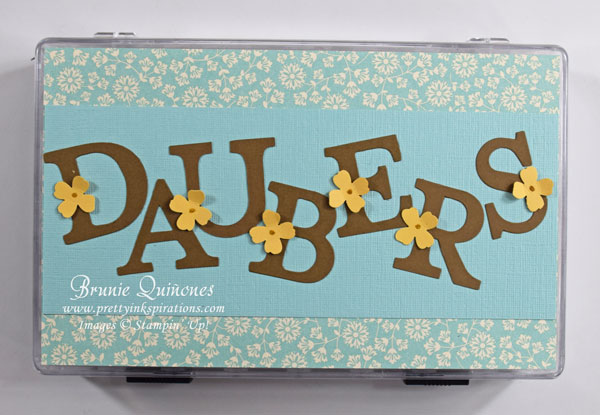
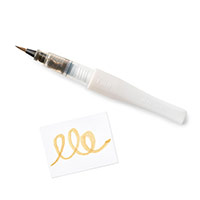
I used retired patterned paper that matches with my craft room and die cut the letters with some retired alphabet dies (can’t remember the name right now). I then used the Itty Bitty Accents Punch Pack for my flowers adhered with glue dots and used a bit of the Gold Wink of Stella for the center of the flowers.
Along with my sponges and sponge daubers, I store all my coloring mediums (chalks, pencils, crayons, retired blendabilities) in one area right next to my desk where I have my inkpads.
Hopefully, I’ve given you some ideas on how to organize your sponges. If you organized yours in a different way, leave me a comment and let me know how.
Thanks for stopping by . . . till next time . . . Brunie
Click here to go shopping for supplies. Please use host code B64DF2ED. Everyone who places an order will receive a thank you card from me.
