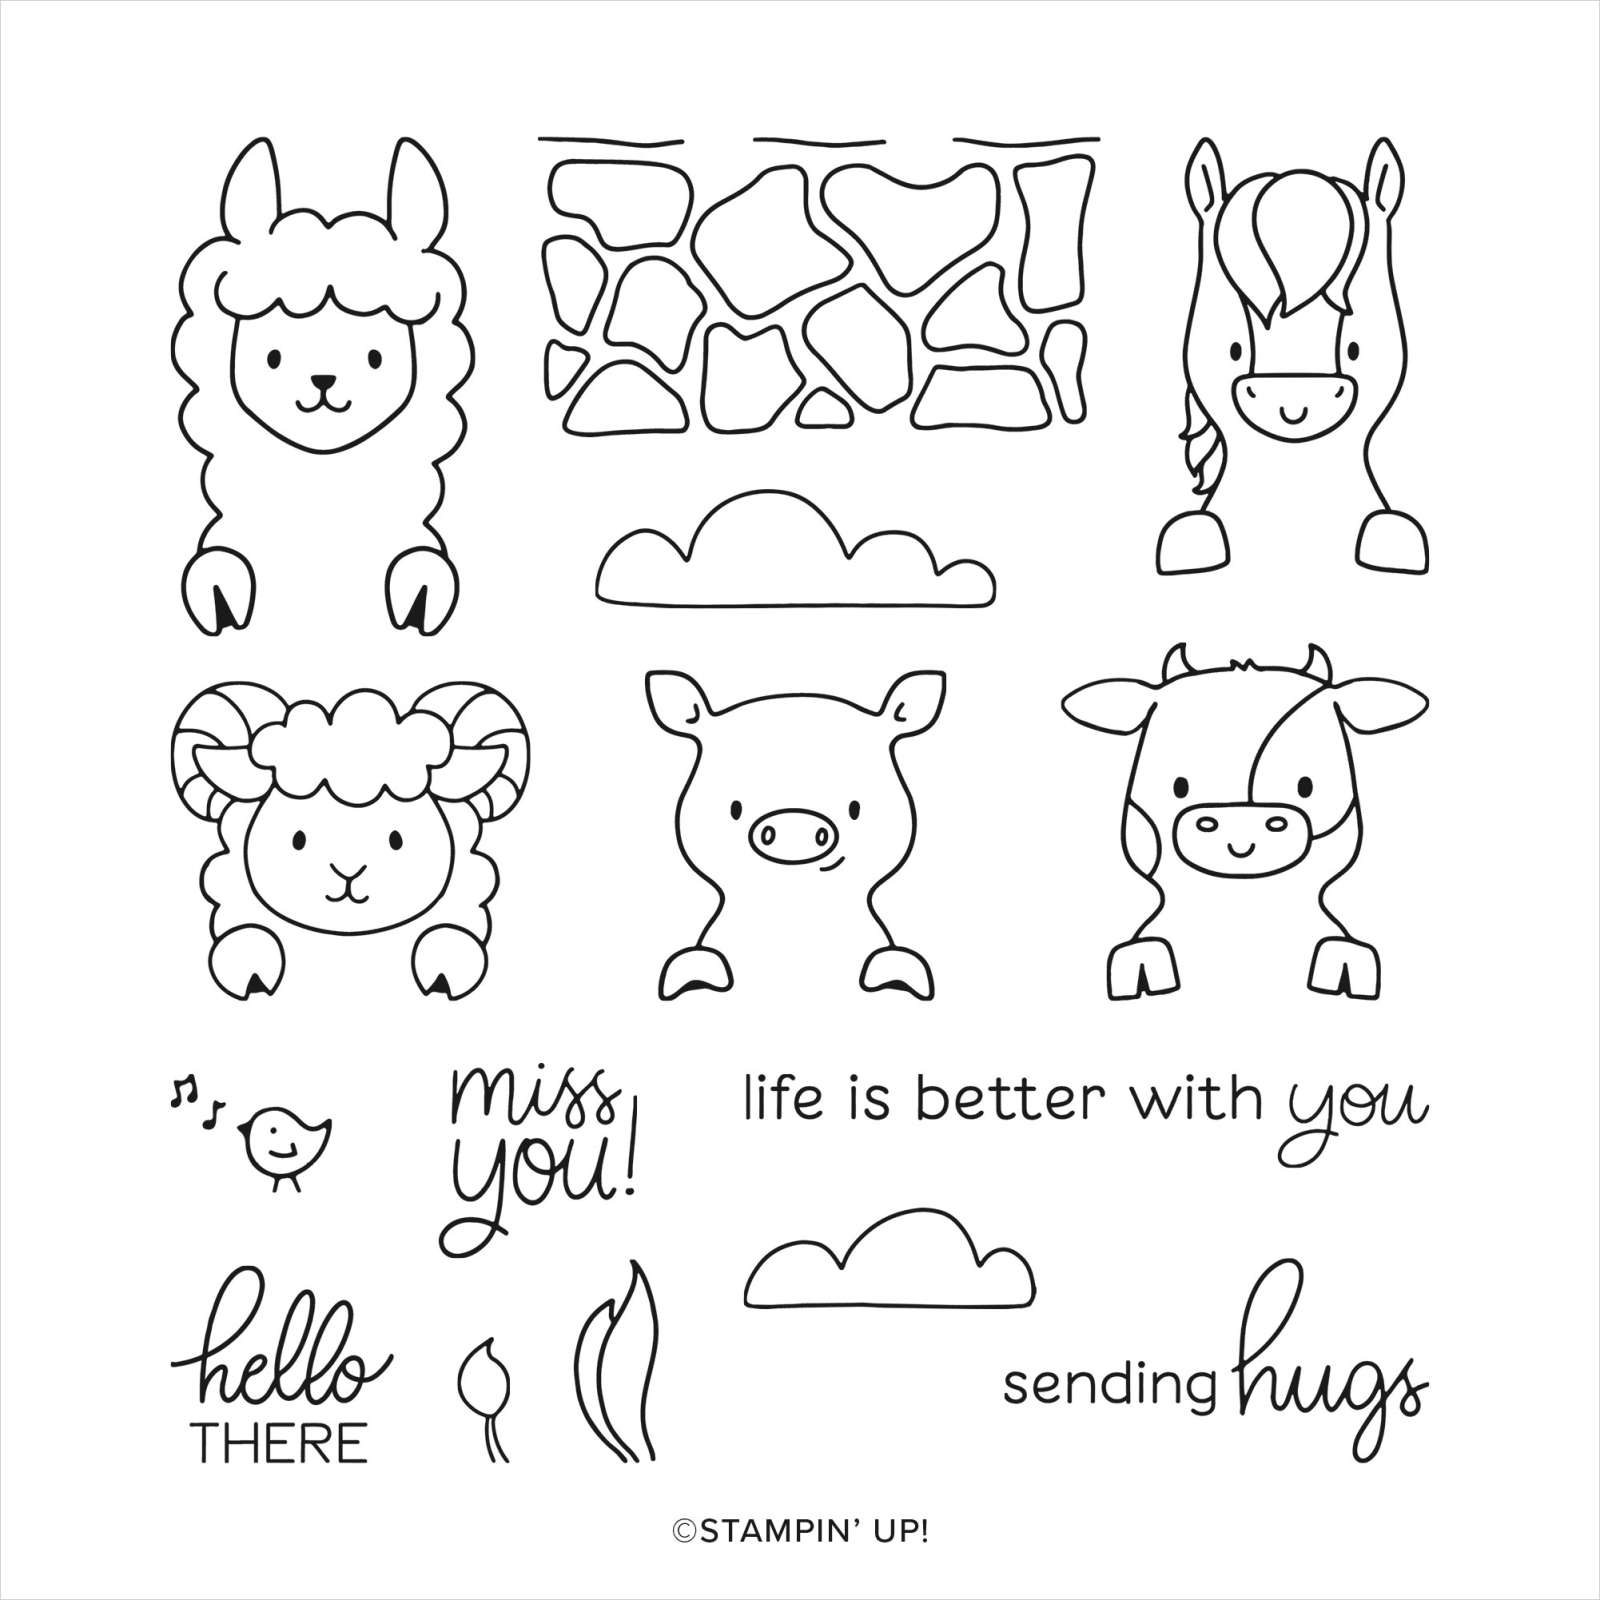
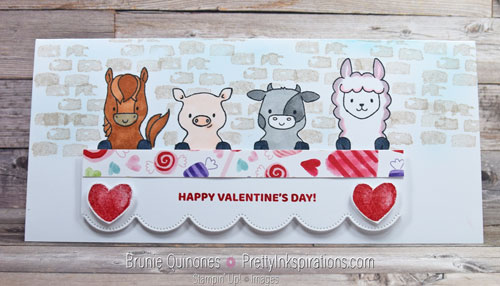
Today’s Valentine’s Day card features the characters from the Peekaboo Farms stamp set. Although this set has a stone wall image that I could’ve stamped in front of the animals, I chose to go with a Valentine’s Day ‘banner’.
When you’re making cards – does your card come out exactly the way you envisioned it when you’re finished? Do you go through one, two or more revisions before you’re satisfied?
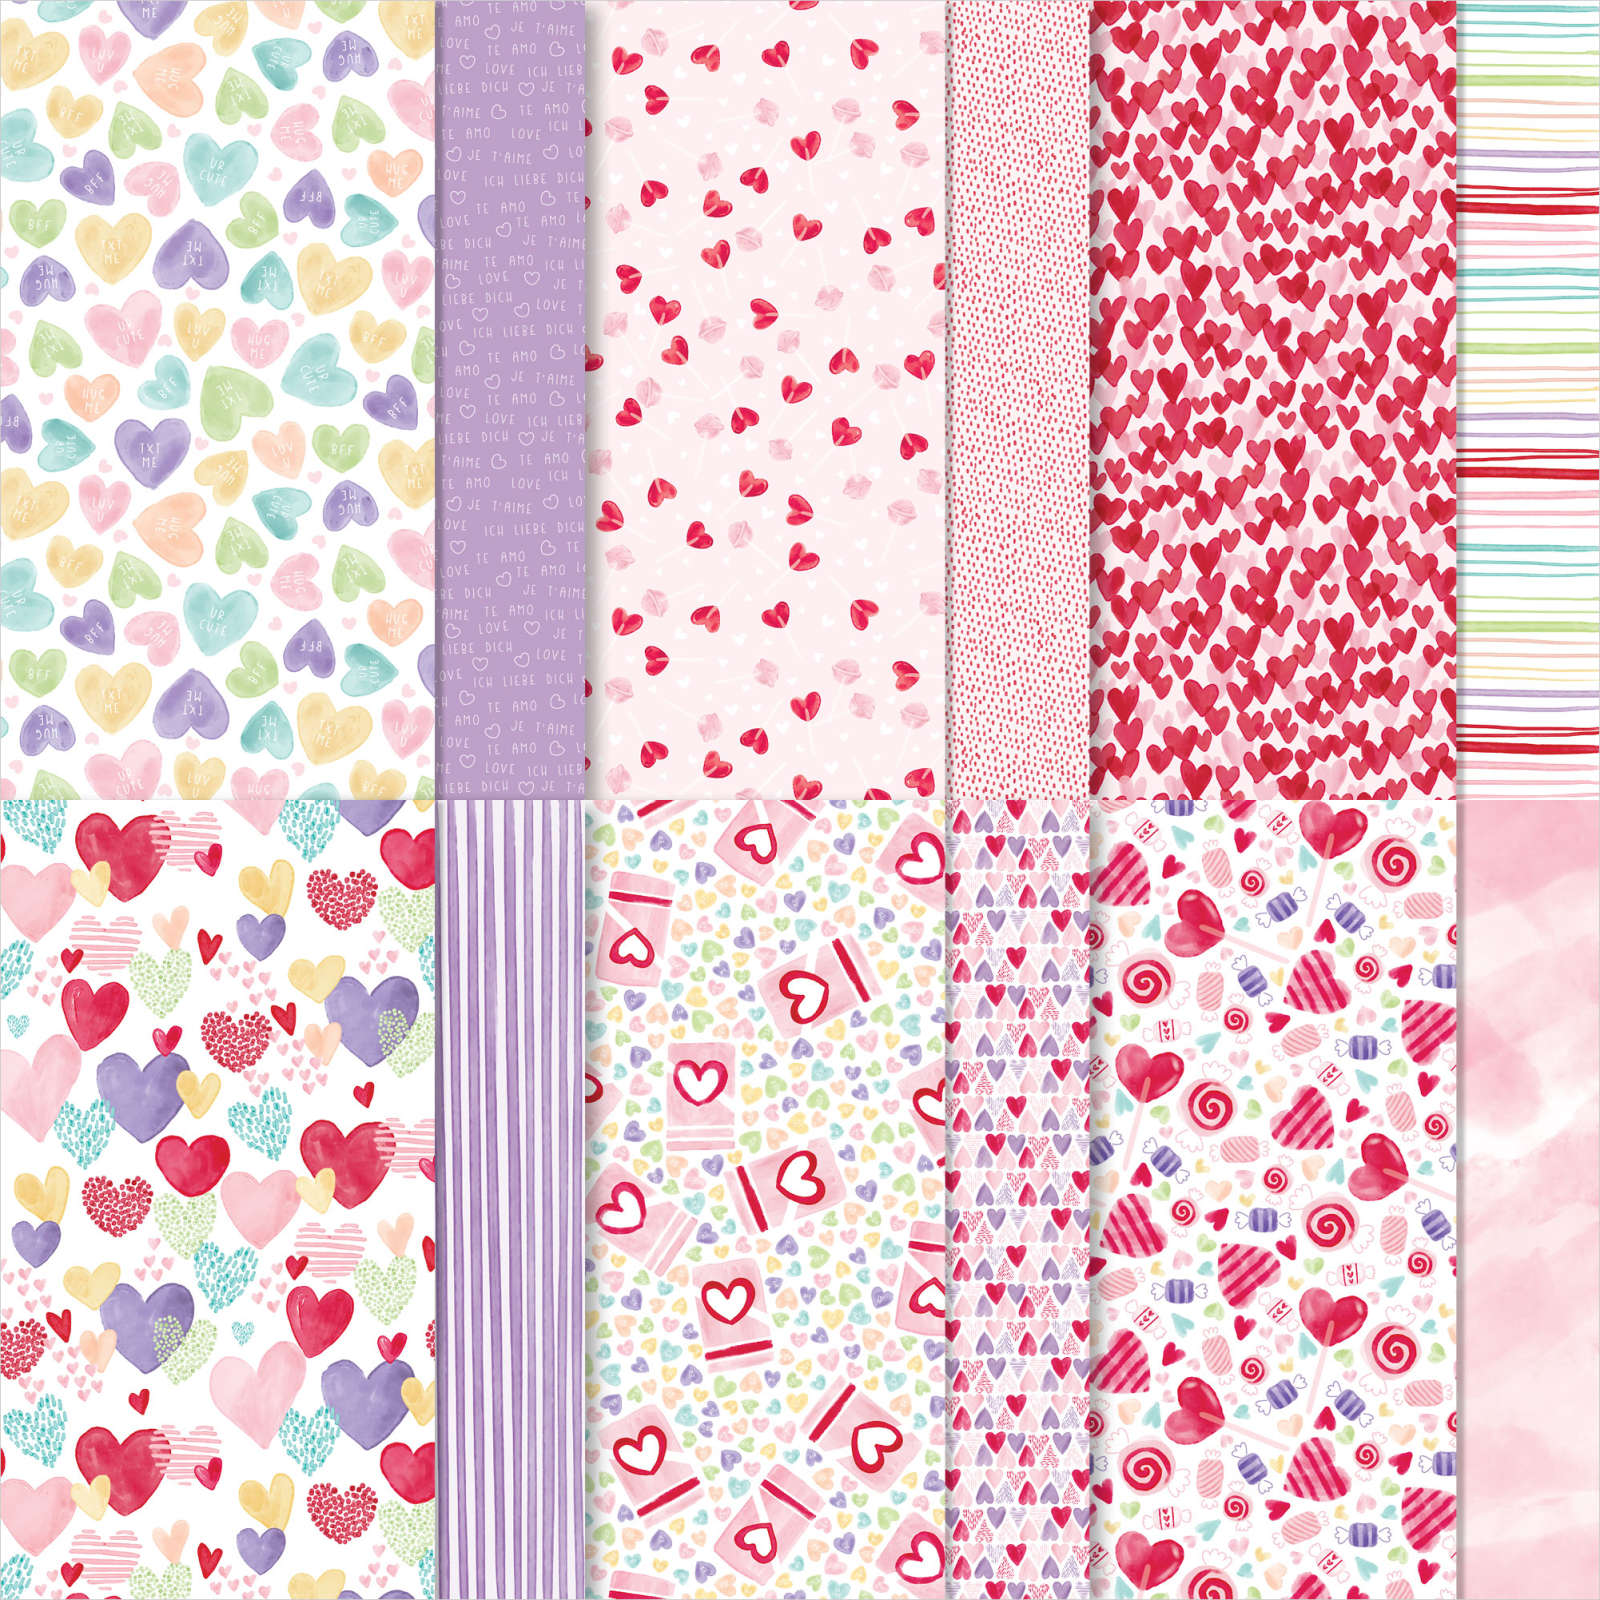
This card went through a couple of revisions. On my first attempt, the Sweet Talk DSP was at the bottom below the scallops. I was not happy with it so I moved it to where it is now. In order to accommodate the DSP, I die cut a larger scallop cardstock with more room at the top.
Second, I did not have a brick wall for the backdrop. I was going for a sky scene, but when I added Balmy Blue ink to the top, I found it was too plain. Hence, the blue ink on the bricks. I chose to leave it there instead of redoing it. Mostly, because I was done with it – just wanted to finish it.
Card Details
- This is a slim line card so it gave me more room to stamp the animals. There was room for one more animal, but since I was sending this card to my 4 grandchildren, I kept it as is.
- For my brick backdrop, I used the image from the Welcoming Windows set. I masked the animals to stamp the brick.
- A 5-1/4″ x 2-1/4″ strip of Sweet Talk DSP was attached to the top of the scalloped cardstock.
- The scallop is from the Scalloped Contours Dies.
- Two hearts from the Sweet Conversation were stamped with Real Red ink, fussy cut and popped with a Stampin’ Dimensional.
- Valentine’s Day sentiment was stamped with Real Red ink.
- The scalloped cardstock was also popped with Stampin’ Dimensionals
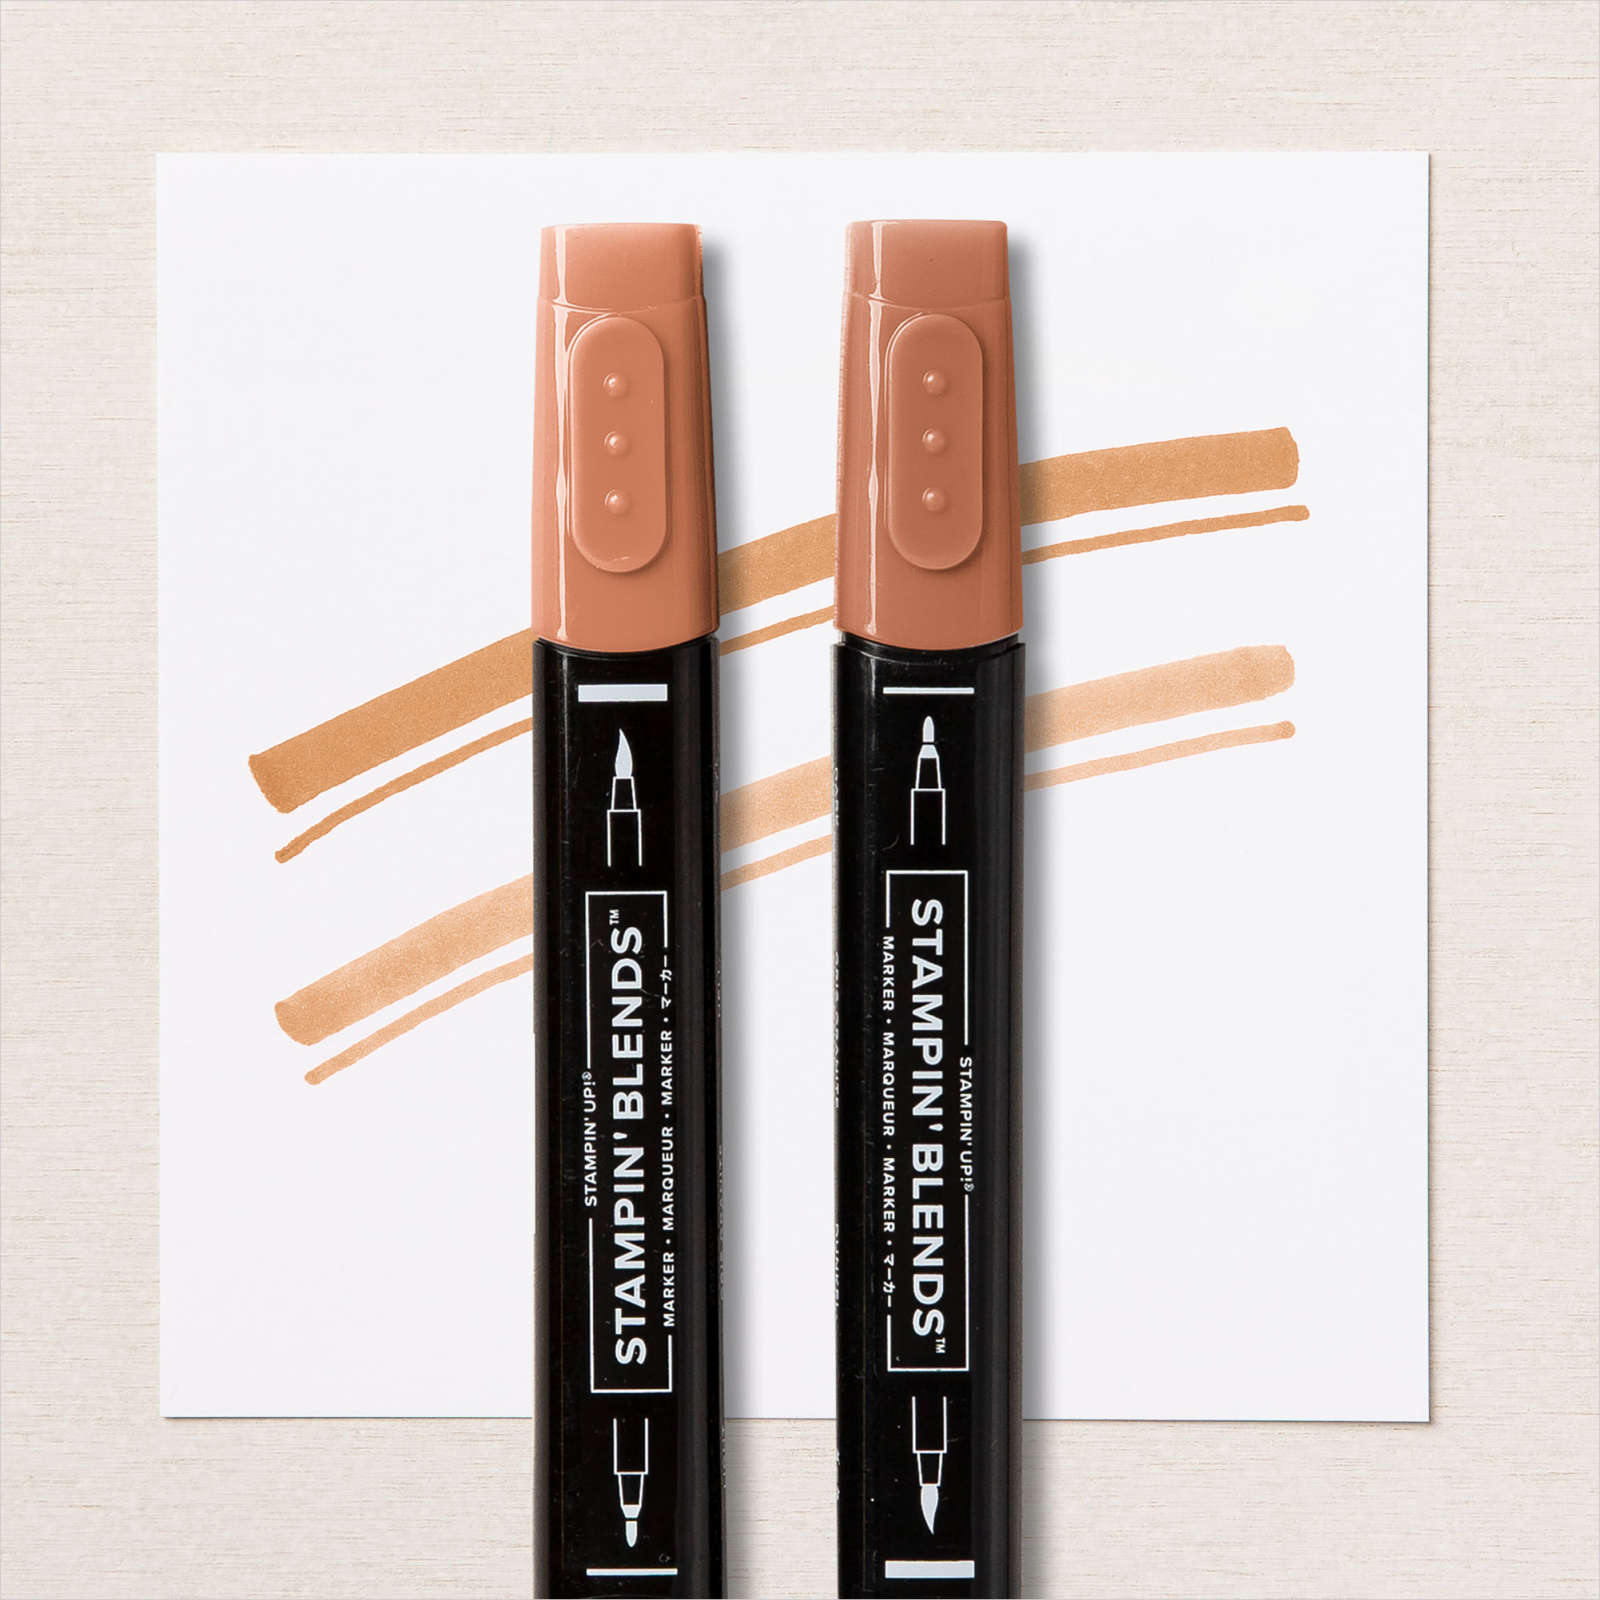
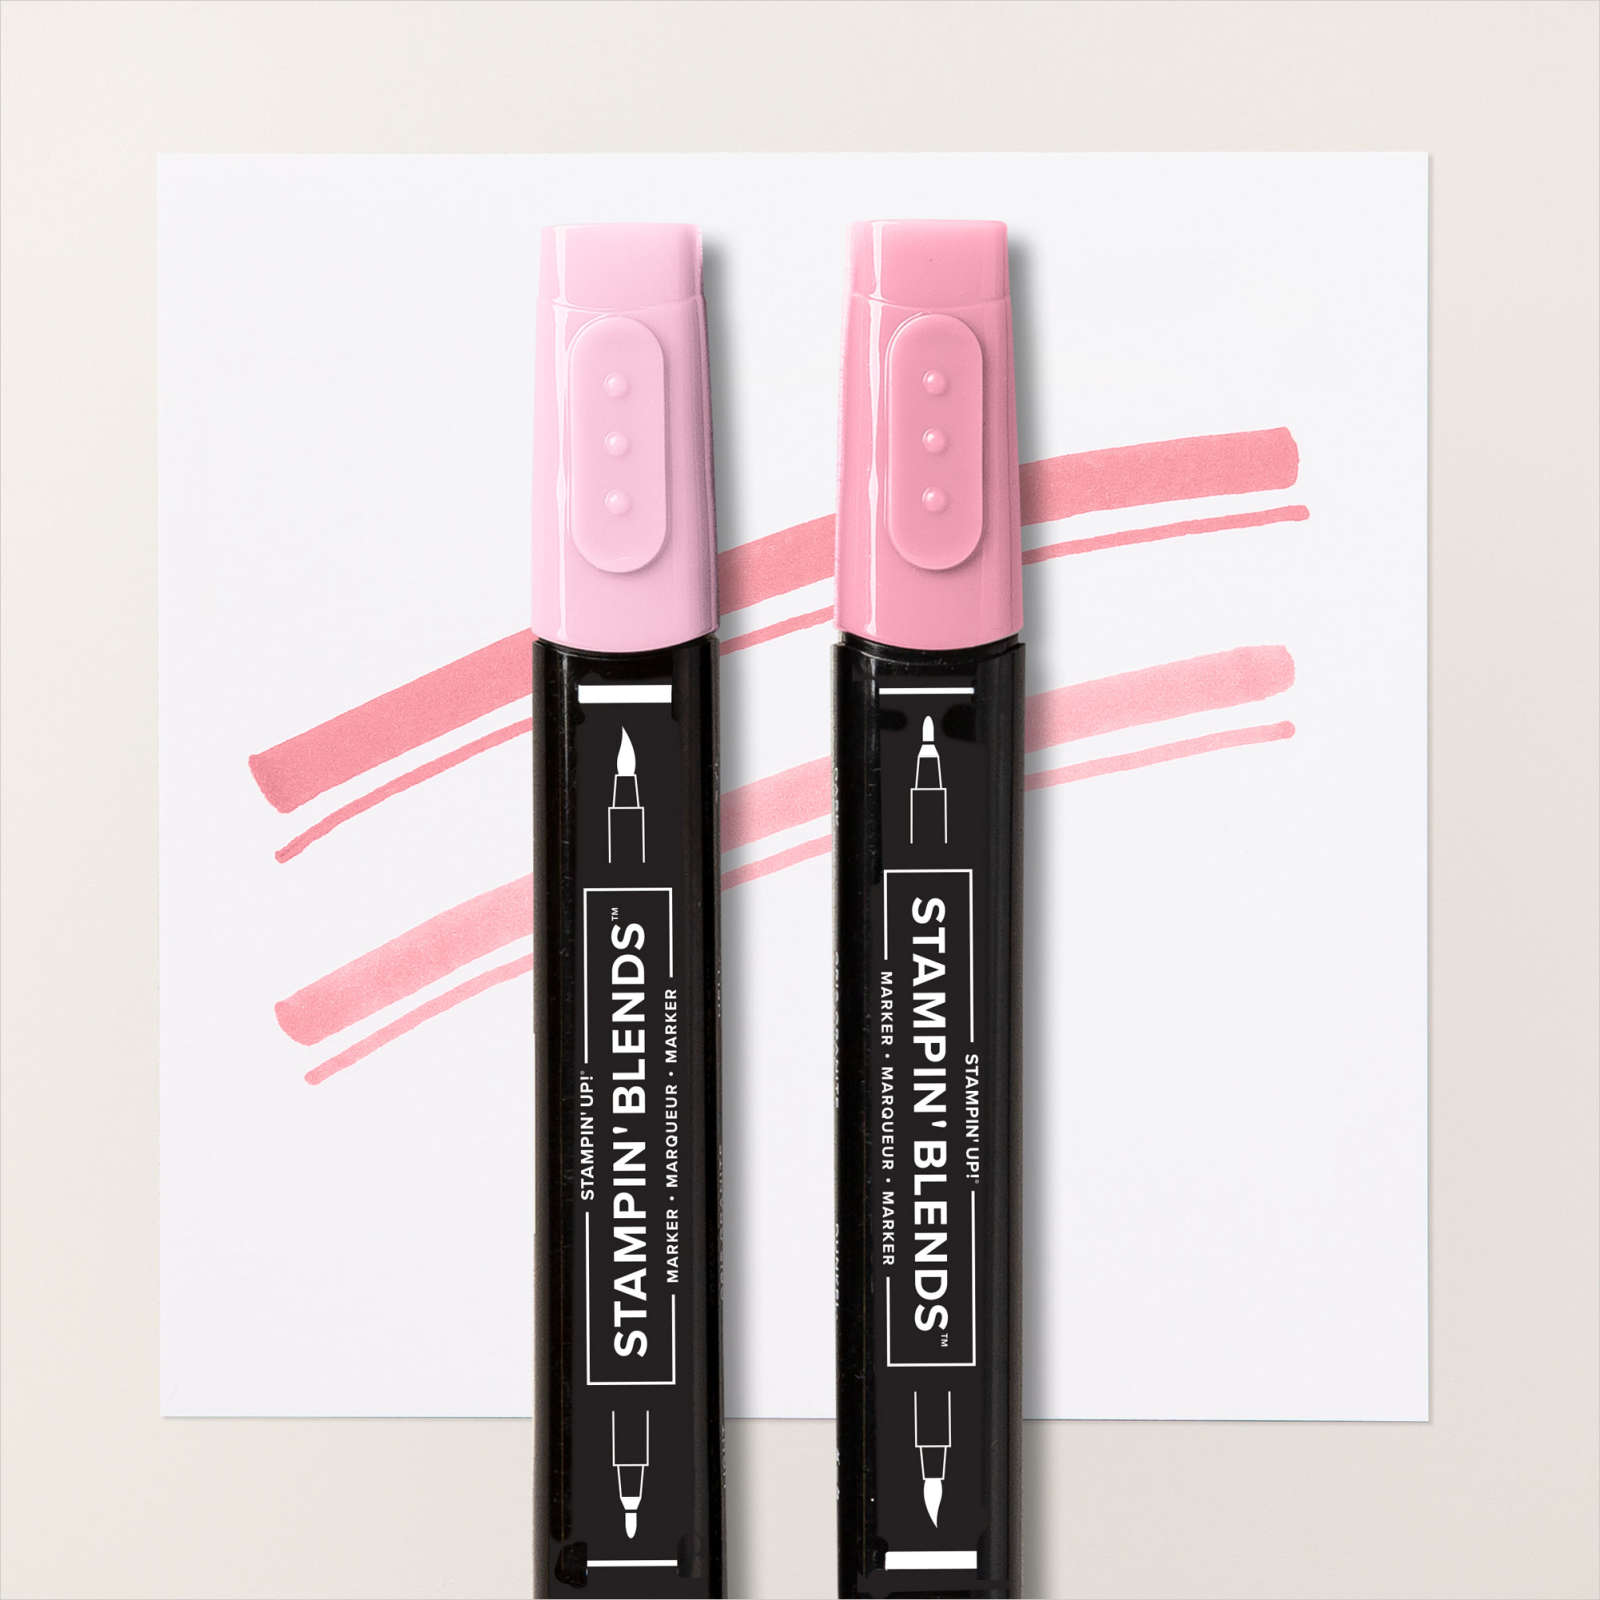
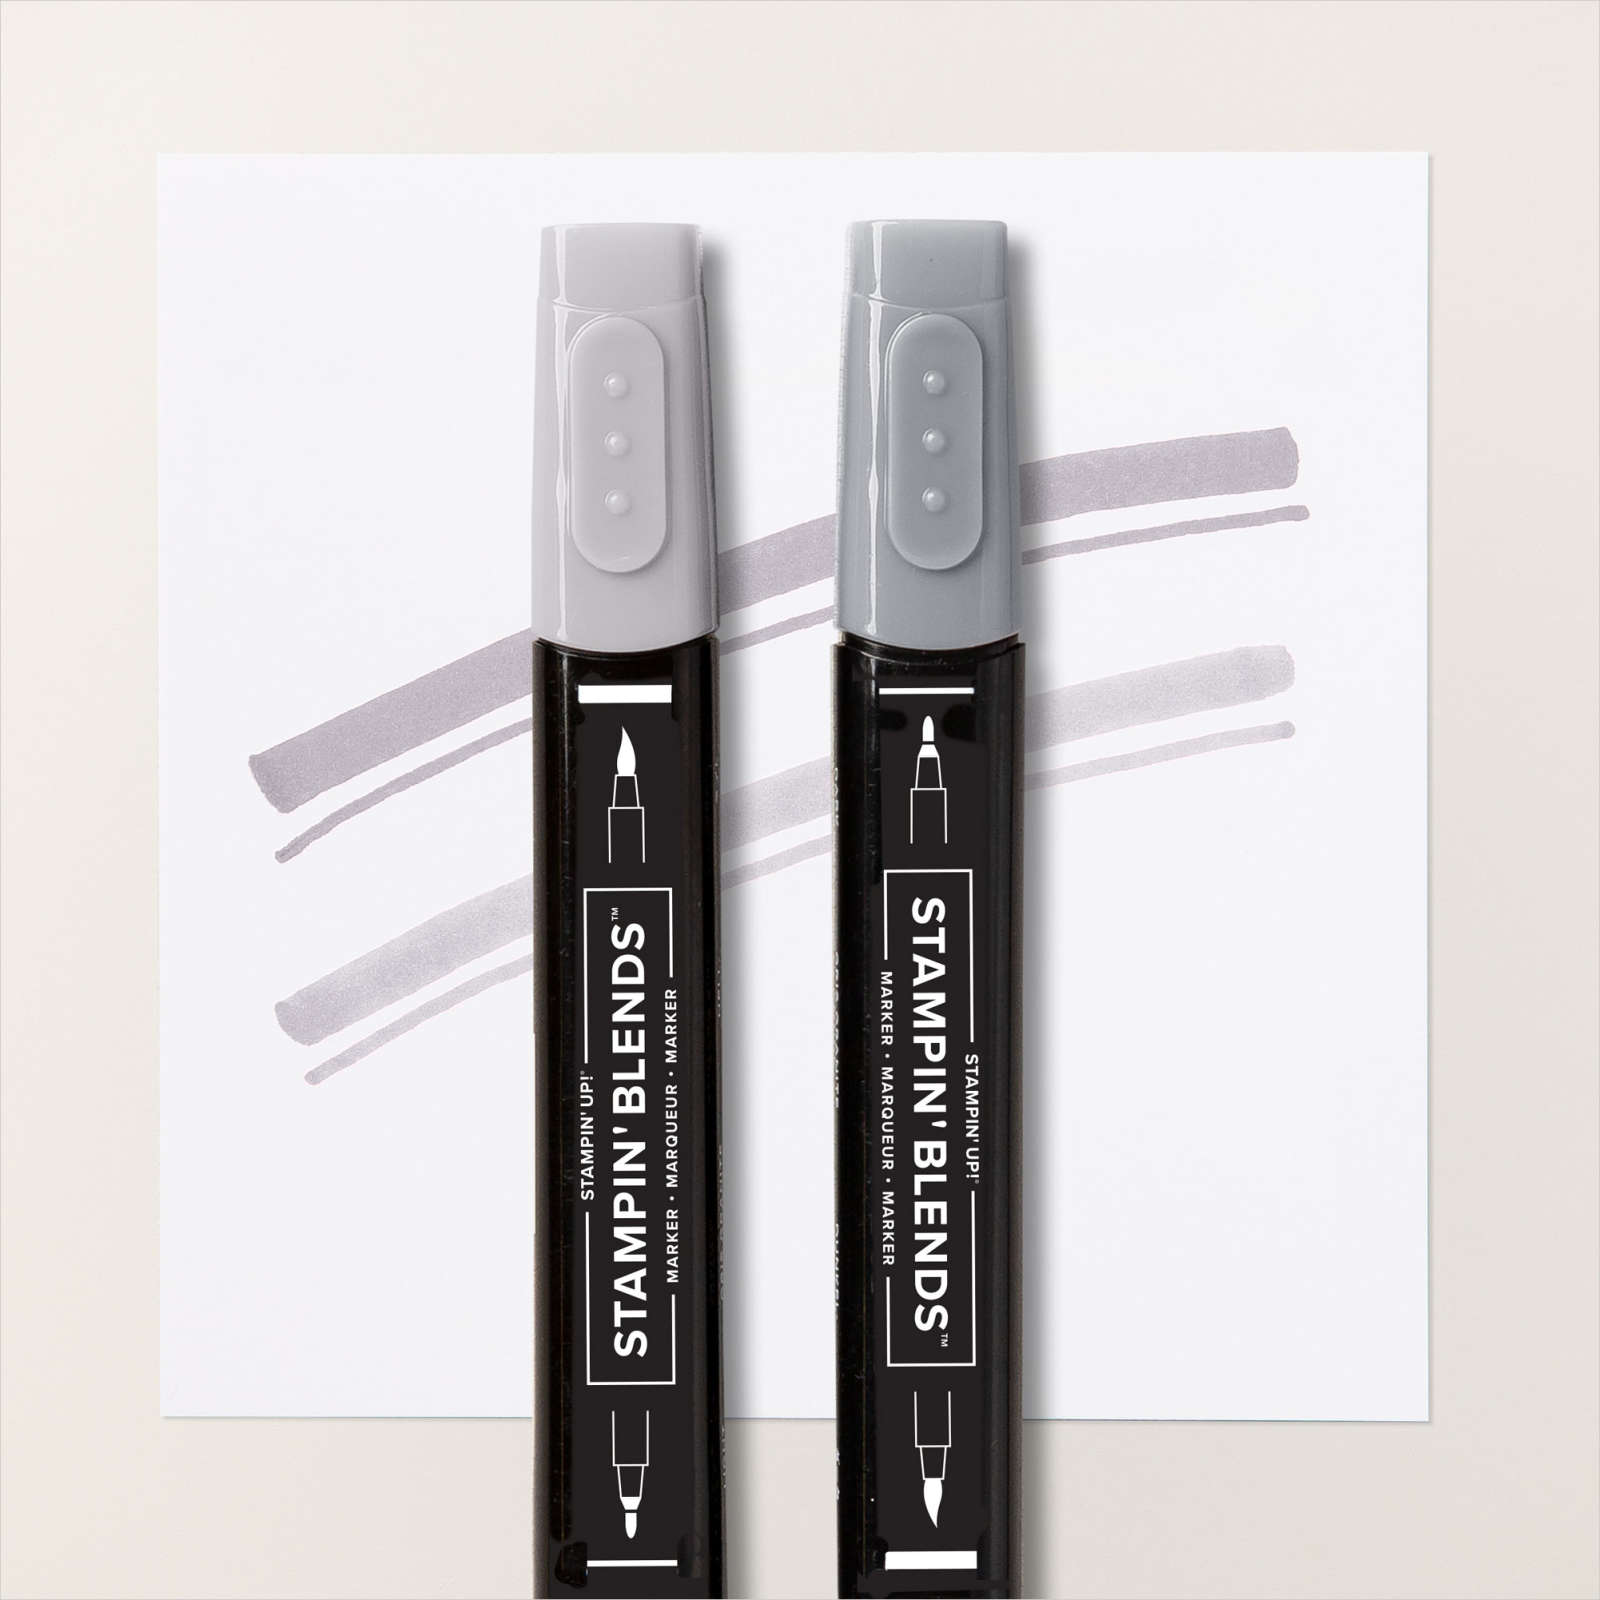
- The animals were colored with Stampin’ Blends – Cinnamon Cider, Smoky Slate, Basic Black, Petal Pink, Flirty Flamingo and Crumb Cake.
See more Valentine’s Day cards here and here. I have one more to share with you.
Thanks for stopping by . . . till next time . . .

Card Supplies
Below are the Stampin’ Up! supplies used for today’s project. If you would like to purchase any of the supplies, click on the Add All to Cart button below it will take you to my online store. From there, you can see your cart and remove or add any products you like.

