Happy Day!
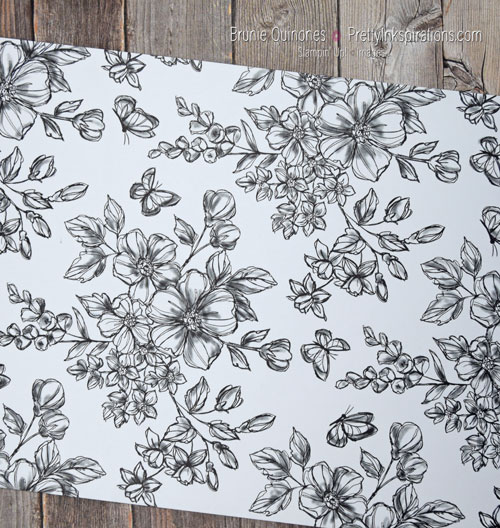
Today’s focus is on watercolor pencils and Perfectly Penciled DSP. If you missed yesterday’s post on watercoloring embossing resist, check it out here.
There is so much to learn about watercoloring with pencils – the laying of color, blending, water control, making a color chart, etc. Although I am not an expert, that doesn’t stop me from enjoying coloring with watercolor pencils and other mediums. I continue to get better at it by practicing and you can, too.
How To: Watercoloring With Watercolor Pencils
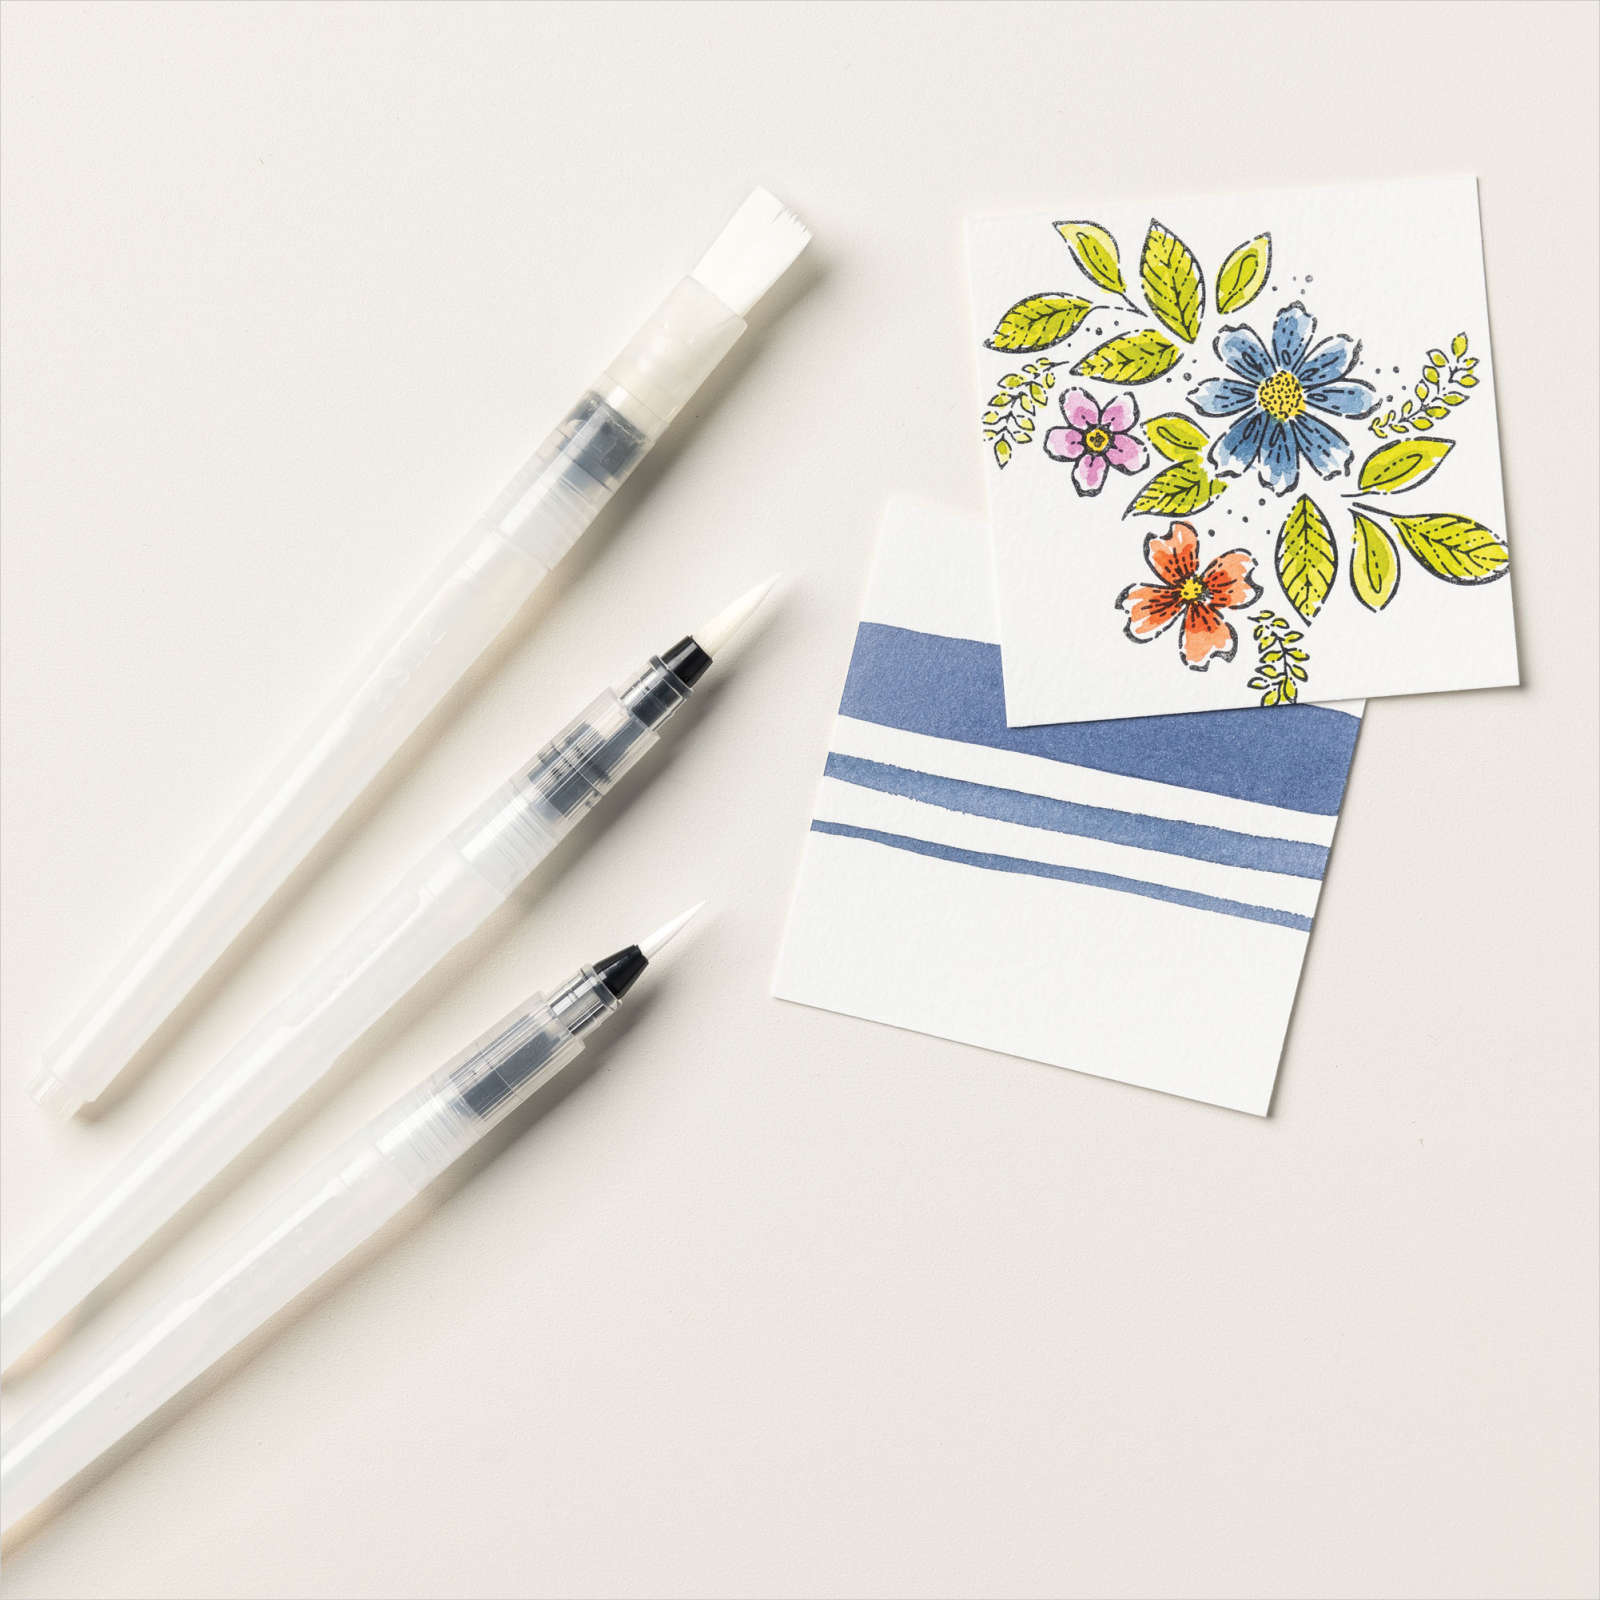
Supplies Needed: Watercolor Pencils, Water Painters, Blender Pens, Watercolor or Shimmery Cardstock
To color with watercolor pencils, you can use water painters or blender pens. The following directions is for using pencils with watercolor paper.
- Lay your color down by scribbling color evenly on your image. Avoid scribbling haphazardly in different directions as sometimes it’s hard to hide the marks.
- You don’t need to scribble the entire image as you’ll be drawing color from the ink you’ve put down.
- With your brush, spread color onto rest of image.
- Blend in one direction – light to dark.
- Always wait for section to dry before adding water to areas that are close so that your colors won’t run.
- More than one color can be used on an image for blending.
- Wait for paper to dry before adding additional color layer.
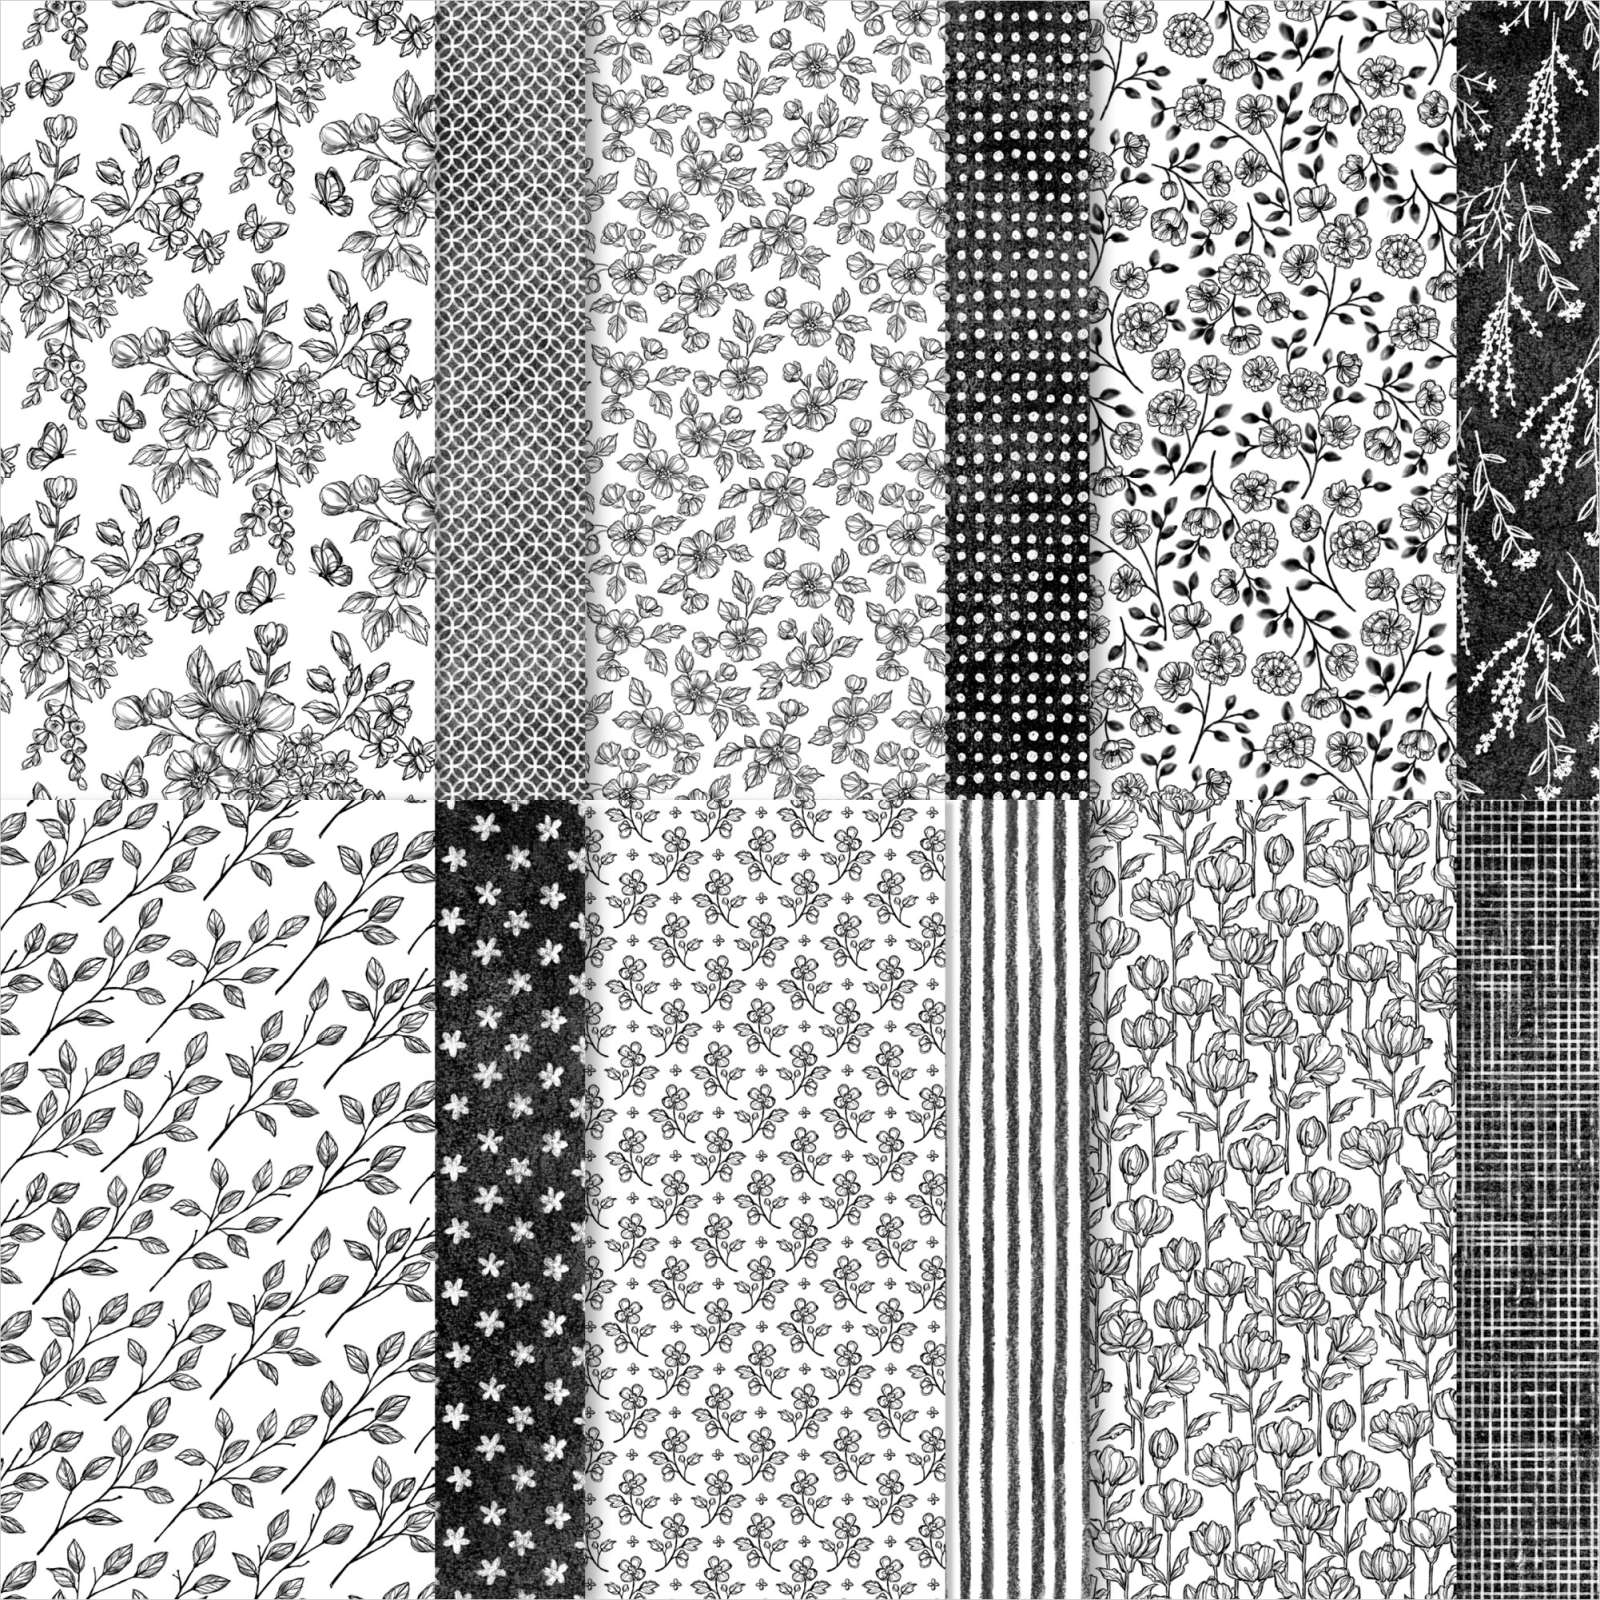
Watercoloring on Perfectly Penciled DSP: Because paper won’t hold water as watercolor paper does, use a blender pen to color your images. Lay some color on edges of image and pull color with blender pen. Add color to shaded areas.
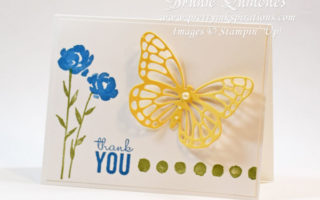
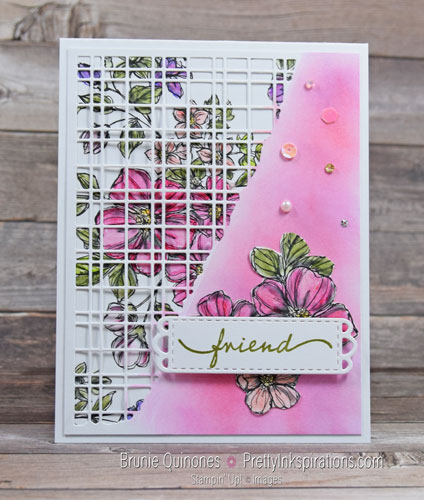
Card Details
I started my project with a 5-1/4″ x 4″ piece of Perfectly Penciled DSP and colored it with watercolor pencils and blender pen.
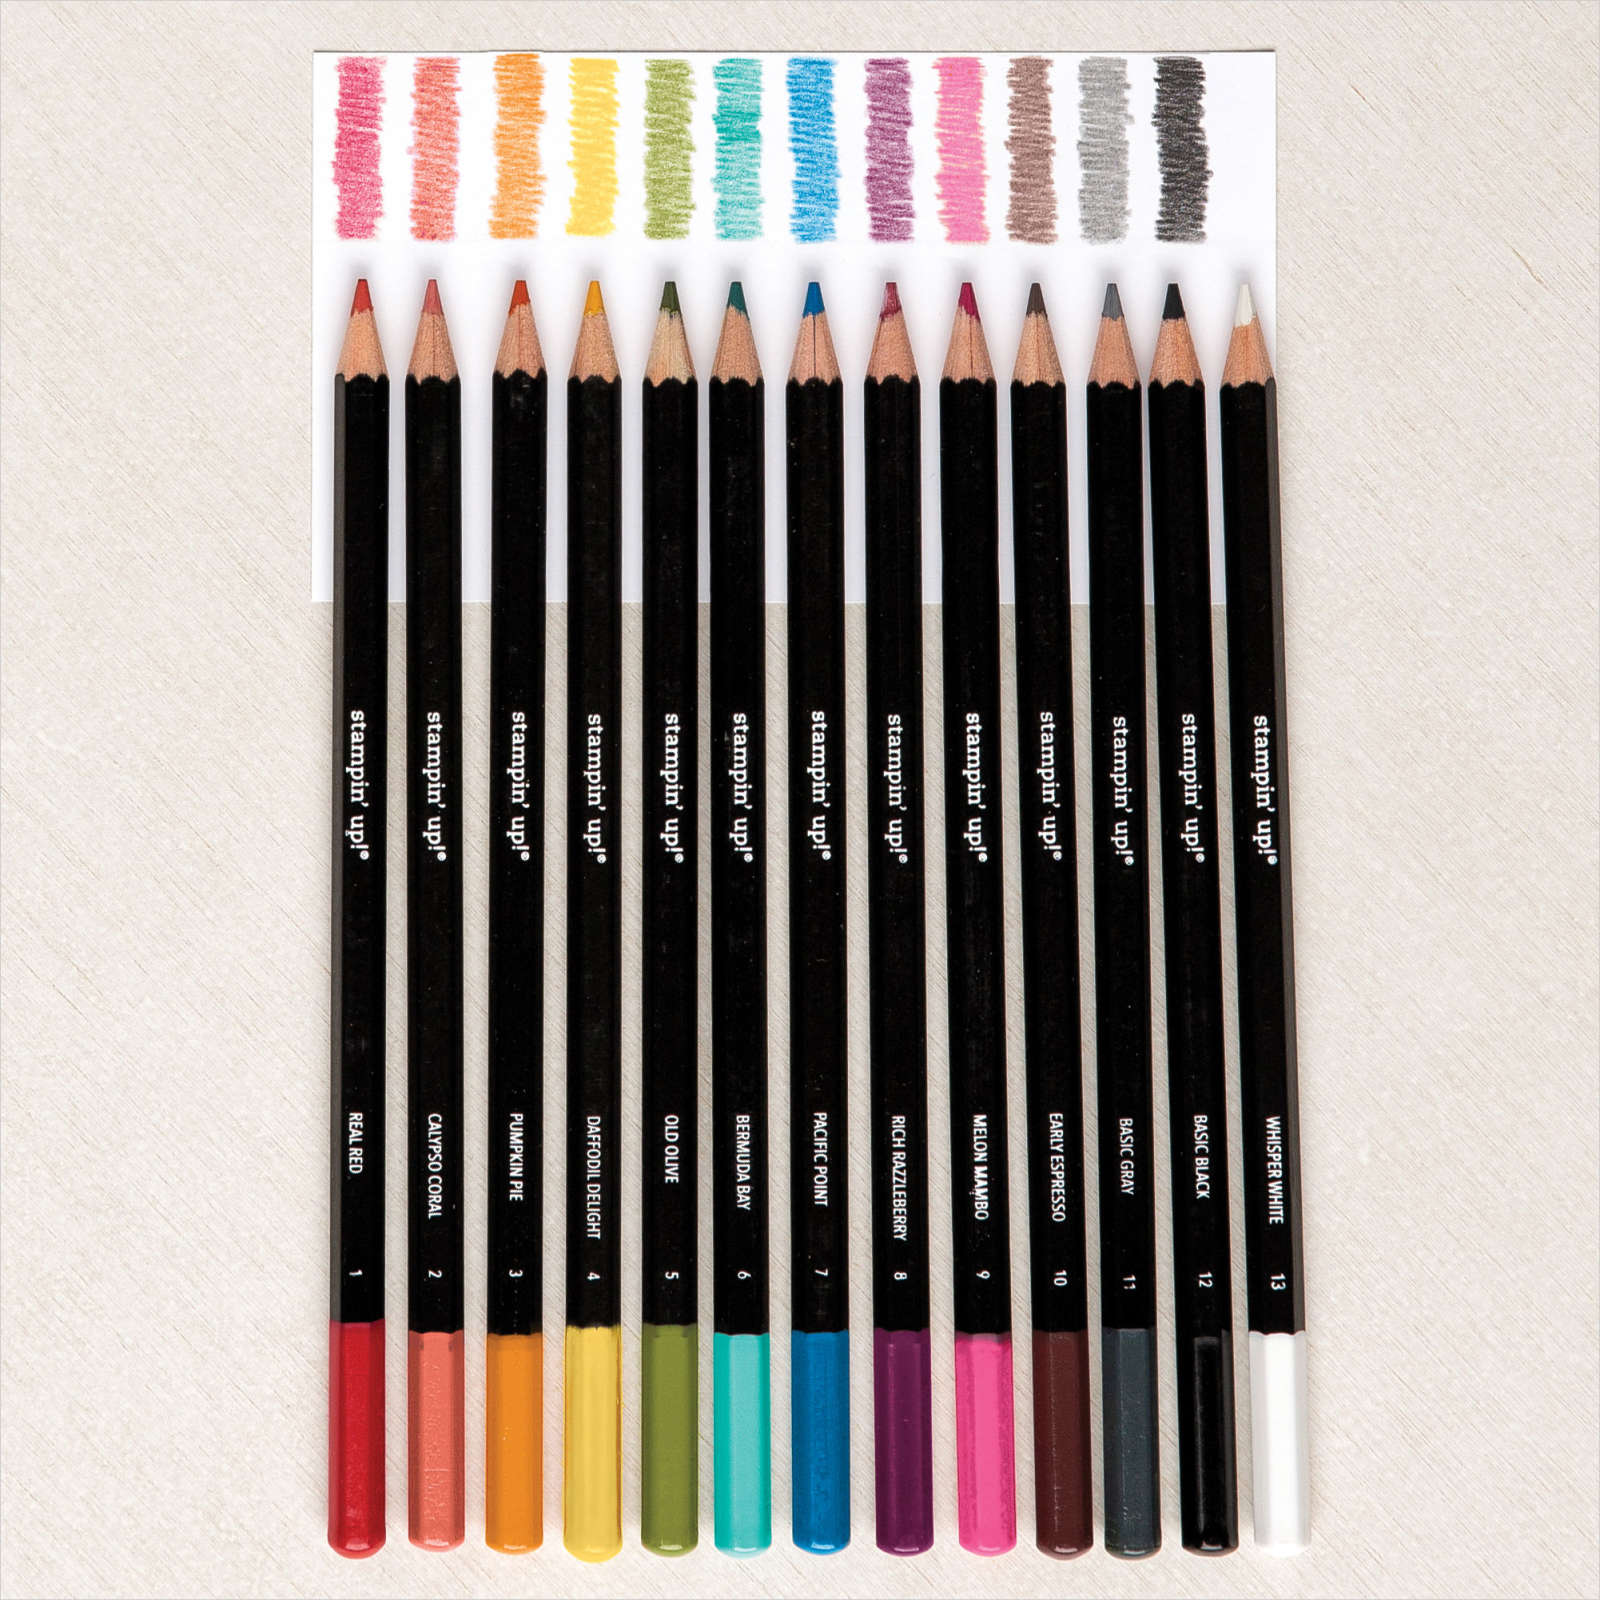
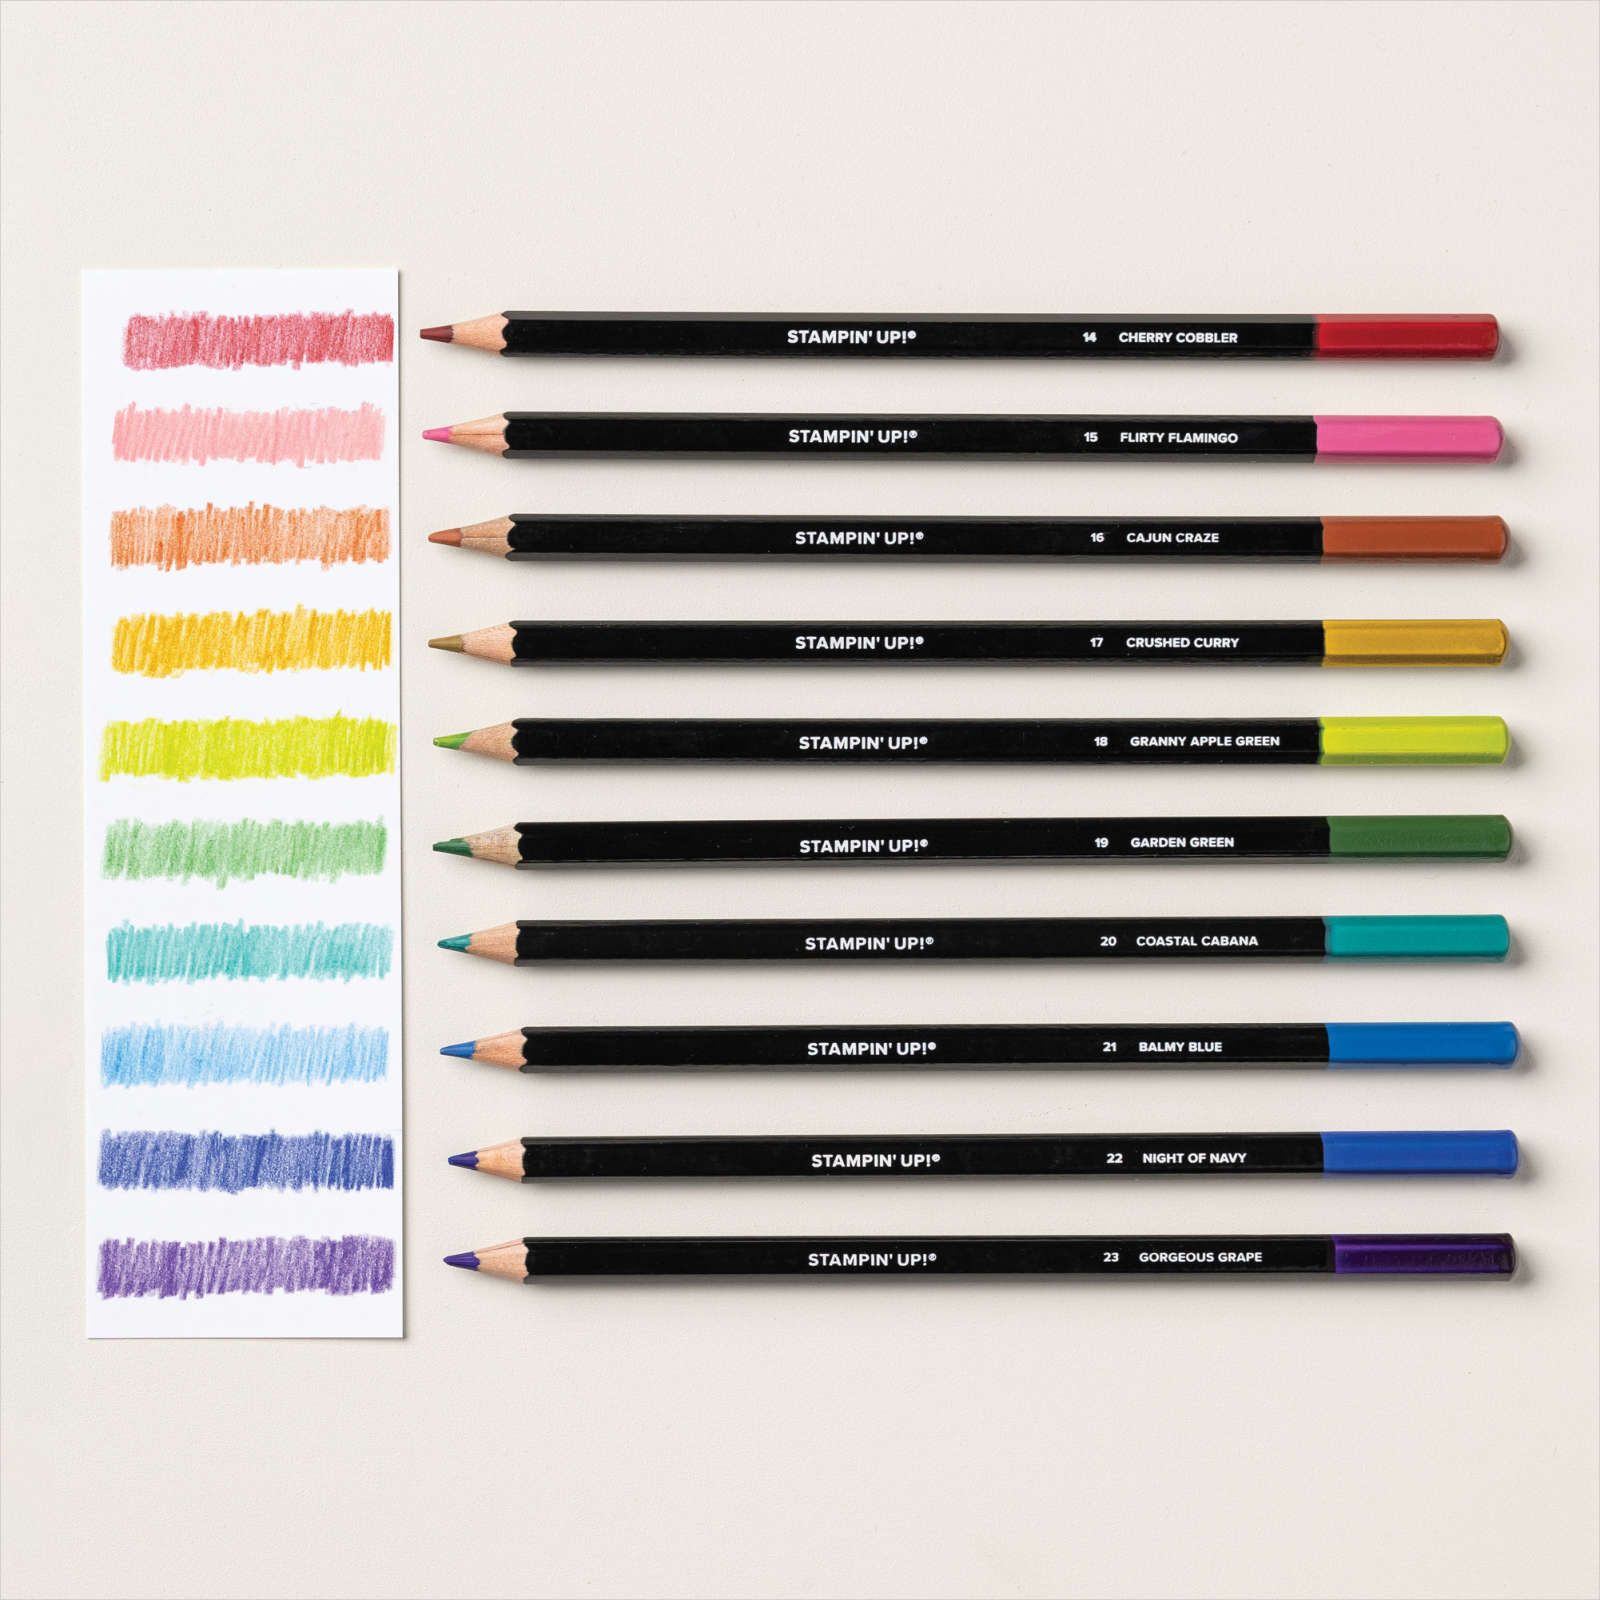
The pencil colors I used were Gorgeous Grape, Granny Apple Green, Flirty Flamingo, Old Olive, Pumpkin Pie, Daffodil Delight and Melon Mambo. After I was done coloring, I adhered it to my card base and placed split card panel on top.
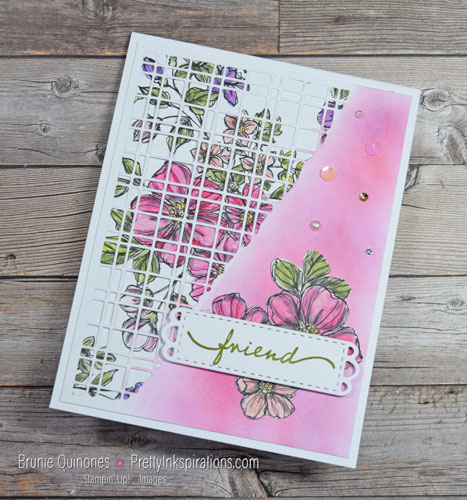
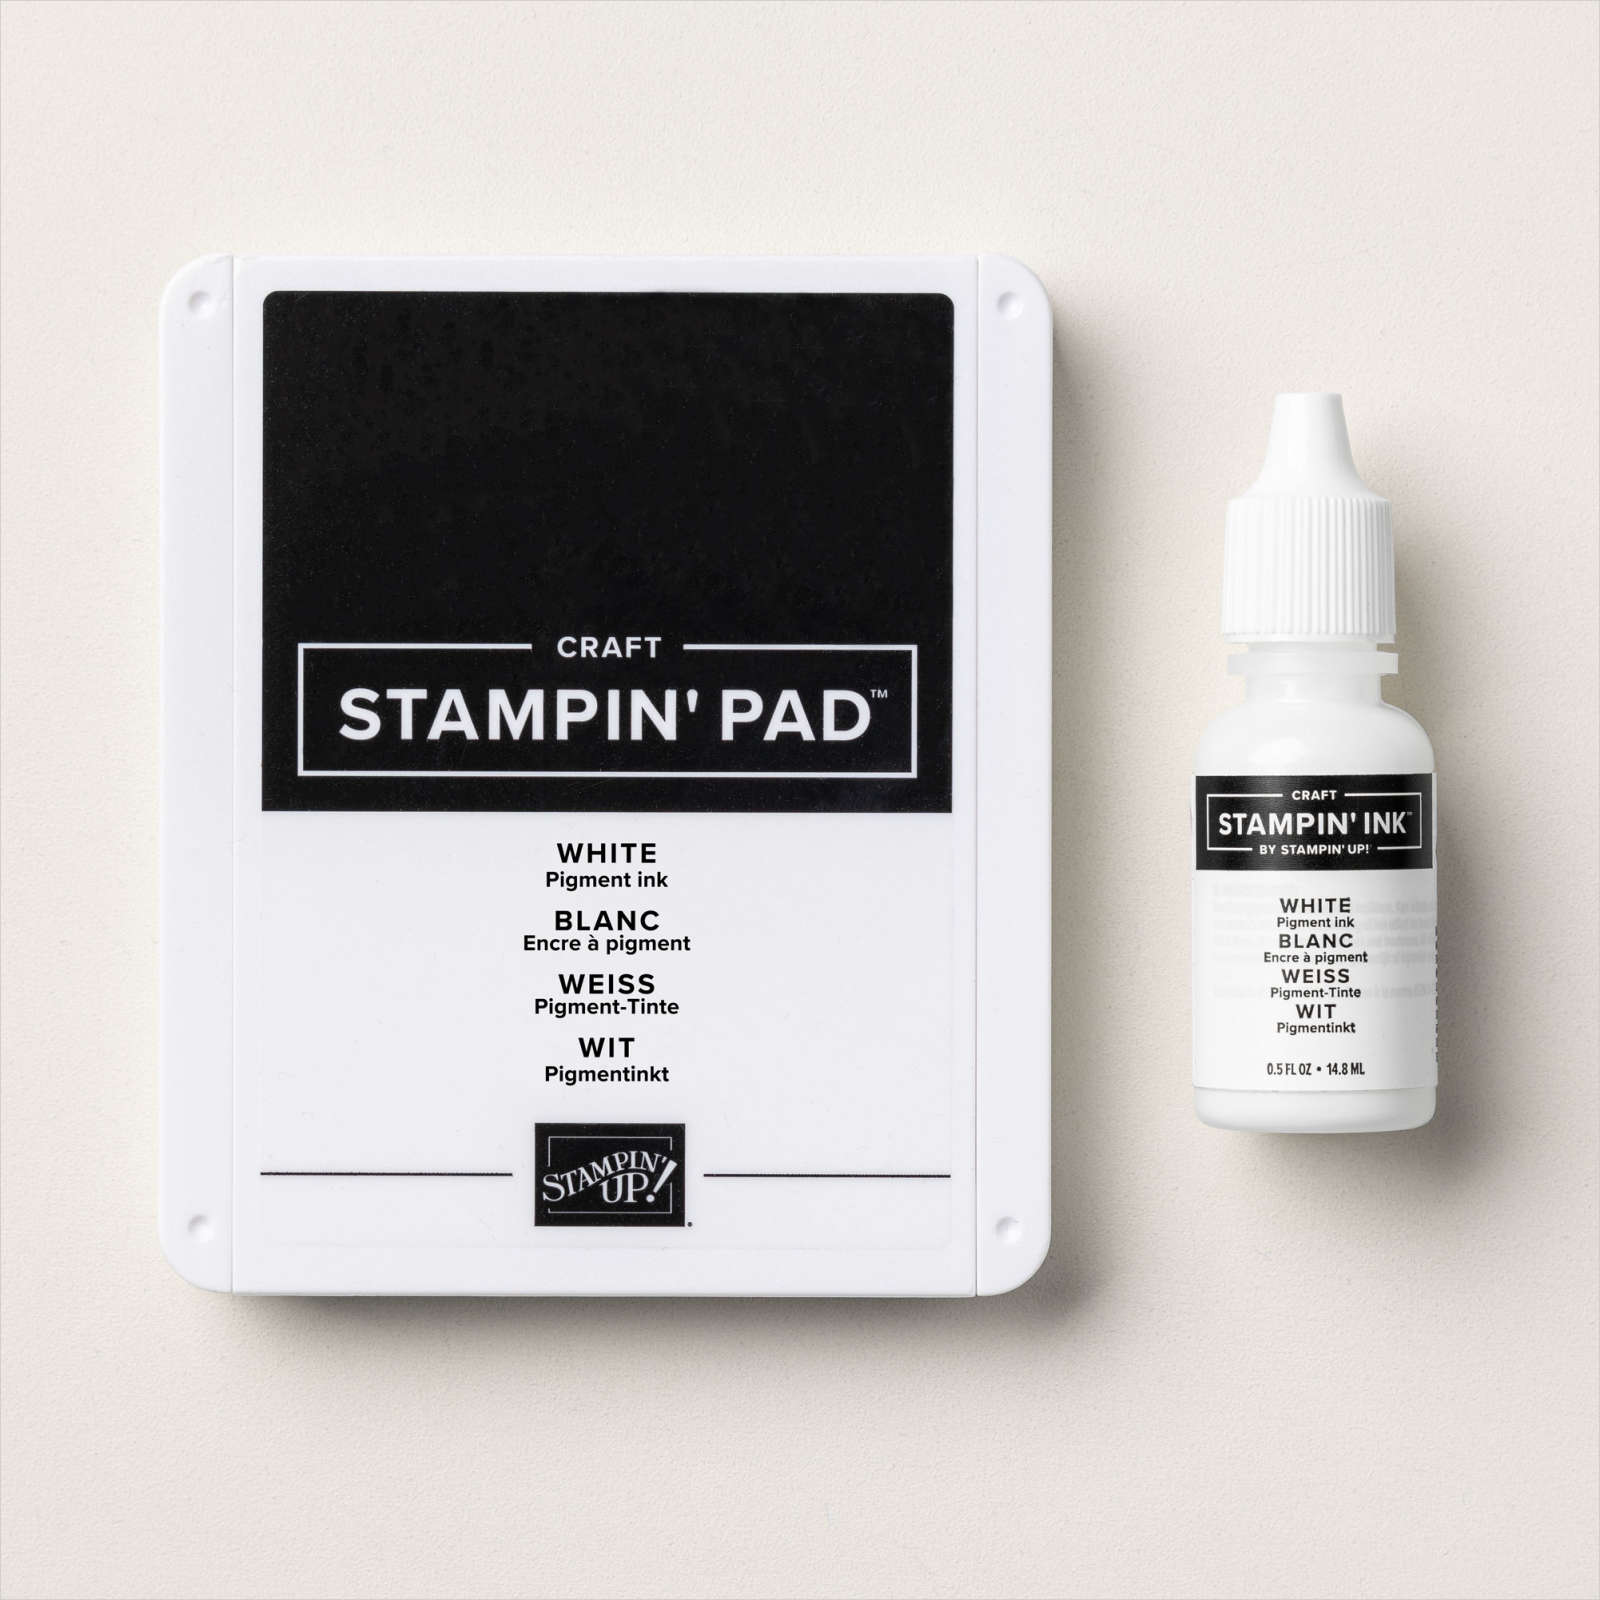
I colored another piece of the patterned paper and fussy cut to add under my sentiment. The colored side of the panel was colored with blending brushes. First I brushed with Melon Mambo, then added Flirty Flamingo and Gorgeous Grape. I wanted a muted blend so I brayered it with White craft ink.
- Card Base – Basic thick white cardstock 4-1/4″ x 11″ scored at 5-1/2″
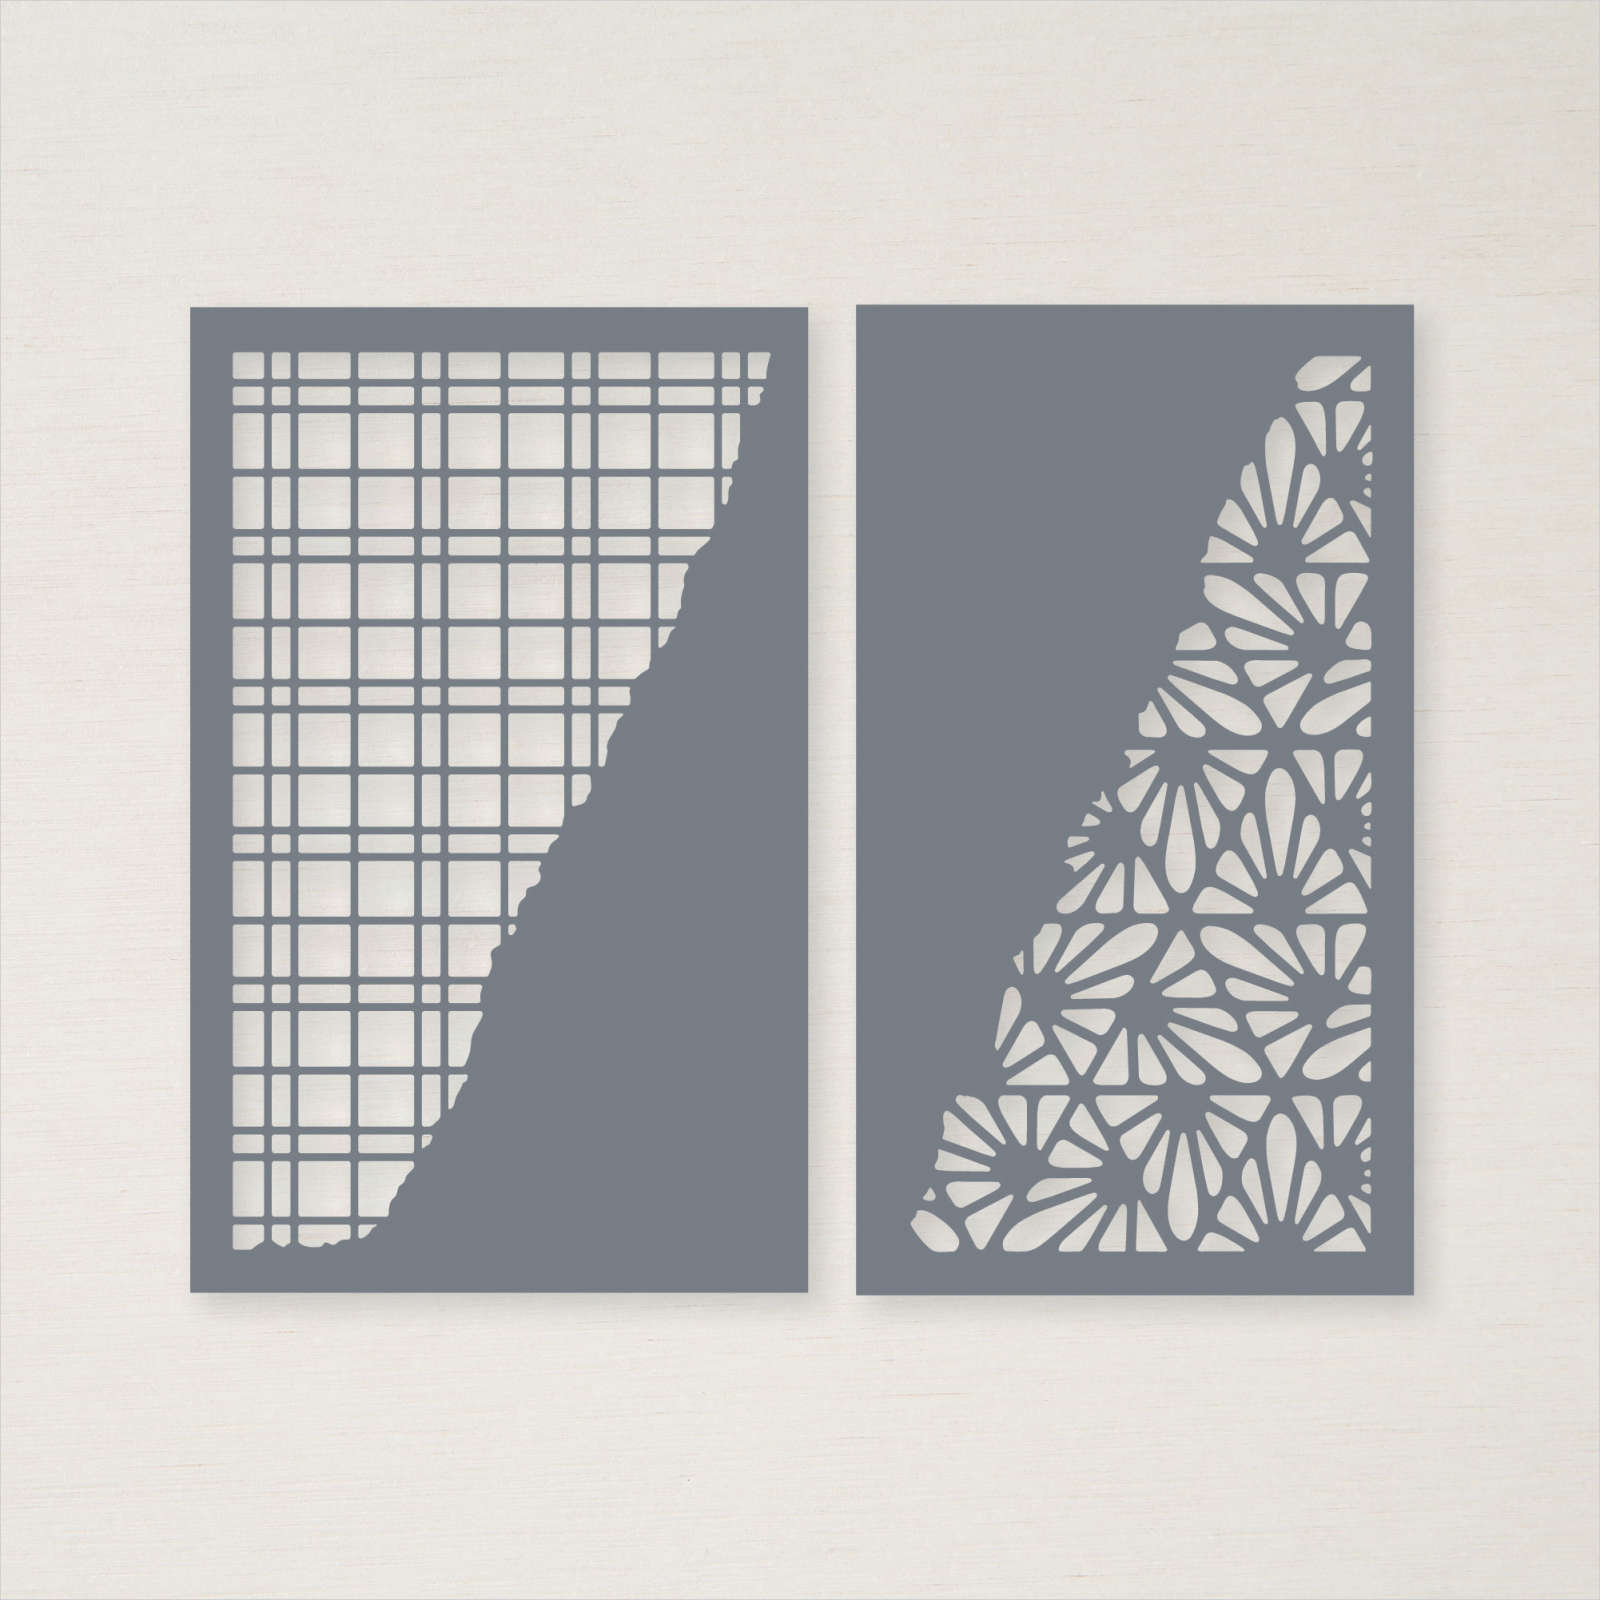
- 5-1/4″ x 4″ white panel die cut with Split Card Die
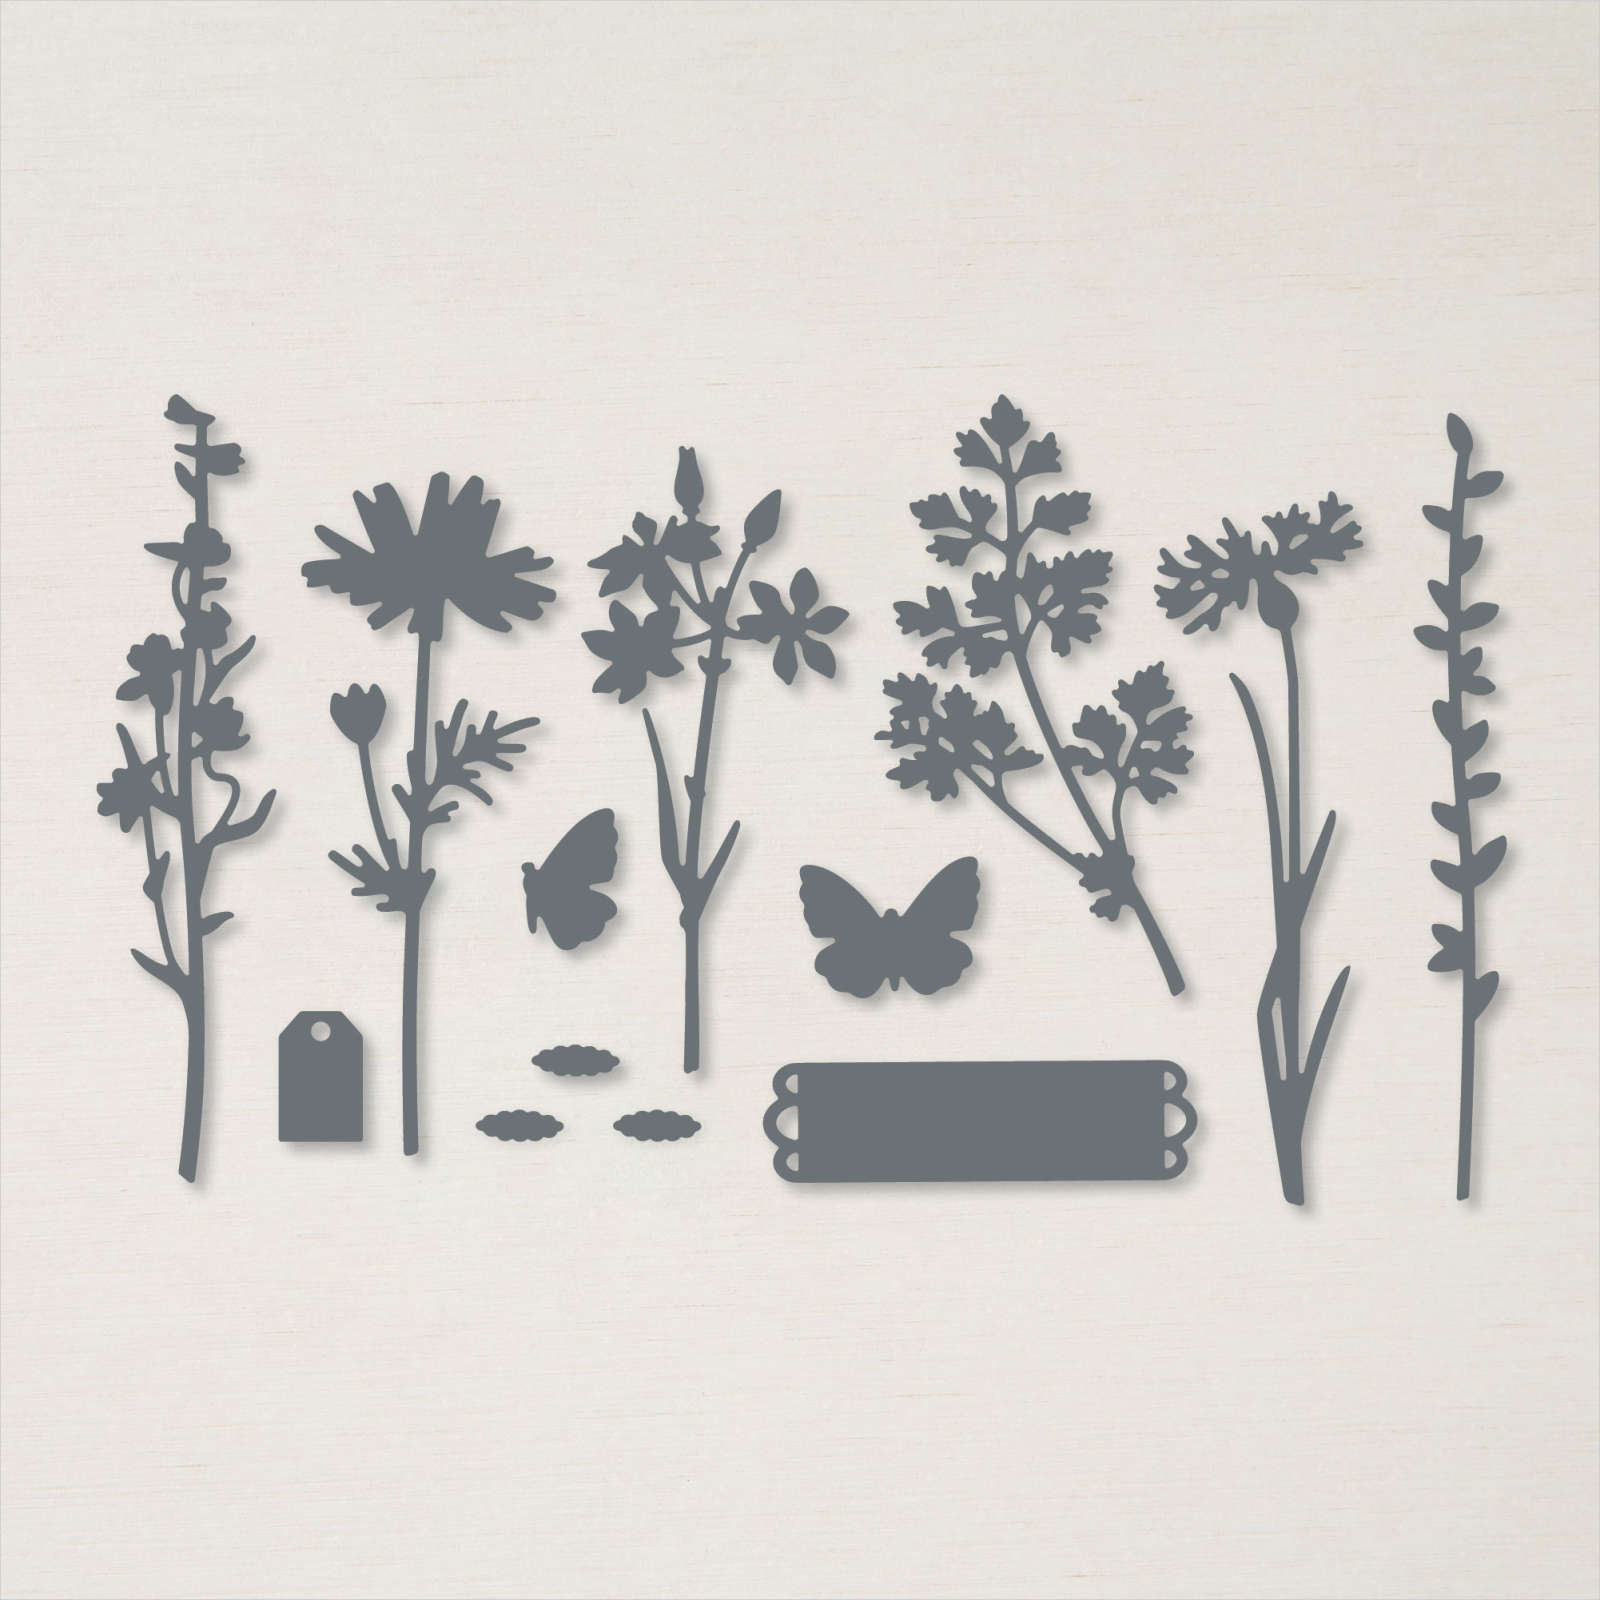
- Label for sentiment was die cut from the Meadows die and stamped with Old Olive. The sentiment is from Happiness Abounds stamp.
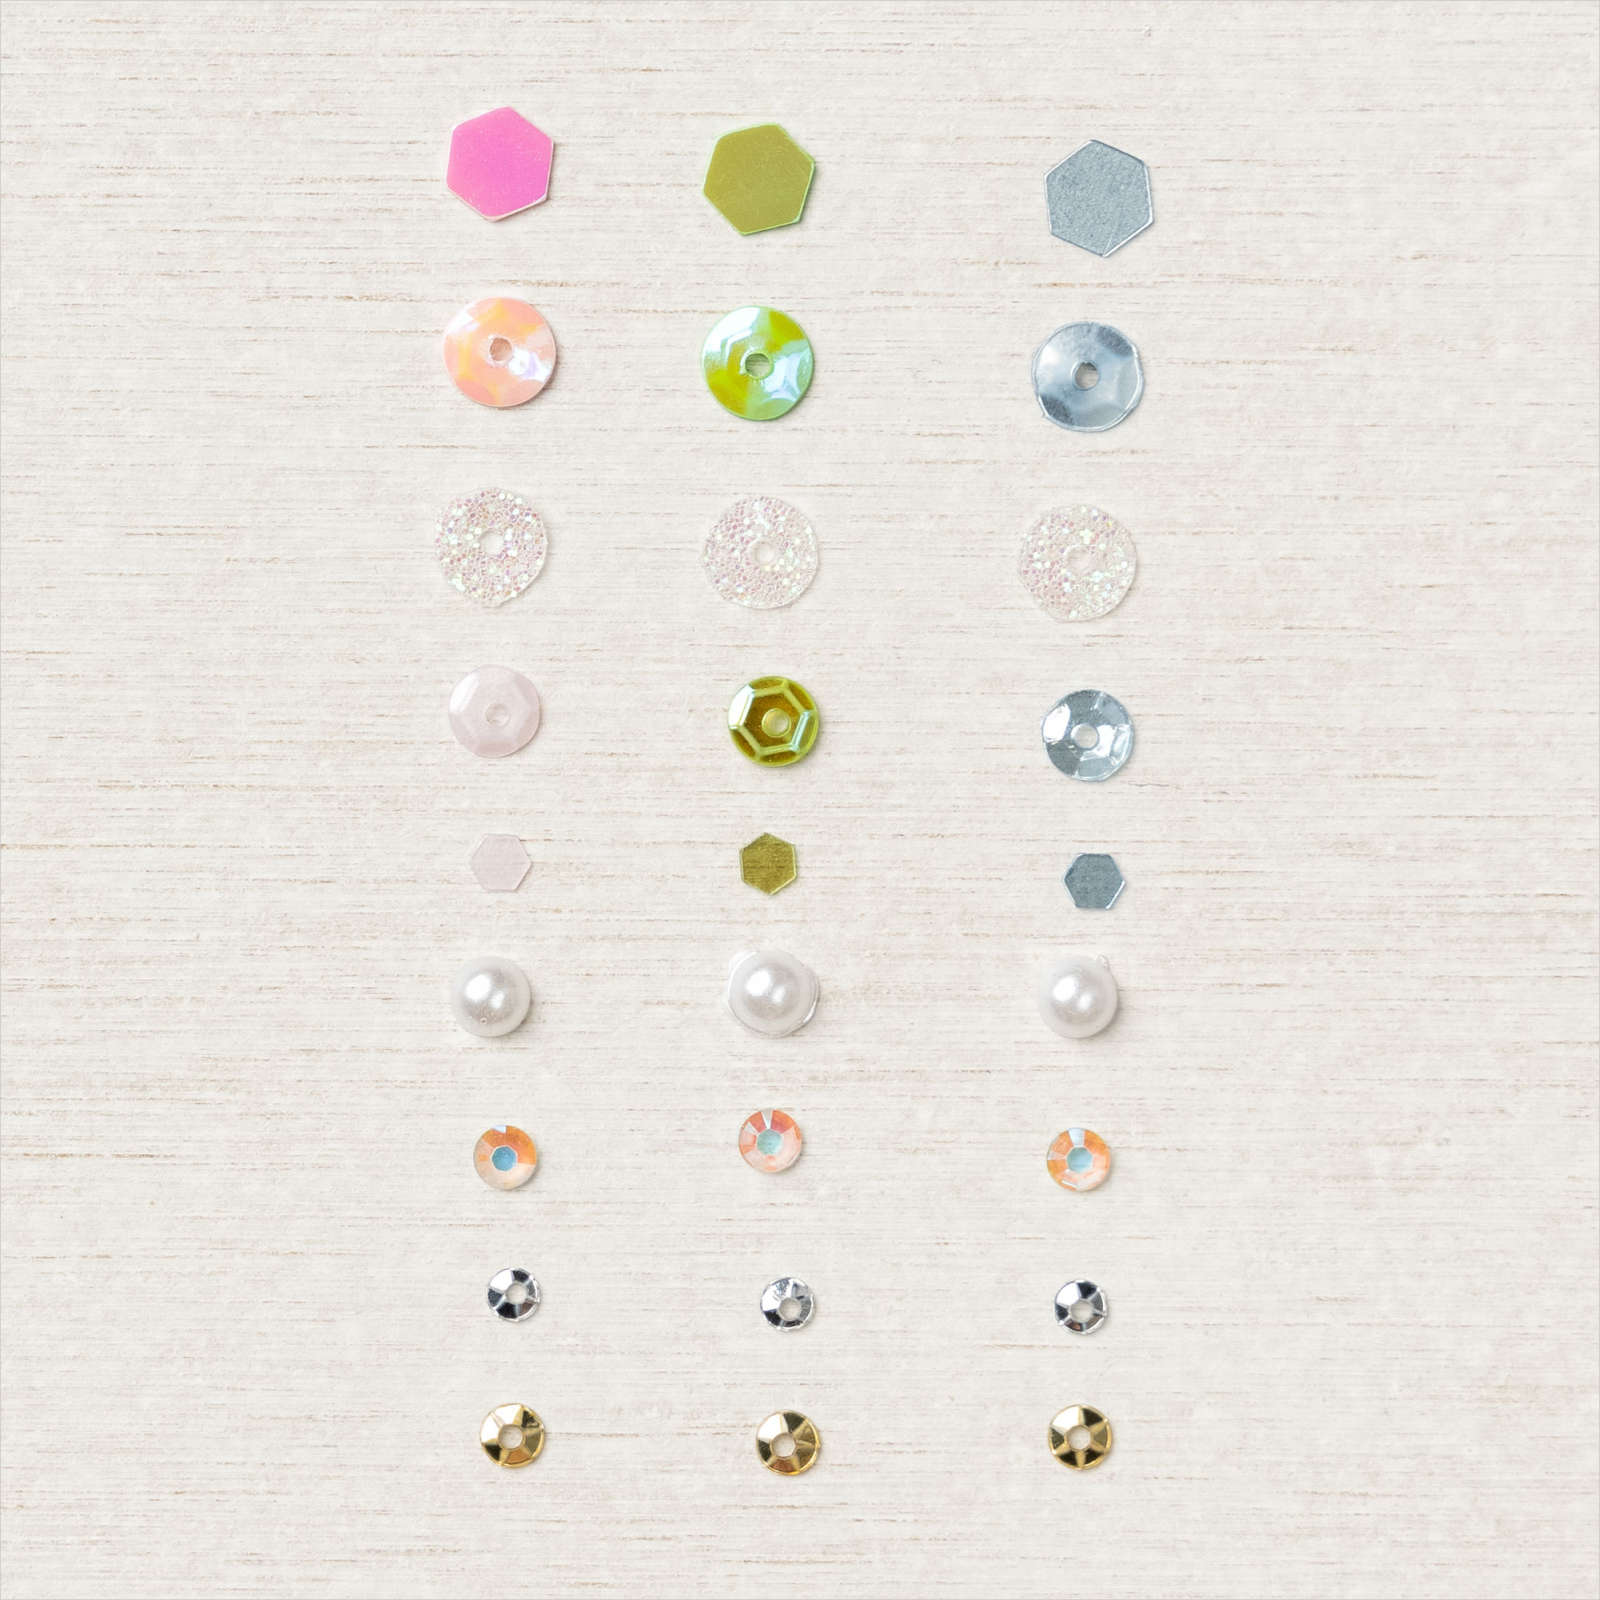
- Sequins from the For Everything Fancy Sequins were adhered with small dabs of liquid glue.
Stampin’ Up! offers two packs of watercolor pencils – all Stampin’ Up! colors. You can read more about the watercolor pencils and other coloring tools here. Tomorrow we’ll focus on watercoloring with embossing folders.
Thanks for stopping by . . . till tomorrow. . .

Card Supplies
Below are the Stampin’ Up! supplies used for today’s project. If you would like to purchase any of the supplies, click on the Add All to Cart button below it will take you to my online store. From there, you can see your cart and remove or add any products you like.