Back in July I wrote a post about coloring tools with an overview of 5 coloring tools – Stampin’ Blends, Stampin’ Write Markers, Ink Refills, Soft Pastels Color Chalk, and Watercolor Pencils. Although a little later than expected, today we’ll feature the Stampin’ Ink Refills.
One of the tools we need when we stamp, is ink.
Now imagine that you’re making a stack of cards with the same ink color, you’re on a roll and you’re halfway done, BUT your images are no longer crisp and you realize your ink pad is dry. Which is your scenario? Grab your refill ink, start reinking your pad and continue with your project? Realize that you didn’t purchase one when you got your ink pad and your project comes to a screeching halt? Now you have to place an order and wait to resume your project and who knows when you’ll have time to finish it.
Ink pads do become dry after a while so I always recommend to purchase the coordinating ink refills and be ready to ink when you need it. Sometimes, ink colors get discontinued and are retired. If they are, you would probably have to get rid of your ink pad if you don’t have the color to refill. Now wouldn’t that be a waste of money?
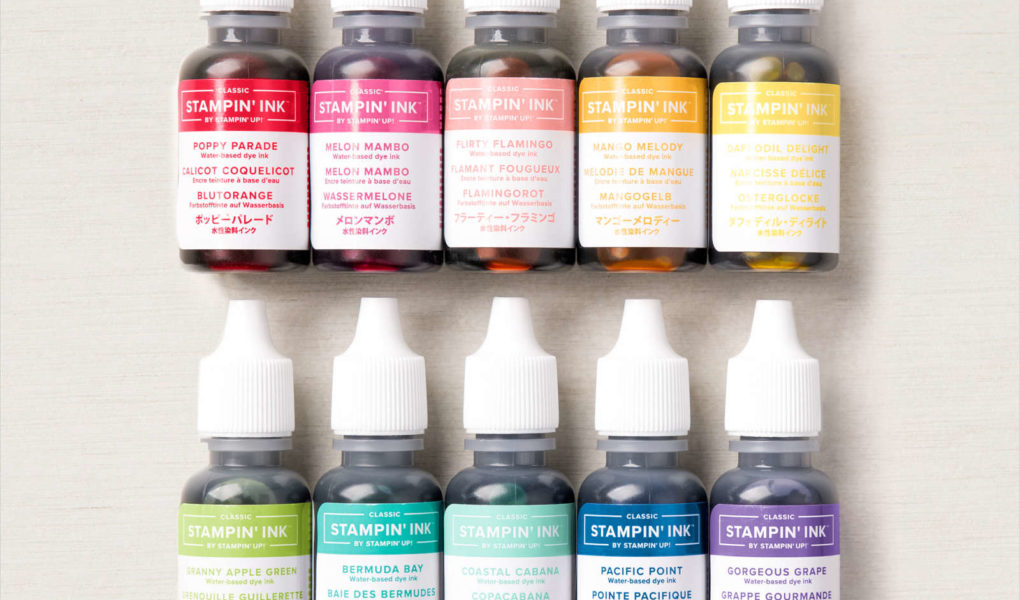
Did you know that Stampin’ Up! sells the ink refills as a bundle for the Brights, Neutrals, Regals and Subtles Collections? If you have all or most of the ink pads in any of these collections, you can save money by buying the collection ink refills as a bundle instead of individually.
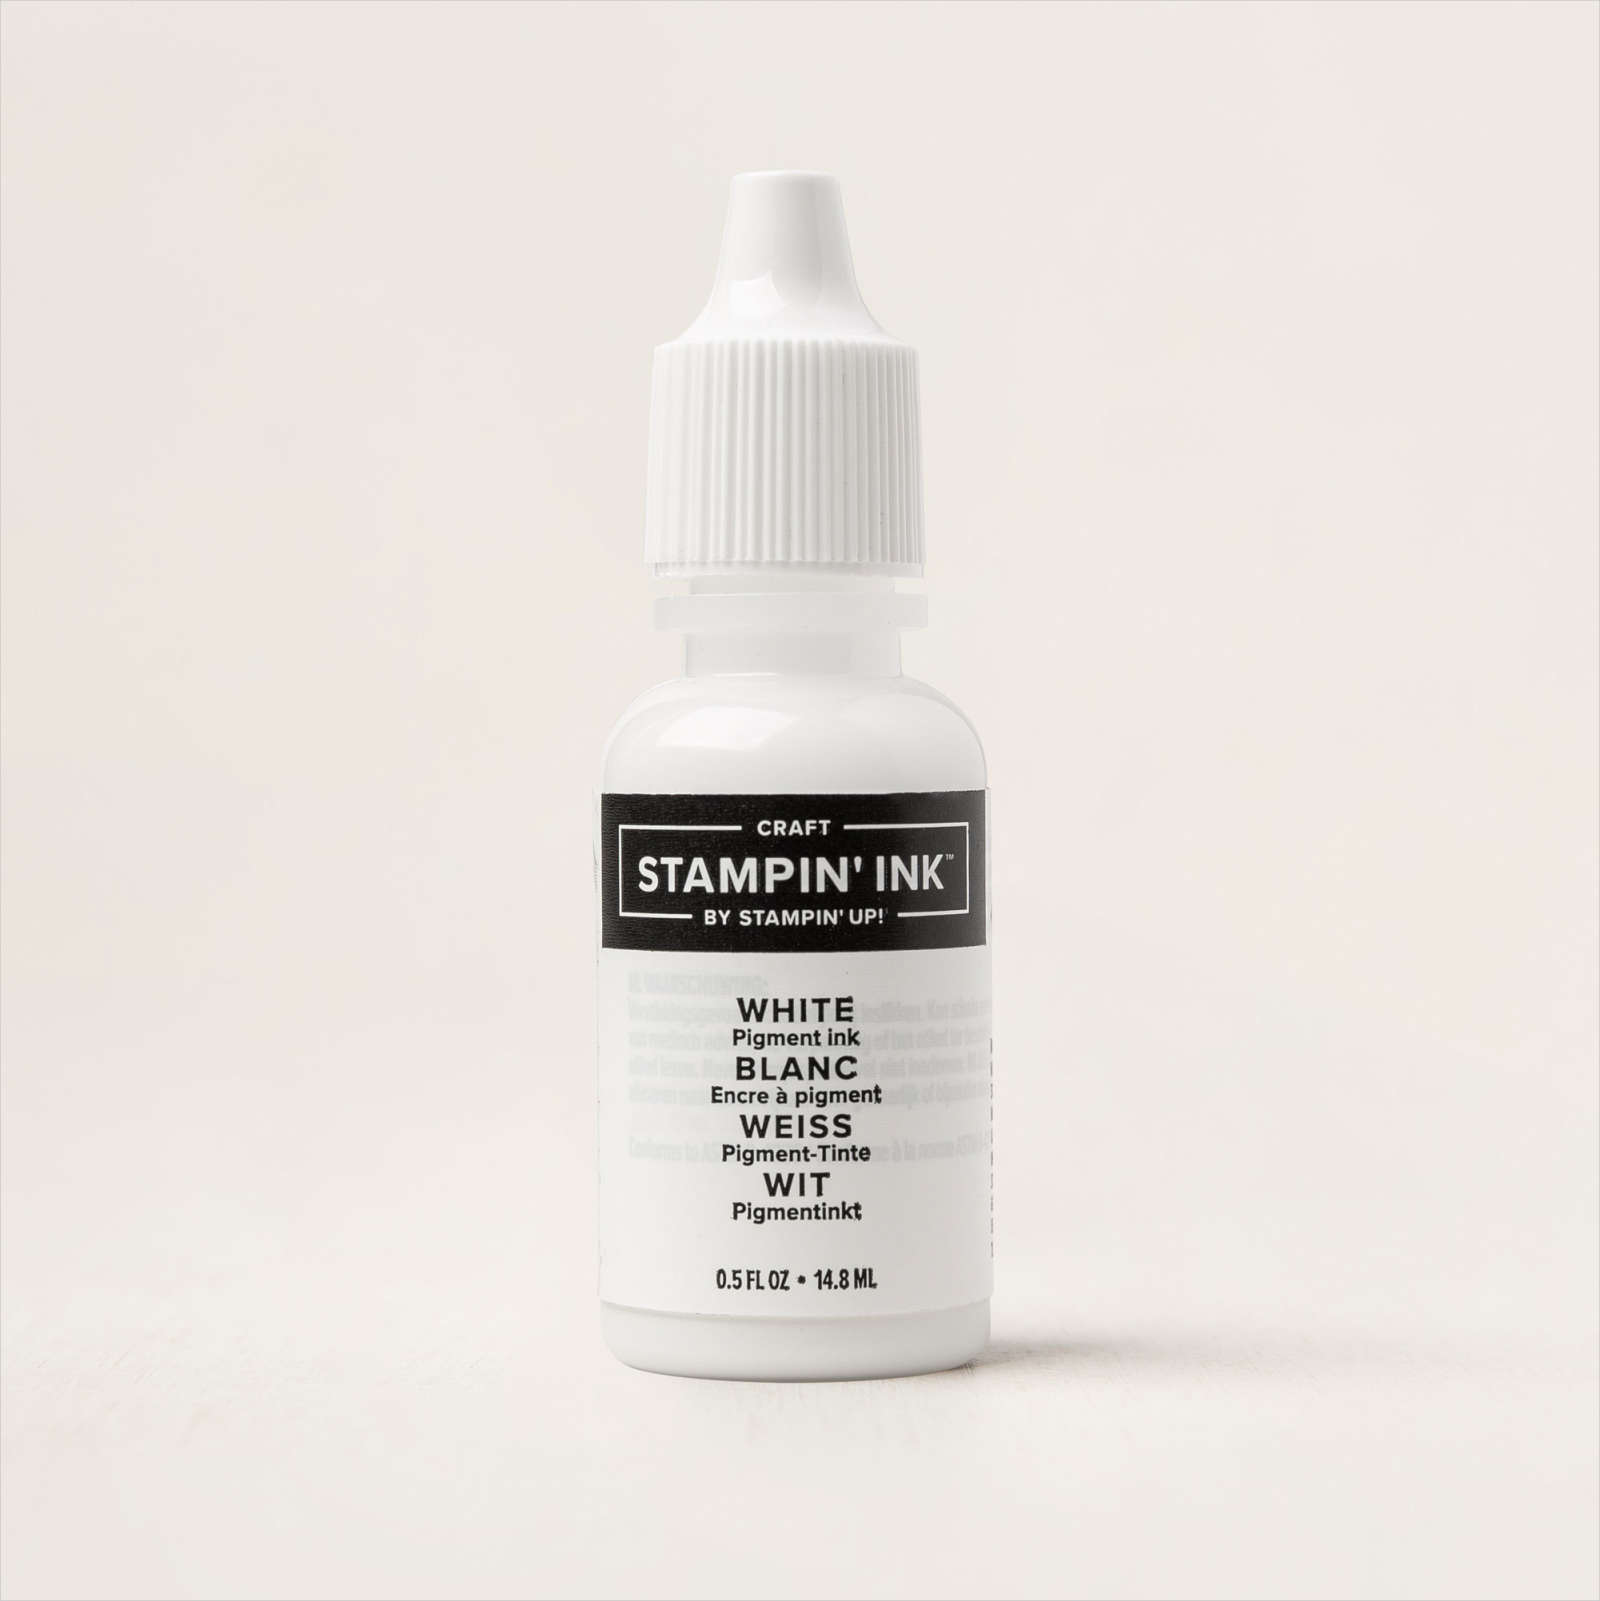
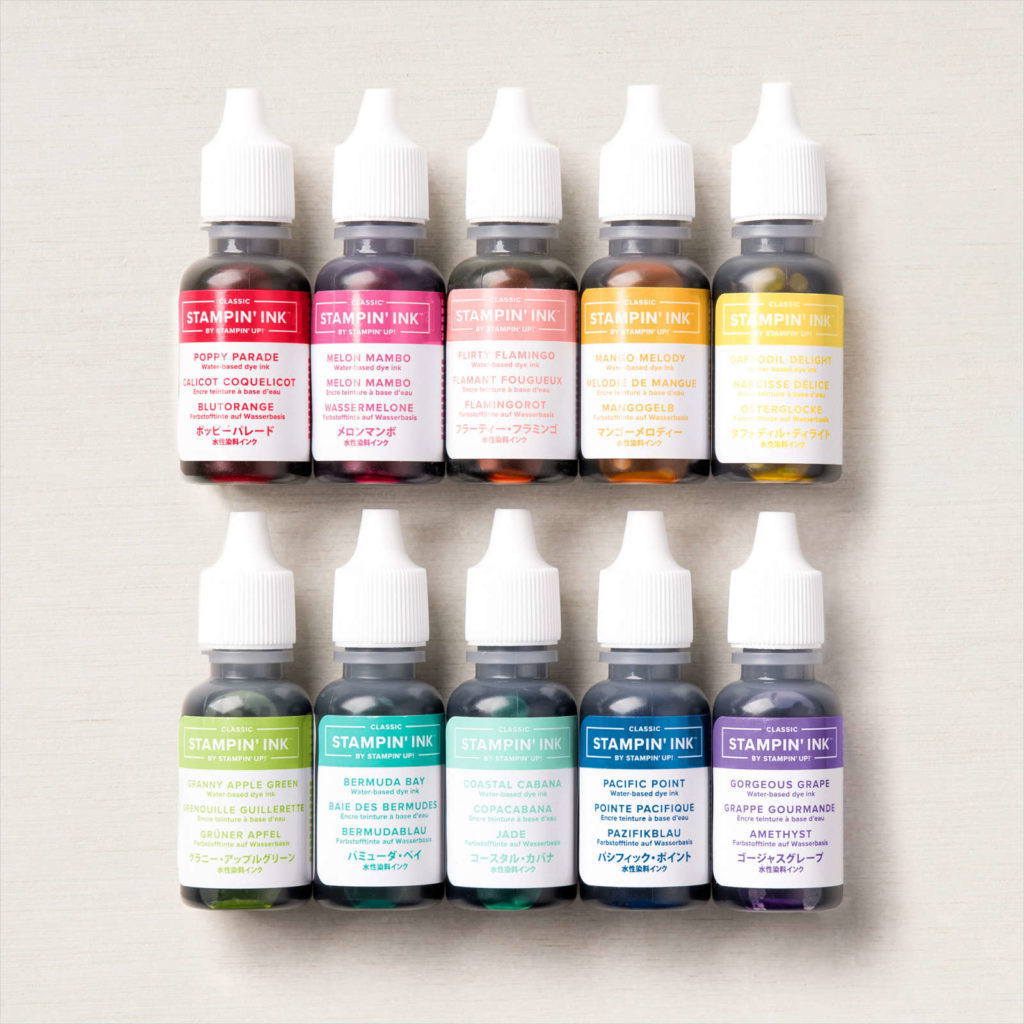
Beside the color collections, ink refills are available for VersaMark, White Craft ink, Memento Black, and StaZon inks.
How to Ink Your Pads
You have the ink refills, now how do you apply it to your pads? Depending on the type of ink, refill is applied differently. On some of the ink pads you can see the dry spots, but on some, it’s not always noticeable. Regardless if it looks dry or not, you can tell it’s dry when your images are not crisp.
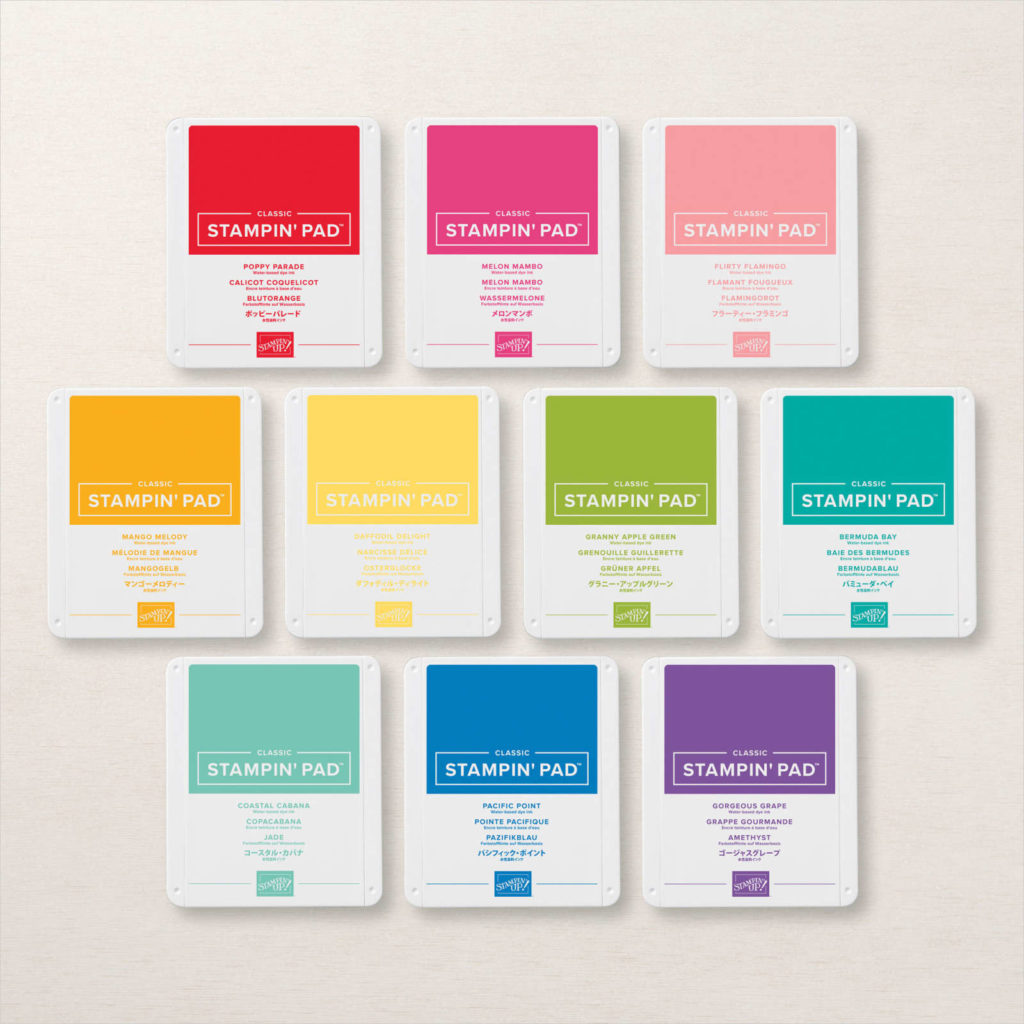
Applying Ink to Classic Stampin’ Pads & VersaMark:
- Squeeze some ink refill on the entire pad especially the dry spots. Less is more so go slowly on the squeezing and add more if needed.
- After you have inked your pad, take the back of a smooth plastic spoon and spread it all around for even distribution, using some pressure to push ink into the pad.
- If you find that the ink is bubbling or staying on top, that means too much ink was used. If this happens, remove the excess with a smooth scraper or even the edge of a credit card.
- Make sure whatever you use to spread it or to remove excess ink will not scratch the foam on your ink pad. Please note that when using the Distinktive line of stamps, less ink is better than a juicy pad to get all the opacities from that type of stamp.
- When applying ink to VersaMark, squeeze refill on entire pad going back and forth from one end to the other. You can let it sit or to speed things up, spread the ink with the back of plastic spoon. This ink is very sticky. I find that it’s a little hard to squeeze out the refill so you will need to squeeze a little harder.
Applying Ink to Memento Black & StaZon inks
- The pad material in these two inks are similar. Unlike the Classic Stampin’ Pads and VersaMark that are foam, these have a cloth type of surface.
- Squeeze some ink refill on the entire pad going back and forth from end to end. The fabric will absorb the ink especially if it’s very dry. Repeat if you find that it needs more. Remember less is always more. I usually go from end to end in one direction then turn the ink pad and repeat for ultimate coverage.
Applying Ink to White Craft Ink Pad
- The Stampin’ Up! white craft ink pad comes uninked and with a refill and is a foam pad. Because the ink pad is uninked and you’re not reinking, you will need to be generous with your inking and work it into the pad. Let it sit for a few minutes and apply more if needed. Similar to the VersaMark refill, it is thick so you will need to squeeze harder to get it out.
Other Uses for Refills
Ink refills are not just for inking pads. Here are just a few things you can do with the refill.
- Refill your stampin’ write markers – I’ll discuss this in another post.
- Dye white ribbon or twine to match the color of your project
- Ink the uninked stampin’ spots (141822) whatever color you like
- Color your stamped images using Blender Pens or Water Painters
- For an artsy look, spritz your card using the Stampin’ Spritzers by filling the bottles with water or rubbing alcohol and any refill color
- A Few Techniques to try:
- Create a multi color image by making your own color ink pad. Use two or three colors of complimentary ink colors and squeeze drops onto an alcohol free baby wipes. Stamp as you would with an ink pad.
- Shaving Cream Technique
- Smoosh Acetate Technique
- Rolling Marbles Technique – click here to see what it looks like.
I hope this post has helped you in reinking your pads and given you a reason to get a few so you’ll be ready for all your projects.
Thanks for stopping by . . . till next time . . . happy reinking! – Brunie
To order any of the ink refills, go to my online store. Thank you for choosing me as your demonstrator.