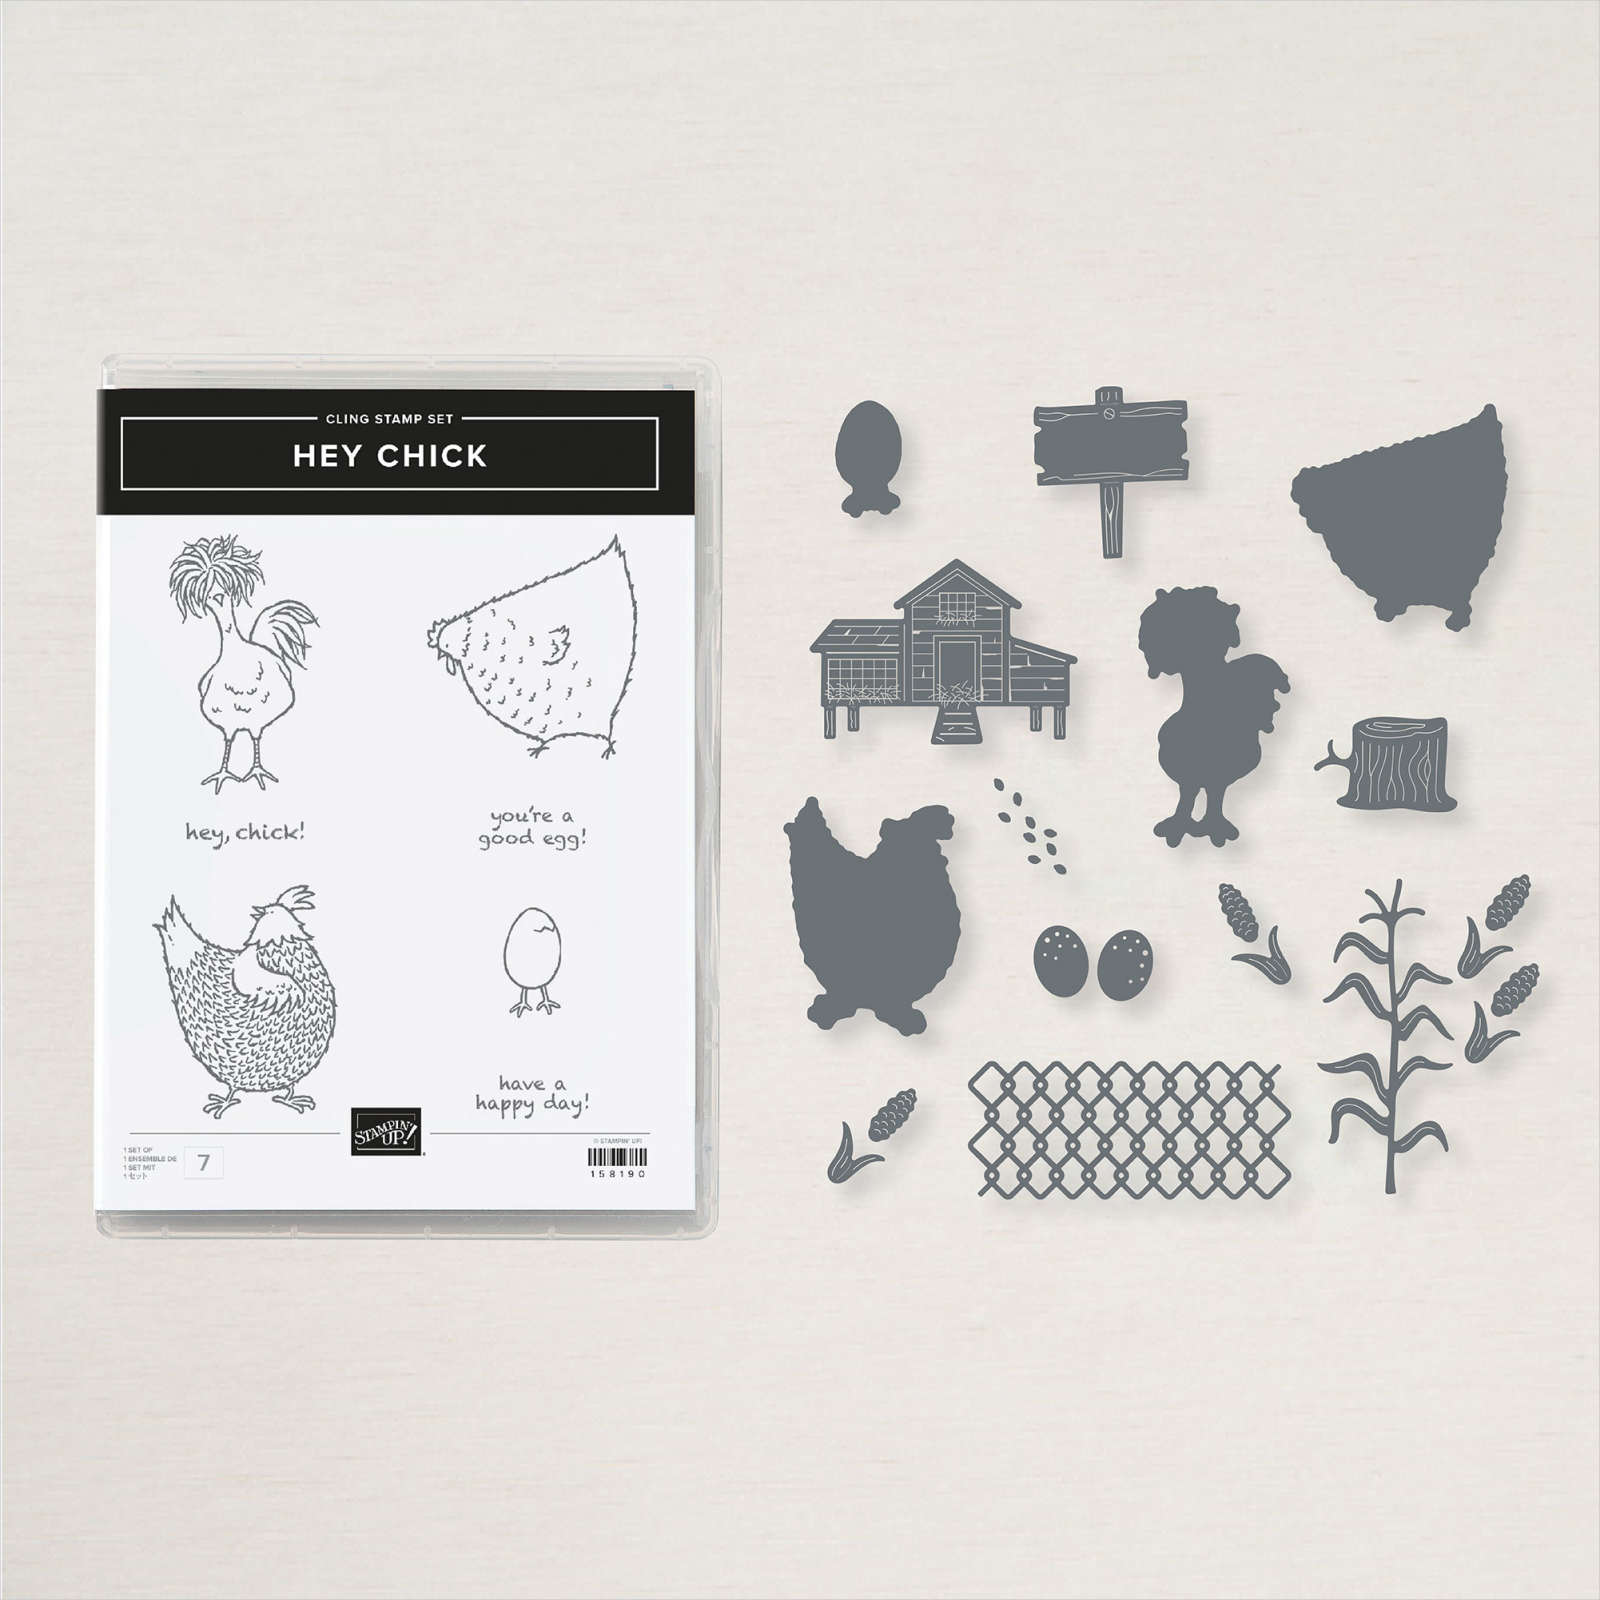
Today’s card combines some of the old with the new. We’ll take a look at the 2017 Sale-A-Bration Hey Chick stamp (old) and its coordinating dies (old-new) with the Give It A Whirl Dies (new).
The Hey Chick set was a fun set to play with back in 2017 and with the coordinating dies it provides a whole new dimension. This 19 die set cuts each of the 4 stamp images and comes with 15 other dies. The stamp and dies are available through the end of June. If you like this chick, you’ll like the companion Hey Birthday Chick stamp and dies which carried over to the new catalog.
I’m really excited about the Give It A Whirl Dies. This die allows you to make interactive cards. Several years ago, I posted a card with the same viewing and wheel concept. You can see it here. Everything was done from scratch -meaning no dies. I had to create a template and there were several steps you needed to take to create the mechanism, but with these dies, it’s easy and much quicker.
Give It A Whirl
Although the Give It a Whirl Dies is shown in the catalog with the Stellar Birthday stamp, it’s a stand alone die set that can be used with any stamp that fits the openings. Did you see it in the new catalog? You can find it on page 163.
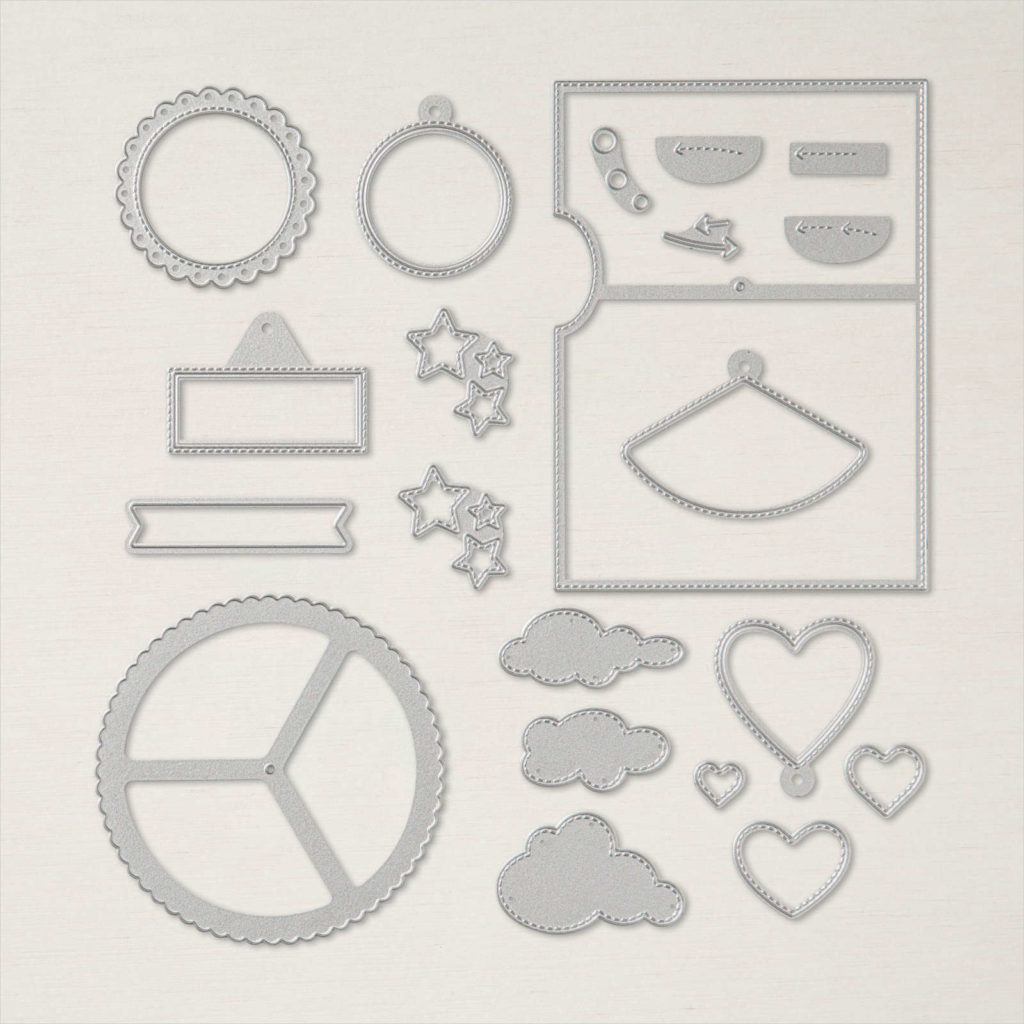
There are 21 dies in the set which include 4 window openings – circle, fan, heart and rectangle. Among the dies, there’s the card panel die with wheel cut out, the wheel with 3 sections indicating placement where images are stamped, and arrows which you have the option to emboss or die cut so the recipient knows which direction to turn the wheel. The shaped window dies can be placed any where you like to make your opening as long as the hole in the window dies connect to the hole in the card panel.
The dies also include decorative stars, clouds, hearts, circle and a banner. You can use these decorative dies for any project – doesn’t have to be an interactive card.
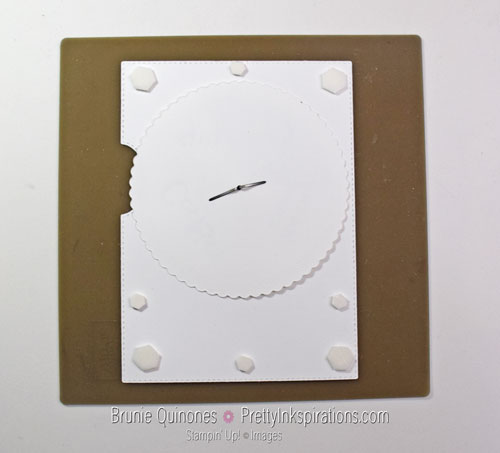
You have the option of cutting the window the same time you cut your card panel depending on where you place your window die or you can cut the card panel first and then die cut your window. With either option, you must remember to align the holes on both sets of dies as this will allow proper placement of wheel.
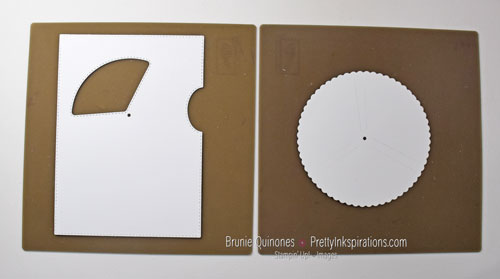
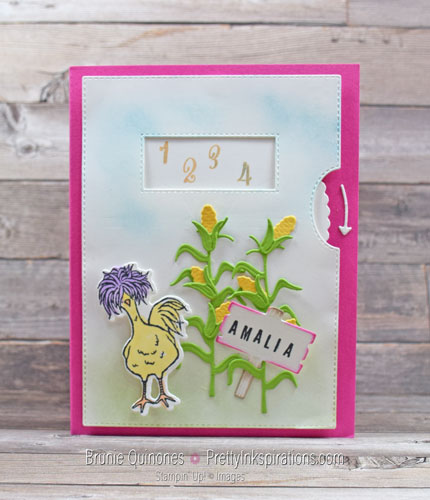
In the sample die cut above, I chose the fan type shape. In today’s card, I chose the rectangle shape.
When decorating the front panel, it is best to stamp before you adhere because of the foam behind the panel. When using patterned paper, cut 2 panels – one from regular cardstock and the patterned paper adhered on top for sturdiness.
Construction Tips & Creating Templates
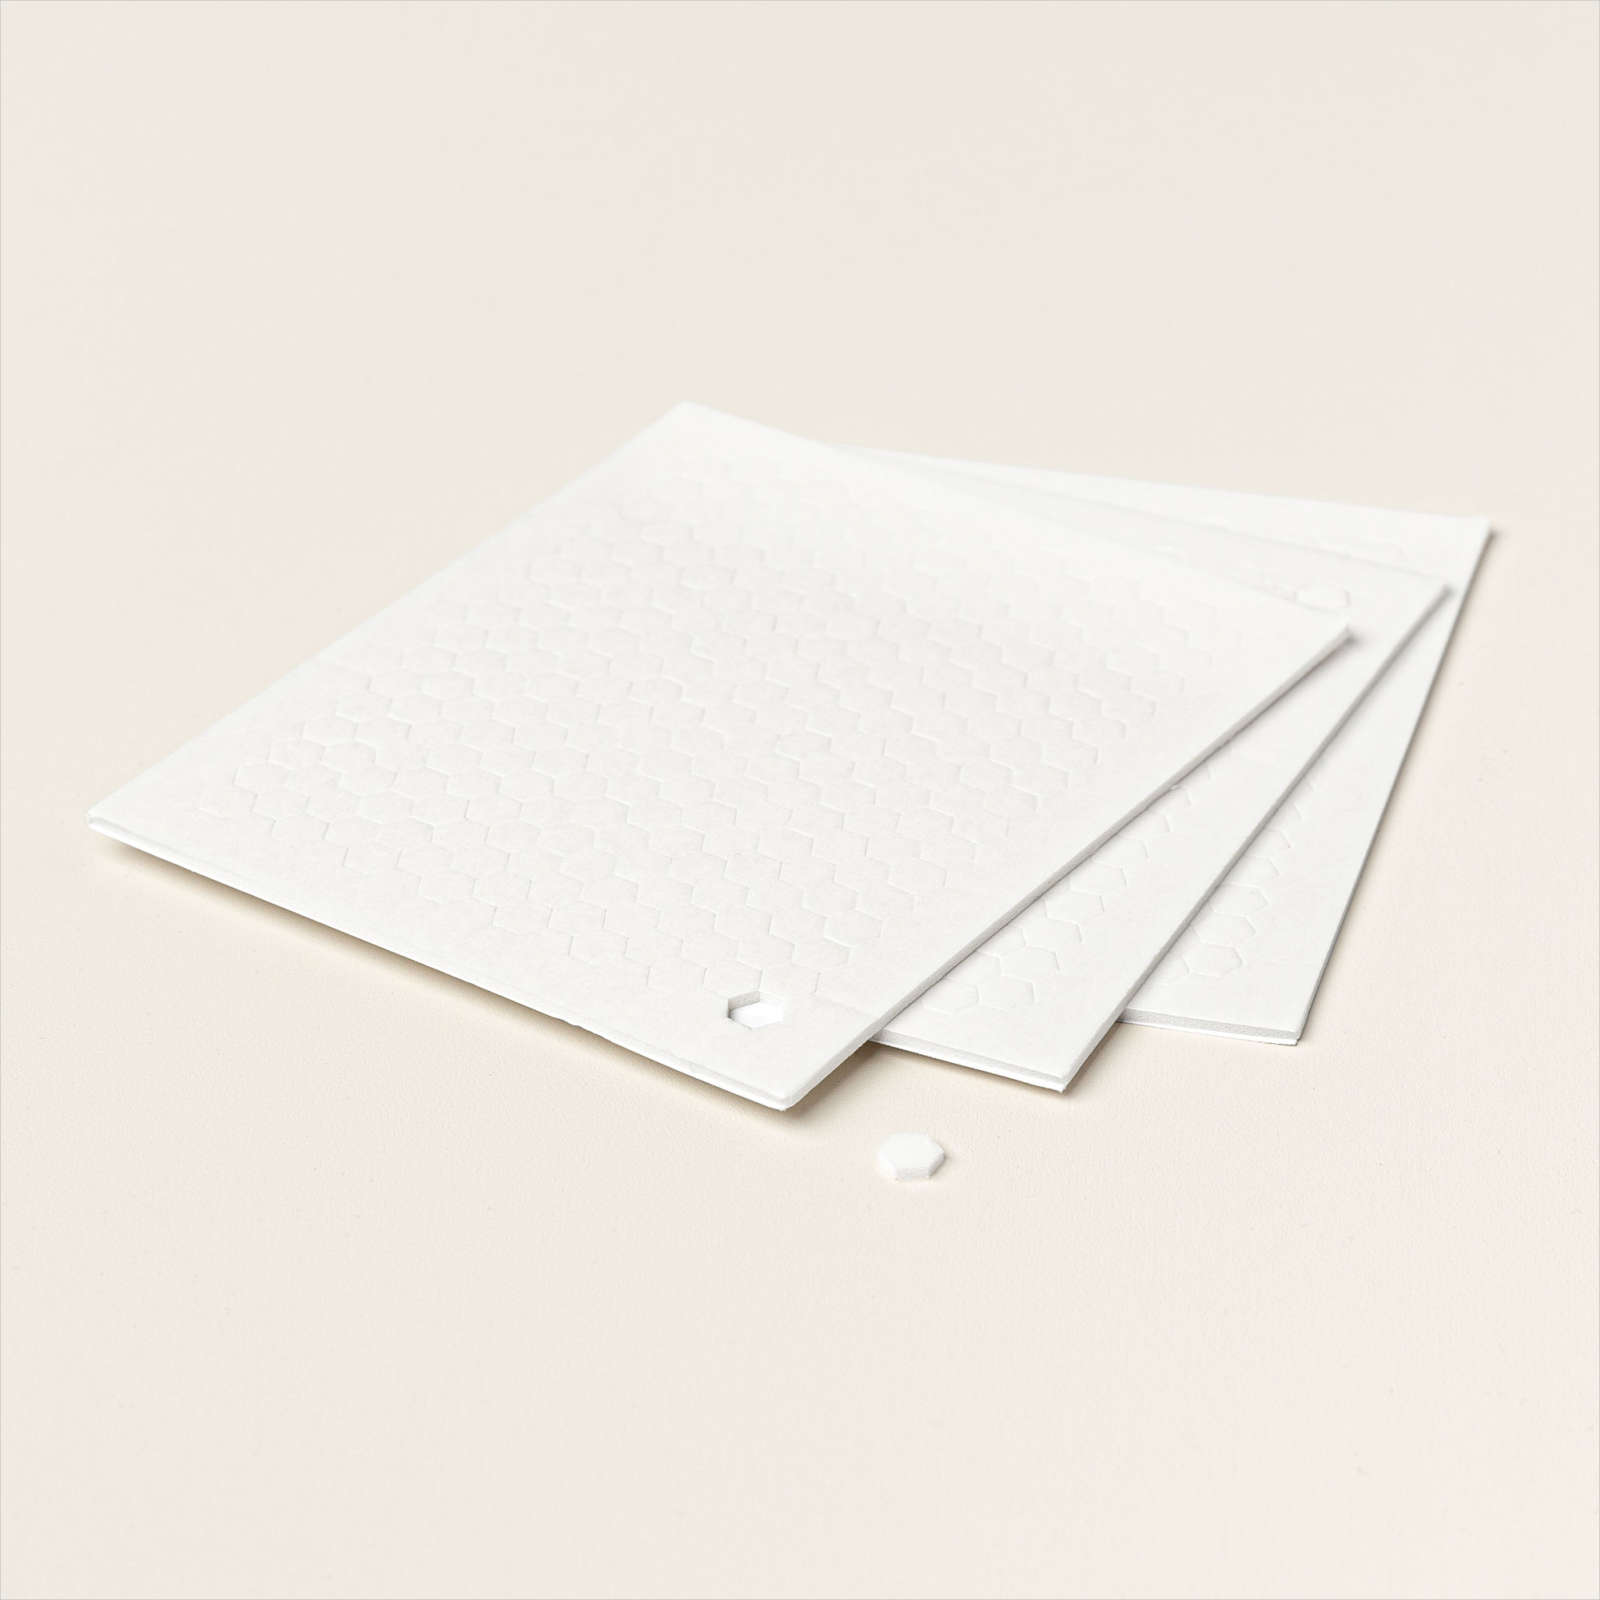
Use dimensionals or foam strips for the back of your card panel. Do not put any adhesive on or too close to the wheel, although in this sample, I could’ve put another dimensional or two right below the wheel.
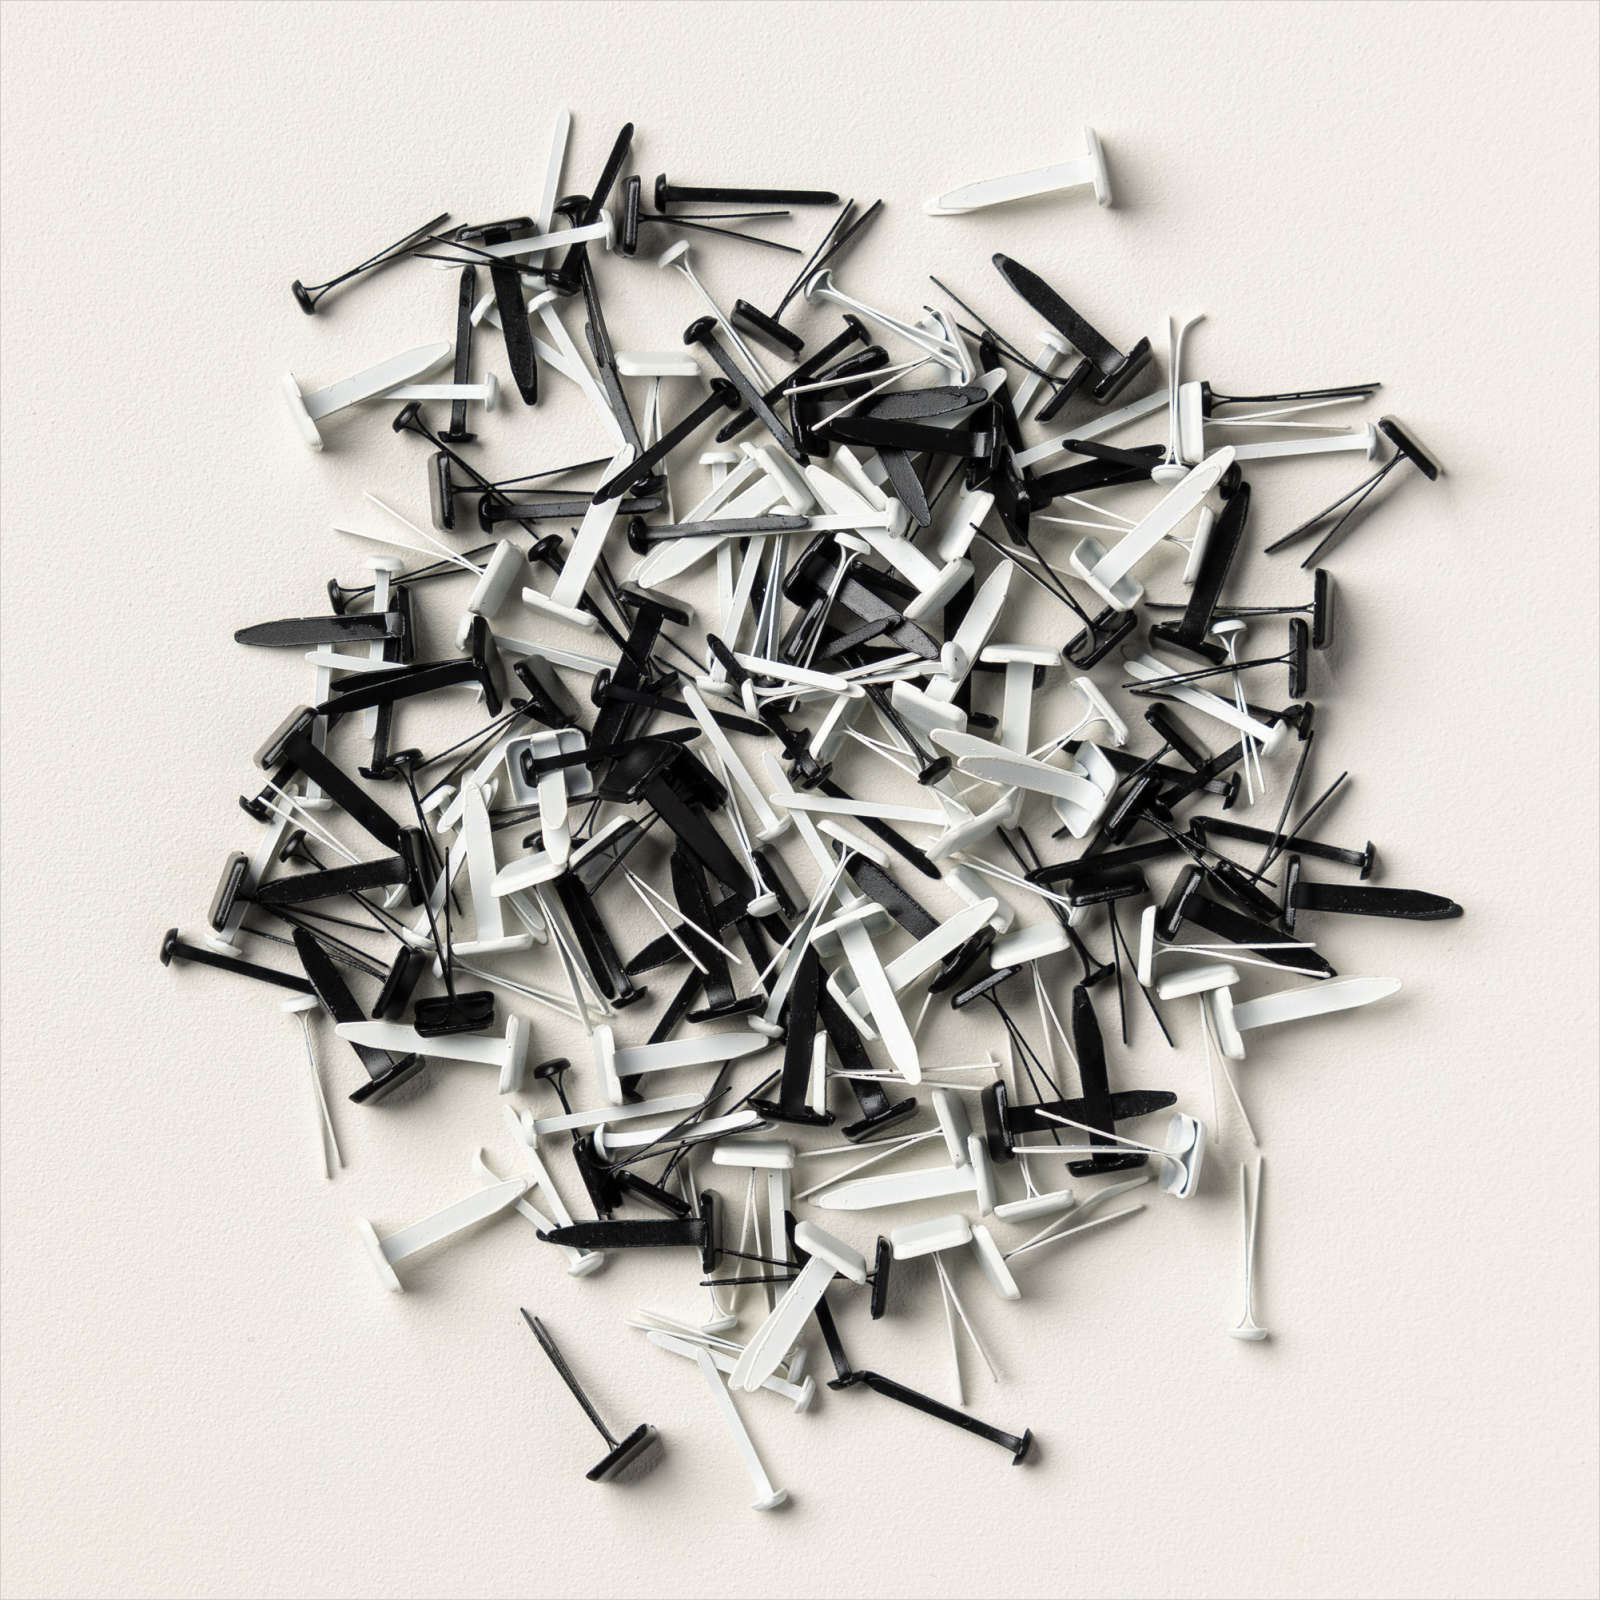
Although the spinner works fine as intended with wheel attached to card panel with a brad, you may find that the wheel may spin easier by attaching a circle behind the wheel with the brad and not attaching the wheel directly to the card panel. Raise the card panel by double stacking on adhesive. This is all a matter of preference.
- For easier placement when stamping on the wheel, consider making 4 wheel templates with each window die.
- Make a template of the 4 windows so you can place over your stamps and see which one works best for that opening.
Card Details
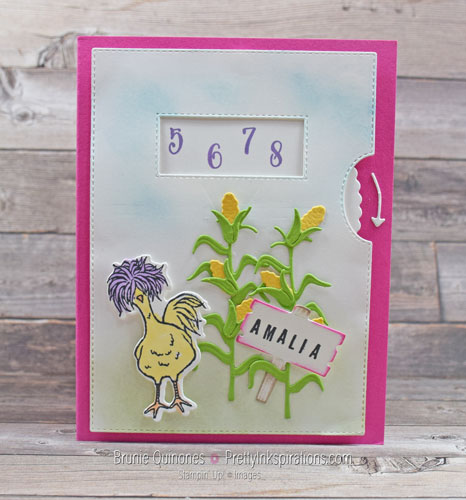
Onto today’s card . . . this was the first card I made using these dies. If you look closely, you can see the wheel indentation. I stamped too close to it and that’s why I recommend making a template which I didn’t have at the time. I made this for my 9 year old niece and I thought it would be fun to use numbers for the opening. So glad she liked it!

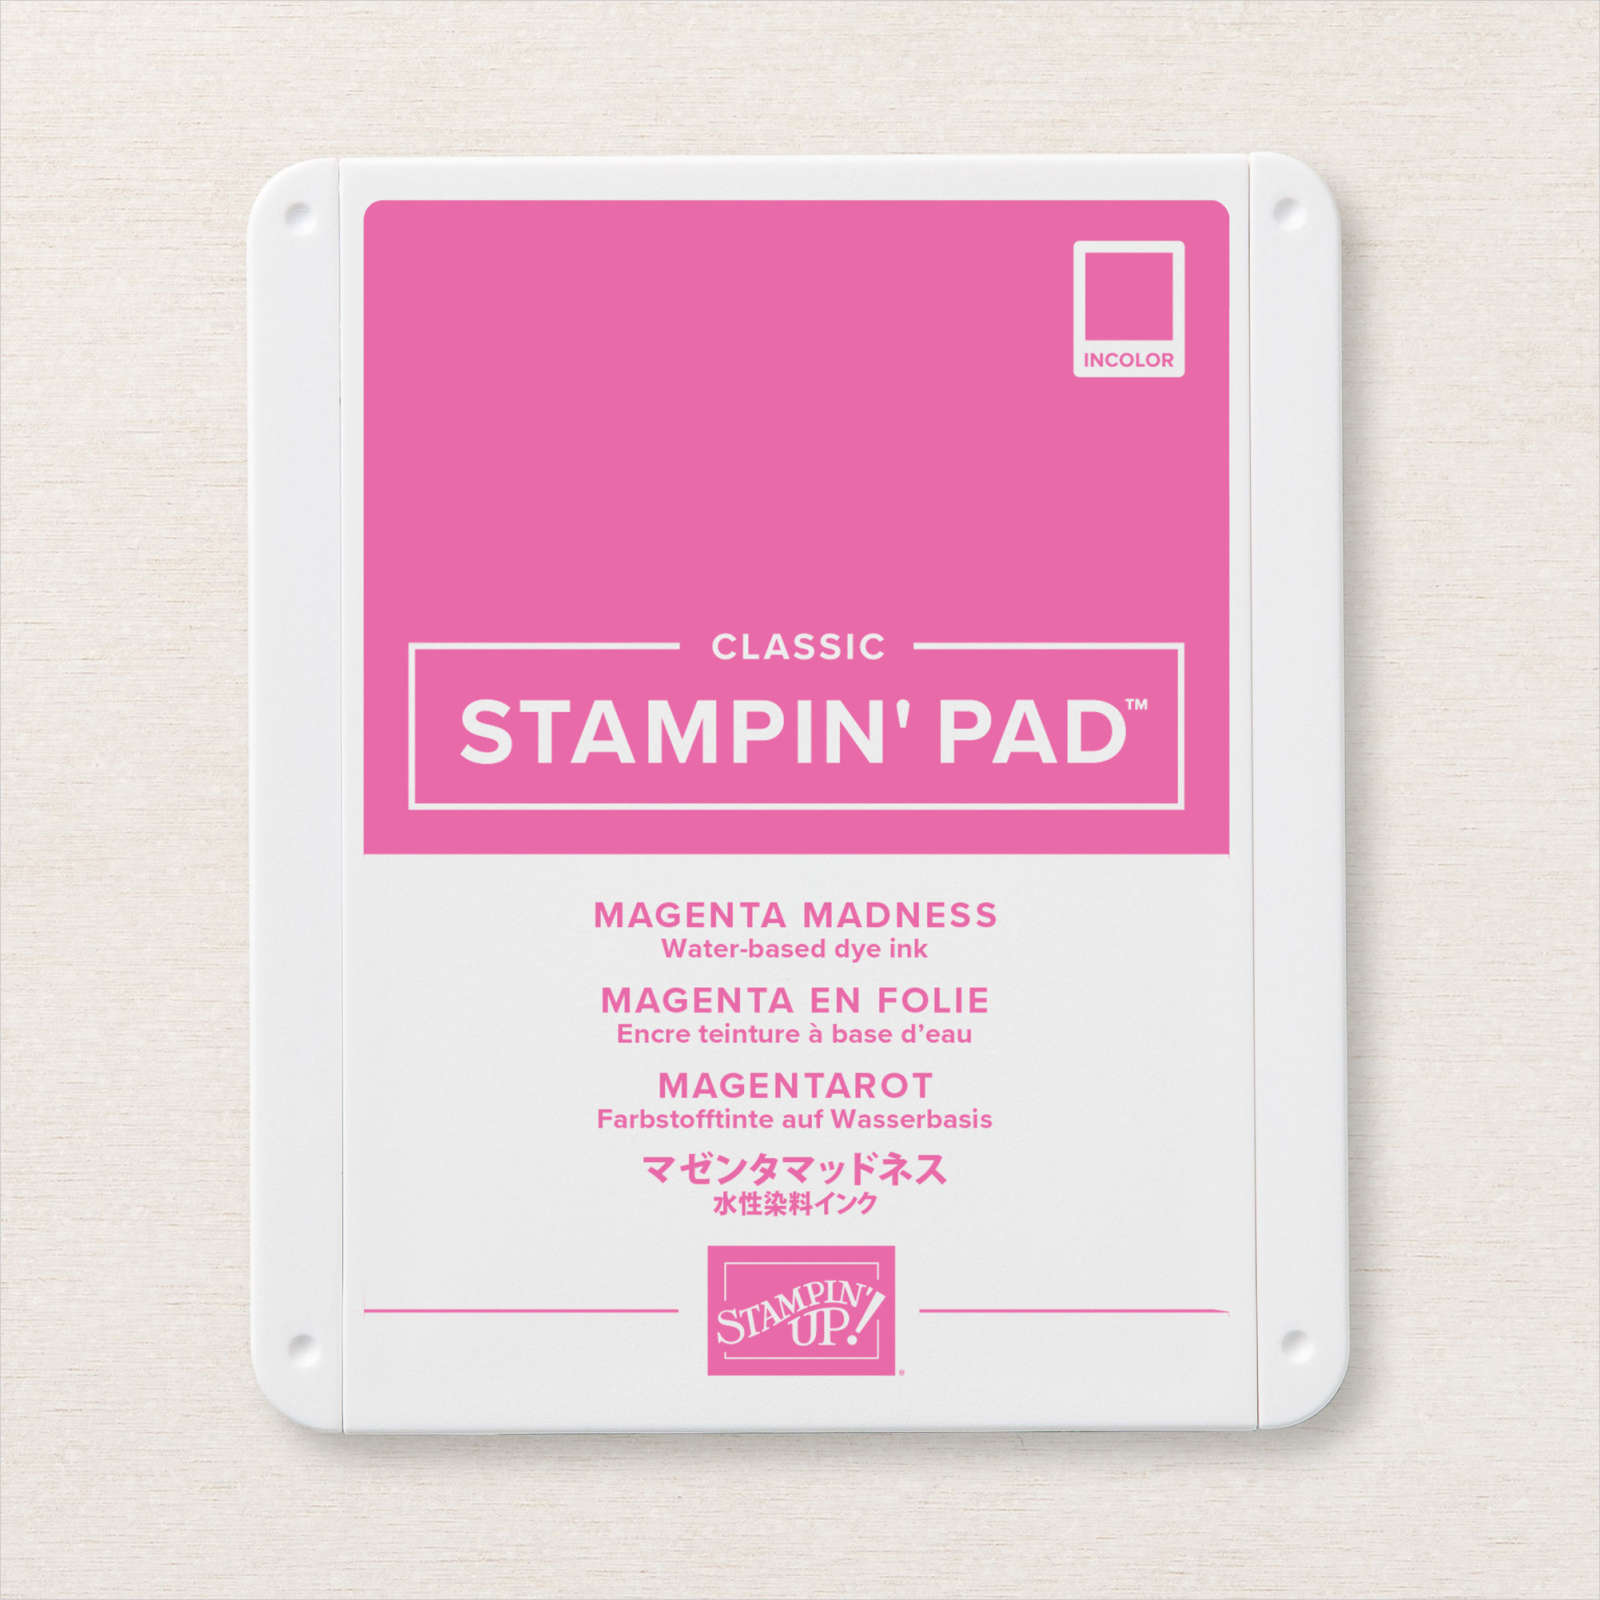
- Card base – Magenta Madness
- Numbers and name were stamped with the now retired Make a Difference stamp.
- Corn stalks die cut with the Chick dies out of Pear Pizzazz and Daffodil Delight cardstock
- I placed one of the corn stalks high enough to cover the brad
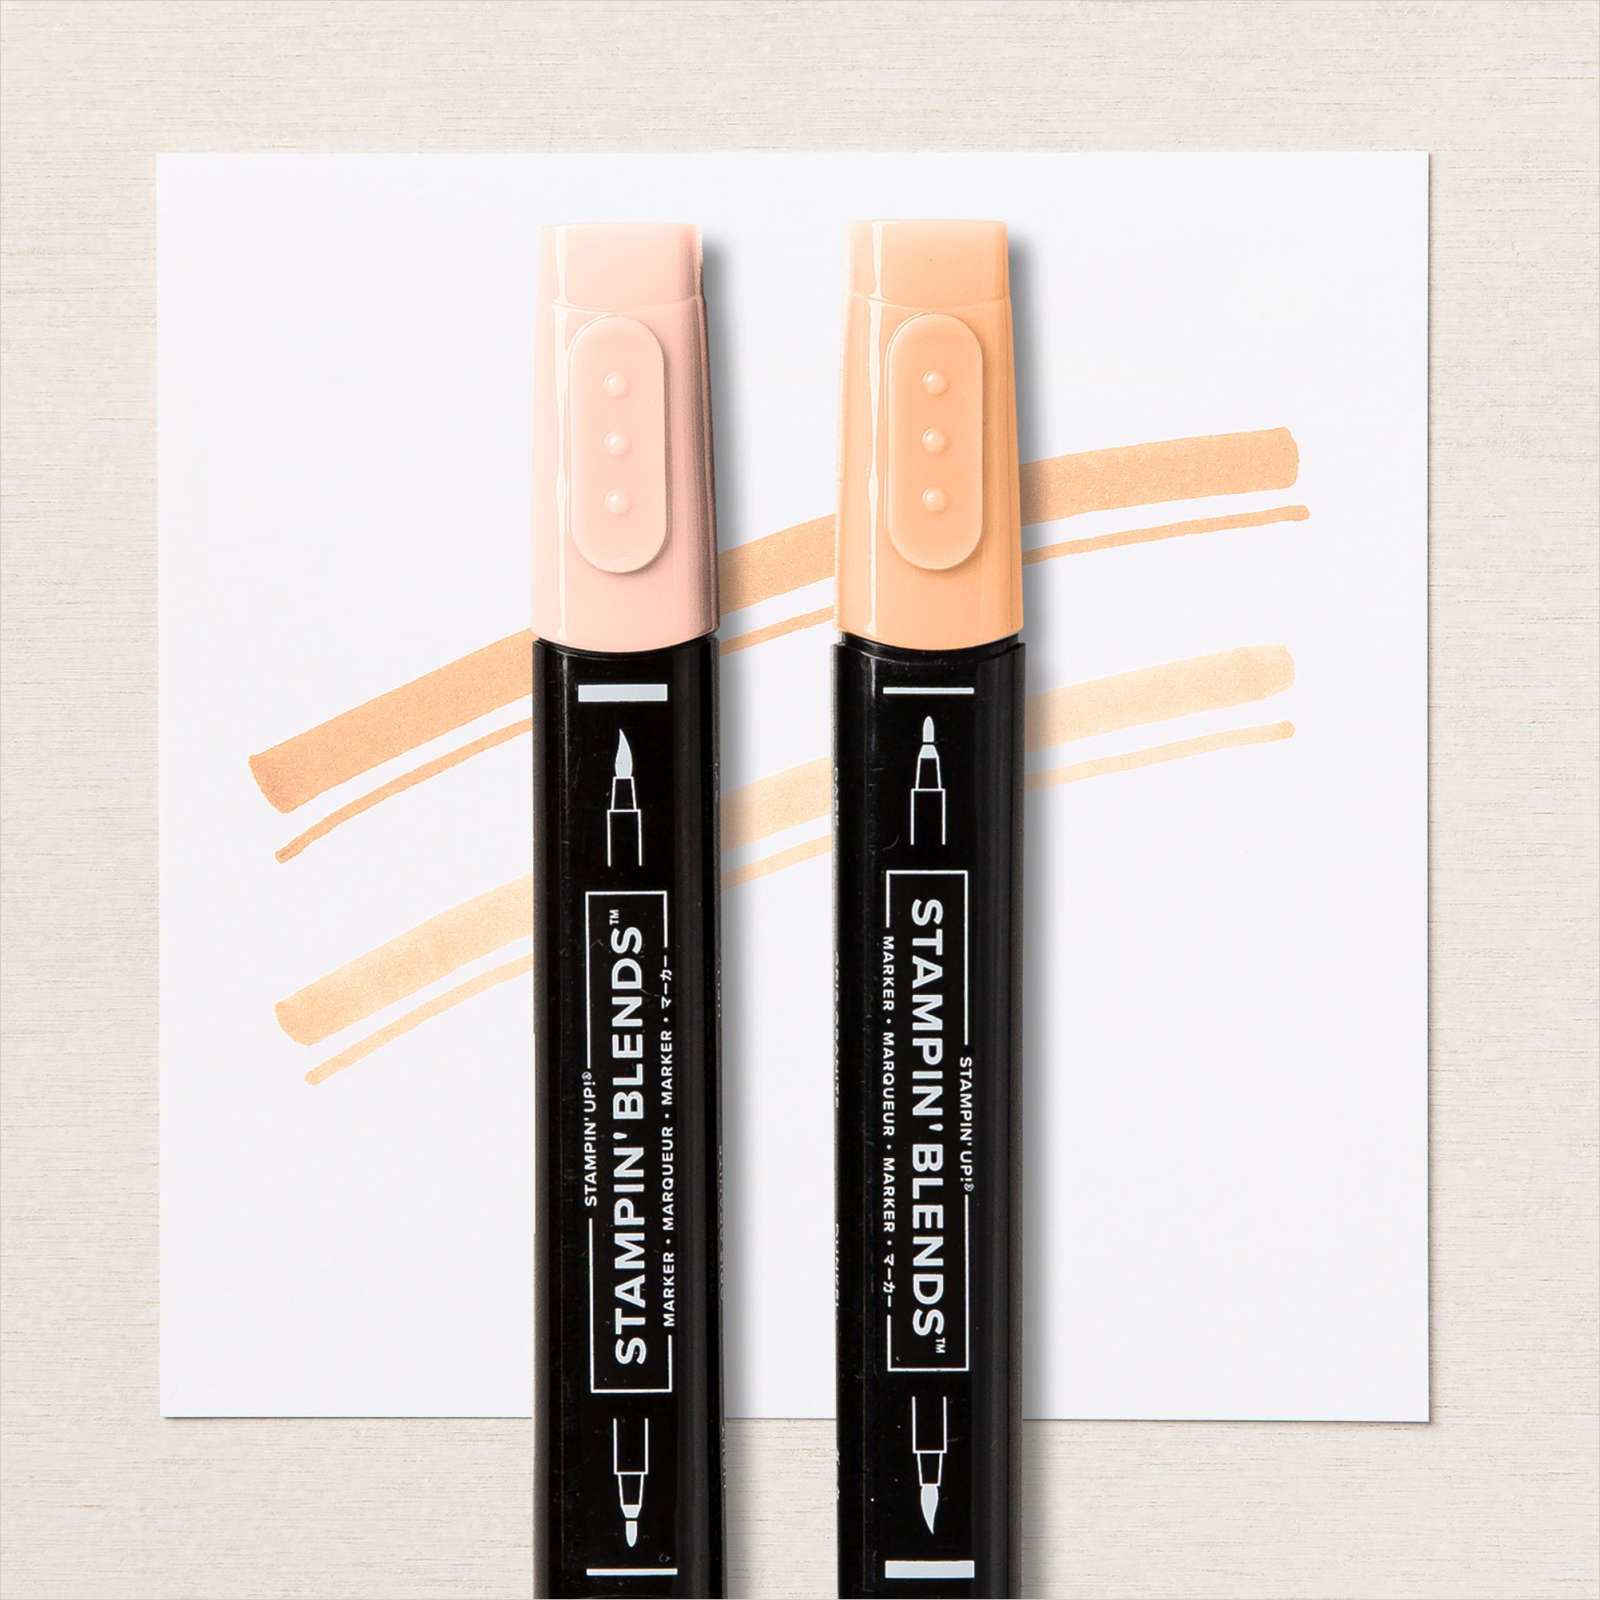
- Chick was stamped with Memento Black ink and colored with Stampin’ Blends (Highland Heather, Pale Papaya, Daffodil Delight), die cut and adhered with Stampin’ Dimensionals
- Name sign was sponged with Magenta Madness
- Top of card panel was sponged with Balmy Blue and bottom with Old Olive using blending brushes
The 2021-2022 has some great new dies that I’m looking forward to playing with. I would love to hear what you think of the Give It A Whirl Dies. Want to leave a comment? Click on the link under post title.
Thanks for stopping by . . . till next time . . .
Card Supplies
Below are the Stampin’ Up! supplies used for today’s project. If you would like to purchase any of the supplies, click on the Add All to Cart button below it will take you to my online store. From there, you can see your cart and remove or add any products you like.