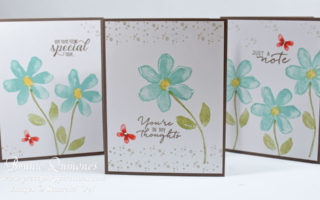
Today’s card features the Window Sheets (Acetate) Smooch technique using the Inspiring Iris stamp and used the Sweet Ice Cream stamp for the greeting. I love the watercolor and alcohol look on cards so I try to use different methods to make them. Today I’ll share with you on how to create watercolor backgrounds. You need to know that each card you make will look different even when using the same supplies.
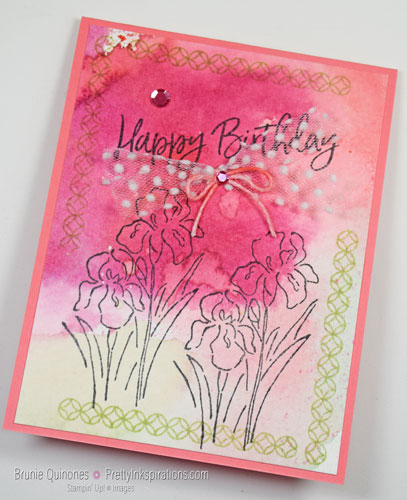
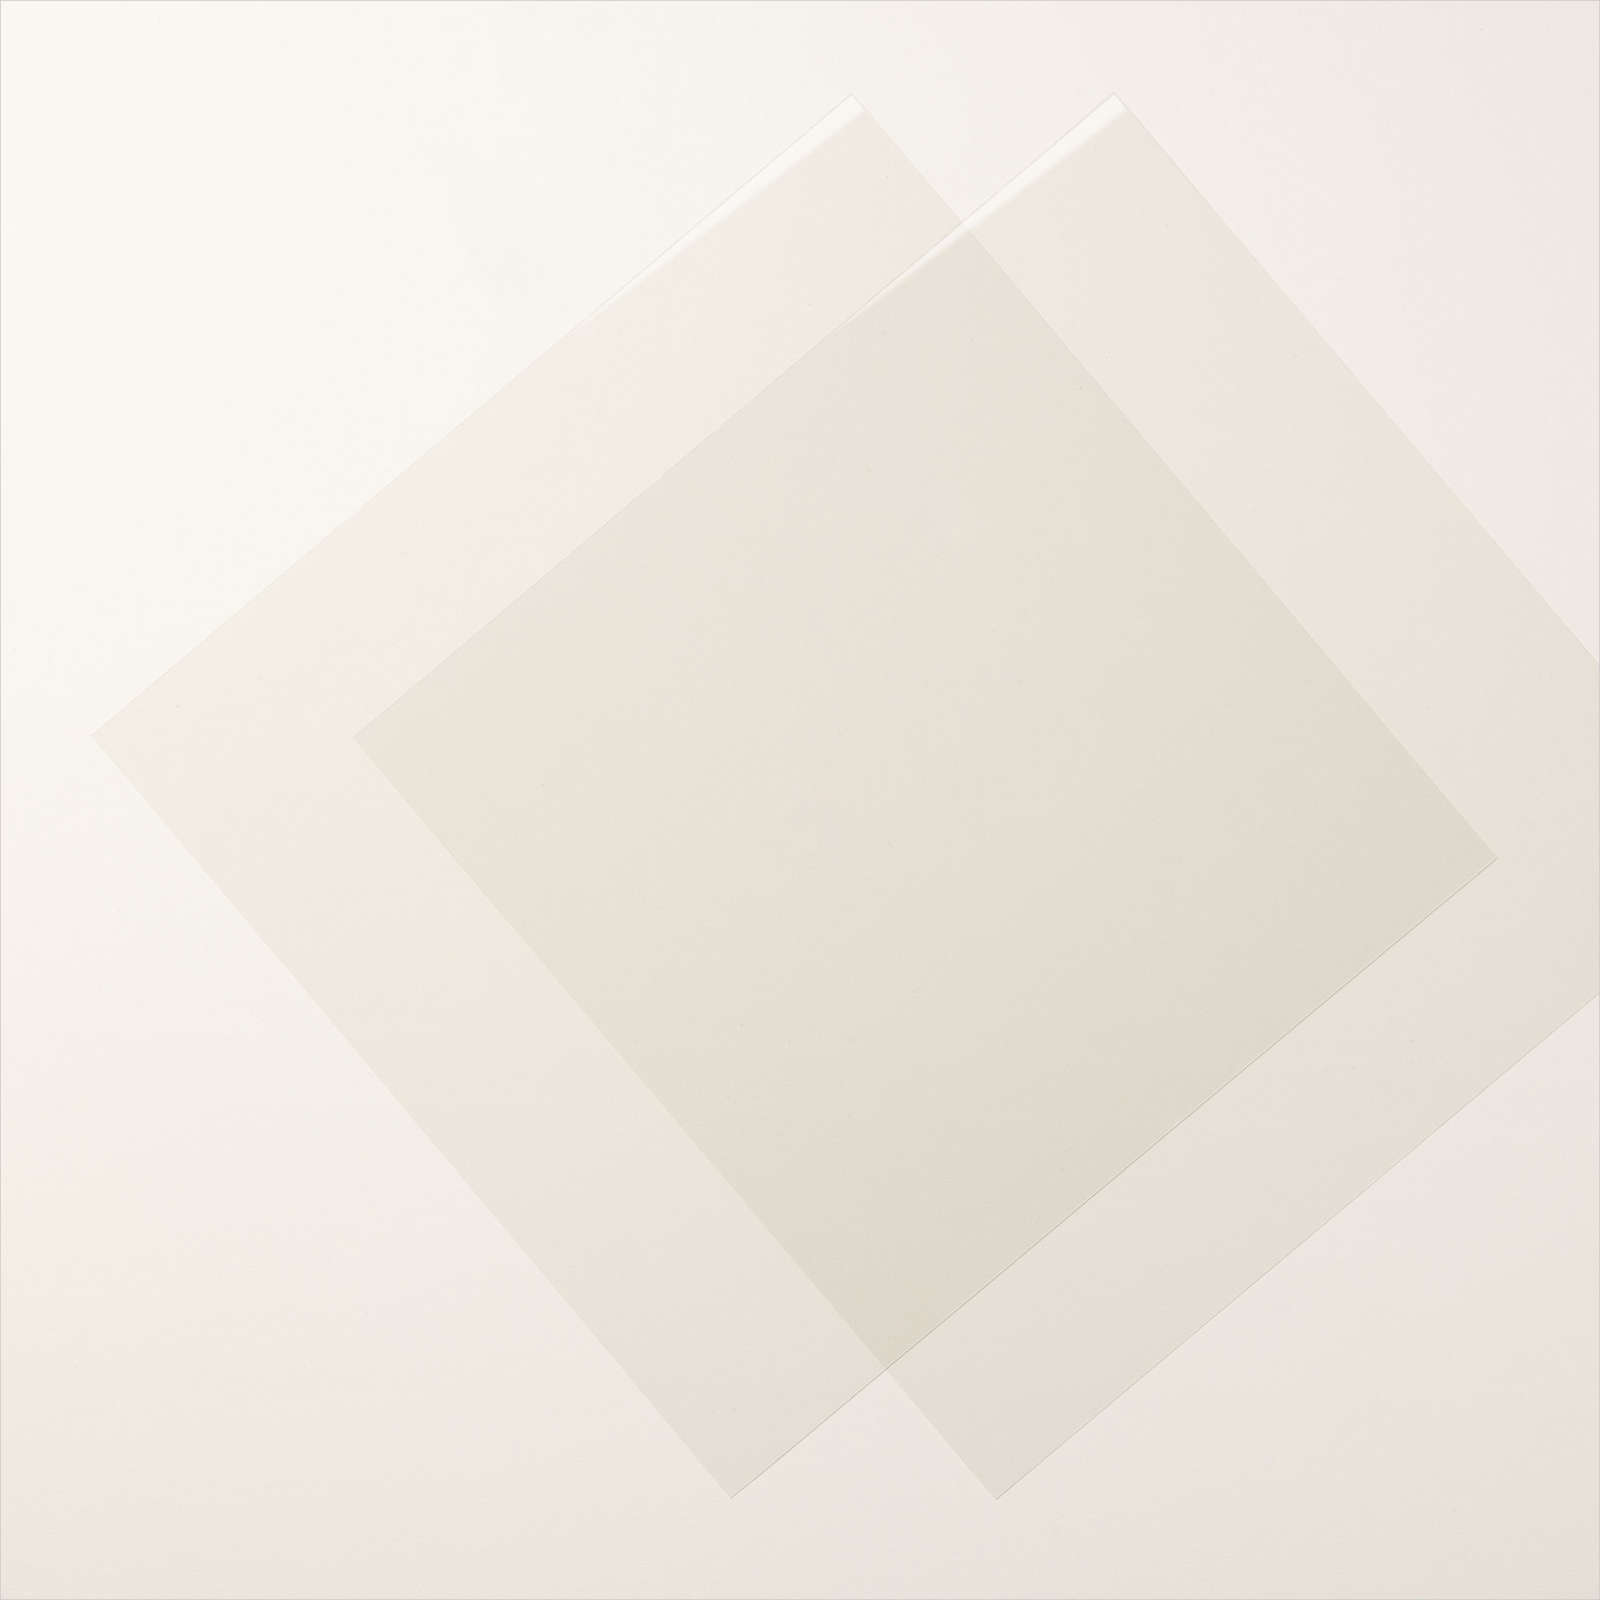
Window Sheet Smooch Technique
In order to do this technique, you will need the following:
- Window Sheets (transparency sheets will also work)
- Watercolor Paper – slightly larger than the finished size you want
- Ink refills and/or inkpads
- Water spritzer
- Paper towels
Begin by placing a drop on the window sheet and then spray it with water to dilute it a bit. Take the window sheet and place it wherever you like on your watercolor paper and rub it (smooch process) or you can lightly pat it depending the look you want to achieve.
If using more than one ink refill color, allow each color to dry completely or heat set with heating tool to speed up the process. Once a color is dry, repeat the process with the 2nd color. If you want to use an ink pad, simply swipe the ink pad on the window sheet and spray with water just like when using ink refill.
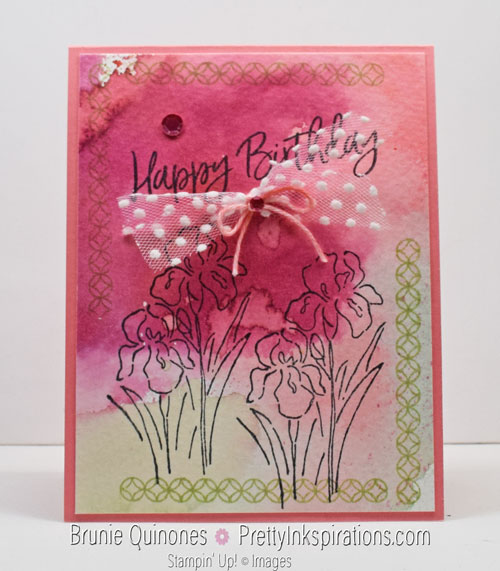
I started with a large piece of watercolor paper and after I inked it, it was cut down to 5-1/4″ x 4″. I chose to use both the ink refill and ink pad. As you can see from my card, one section is deeper in color – that’s the area where I used the ink pad. Beside the Rich Razzleberry color being my darkest color, I didn’t dilute it enough so when I placed it on the paper, it was a little darker than I wanted, but it was still useable. The watercolor background adds color to the flowers without having to color them.
Card Details
- Flirty Flamingo card base 4-1/4″ x 11″ scored at 5-1/2″
- Watercolor paper cut at 4″ x 5-1/4″
- Ink refills used for water coloring – Soft Sea Foam, Mint Macaron, Flirty Flamingo
- Border inked with Soft Sea Foam
- Greeting and flowers stamped with Memento Black ink
- Artistry Blooms sequins added for bling
- Tied 2 strips of White Polka Dot Tulle with the baker’s twine
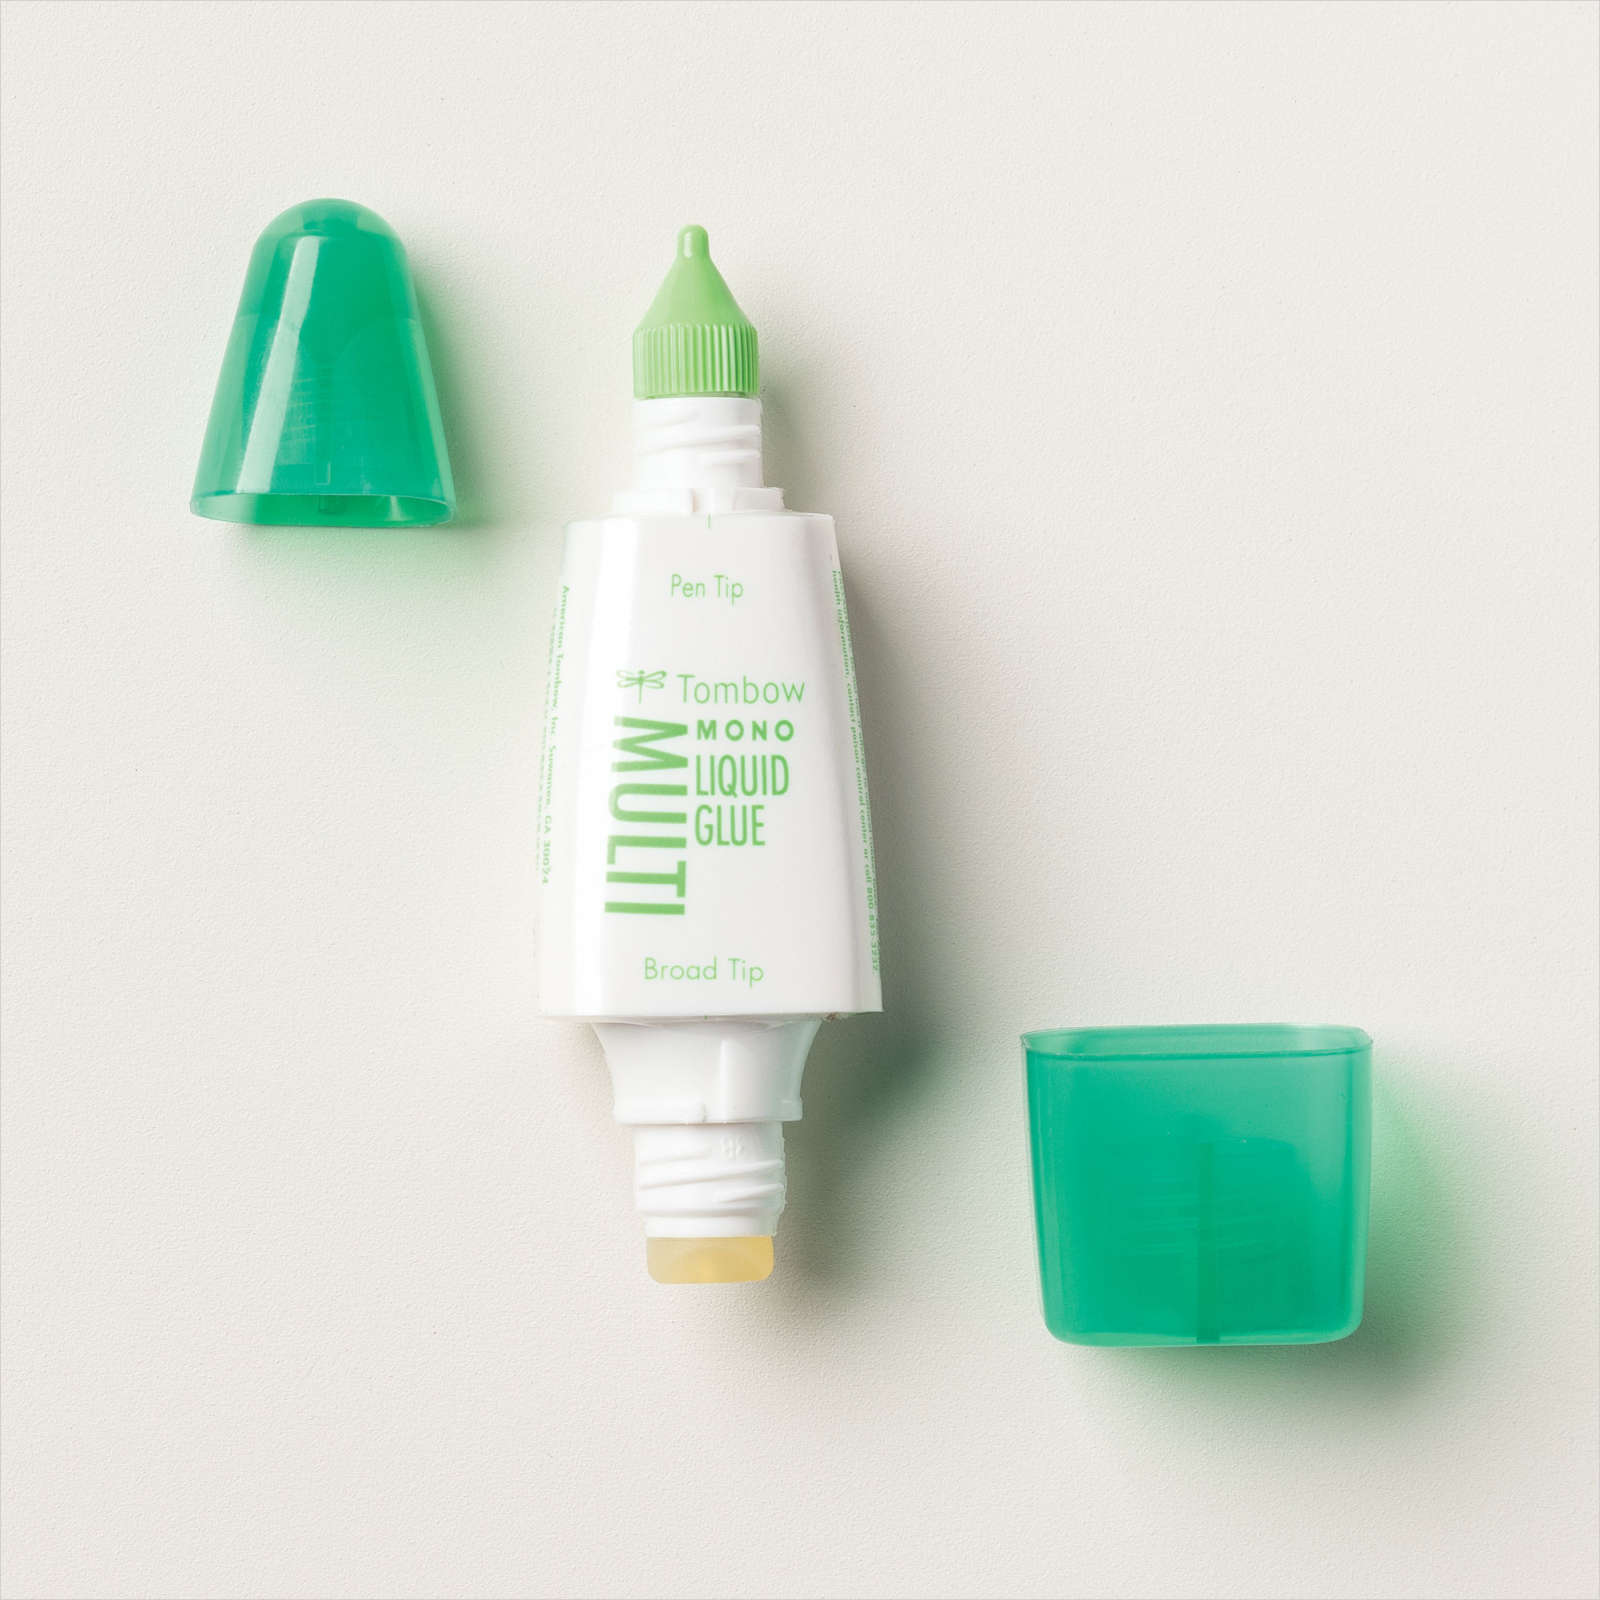
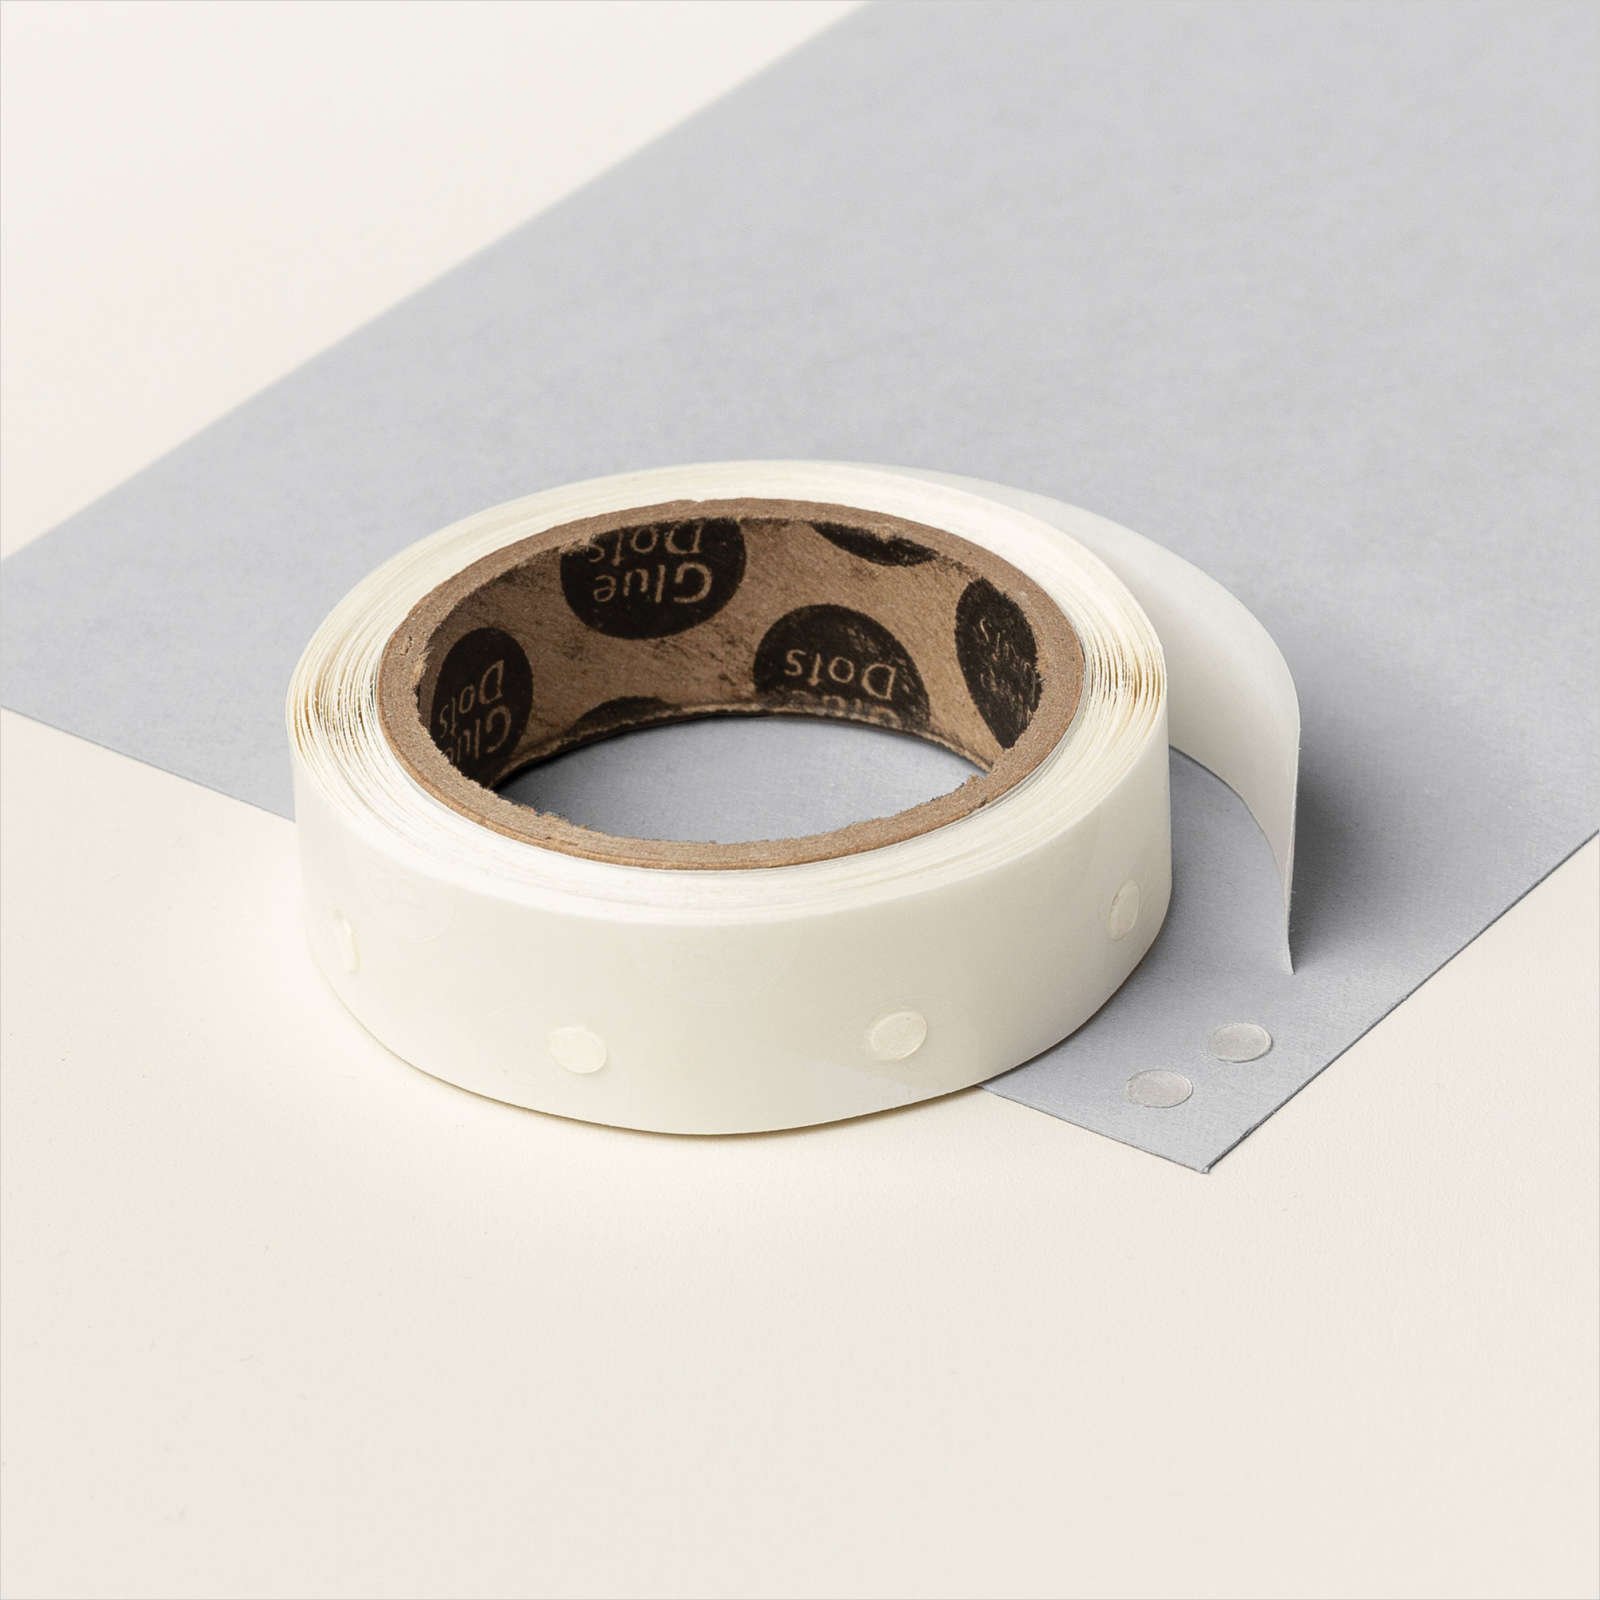
- Glue dot to adhere ribbon

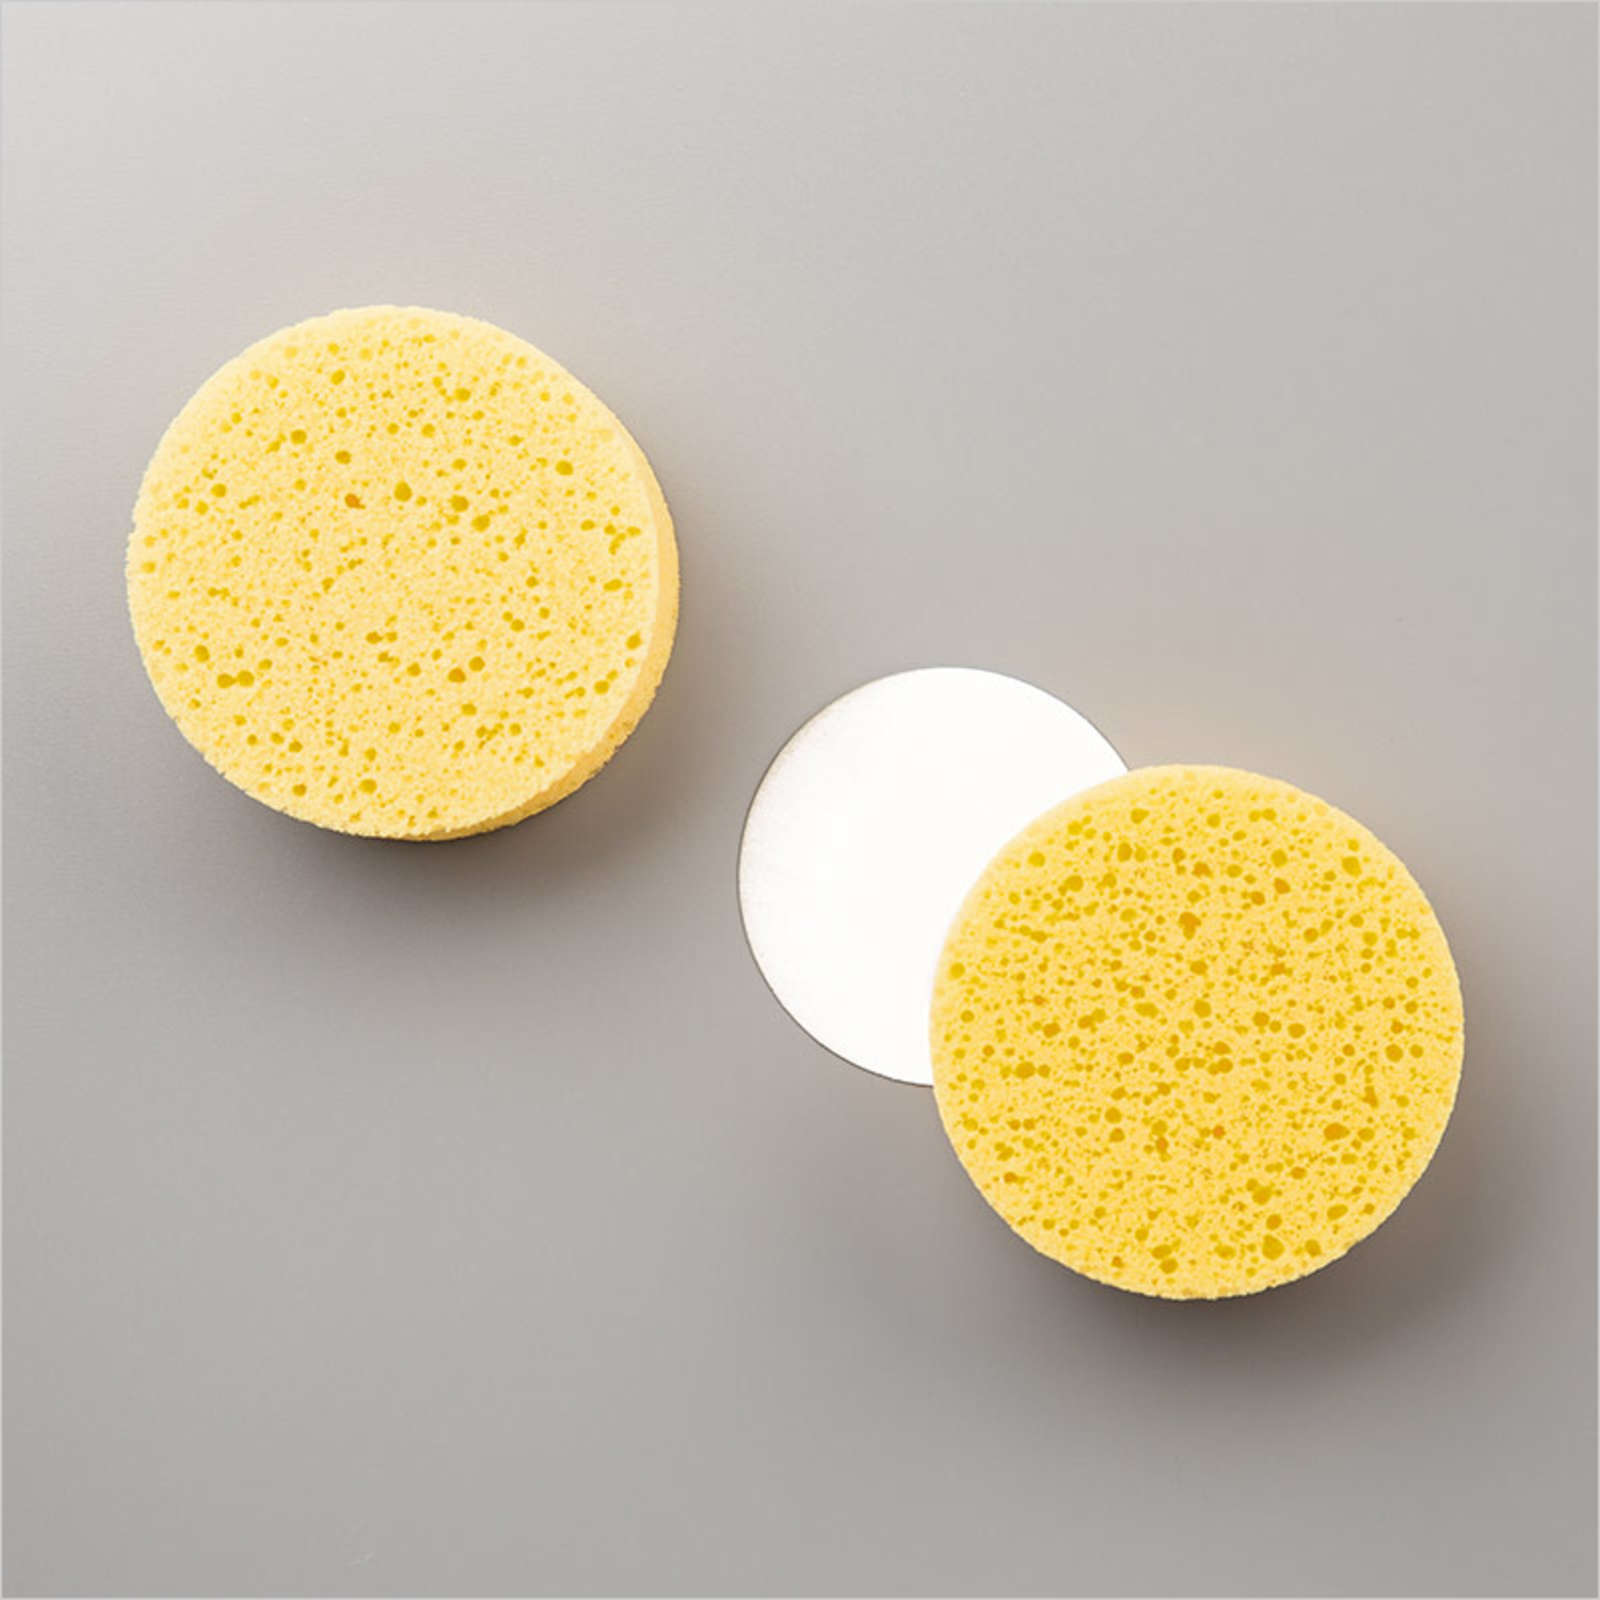
To lighten the top section of my card a bit, I used the white polka dot tulle. The white baker’s twine was colored with Flirty Flamingo by inking up a sponge and placing the baker’s twine on it and then swiping it until you’re satisfied with the color.
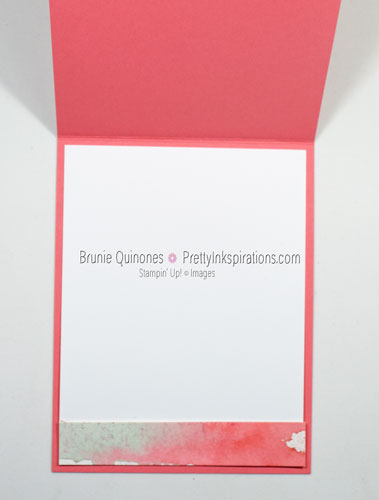
When I cut down the cardstock to the size I wanted, I had a couple of pieces left over so I used one of the pieces in the inside of my card.
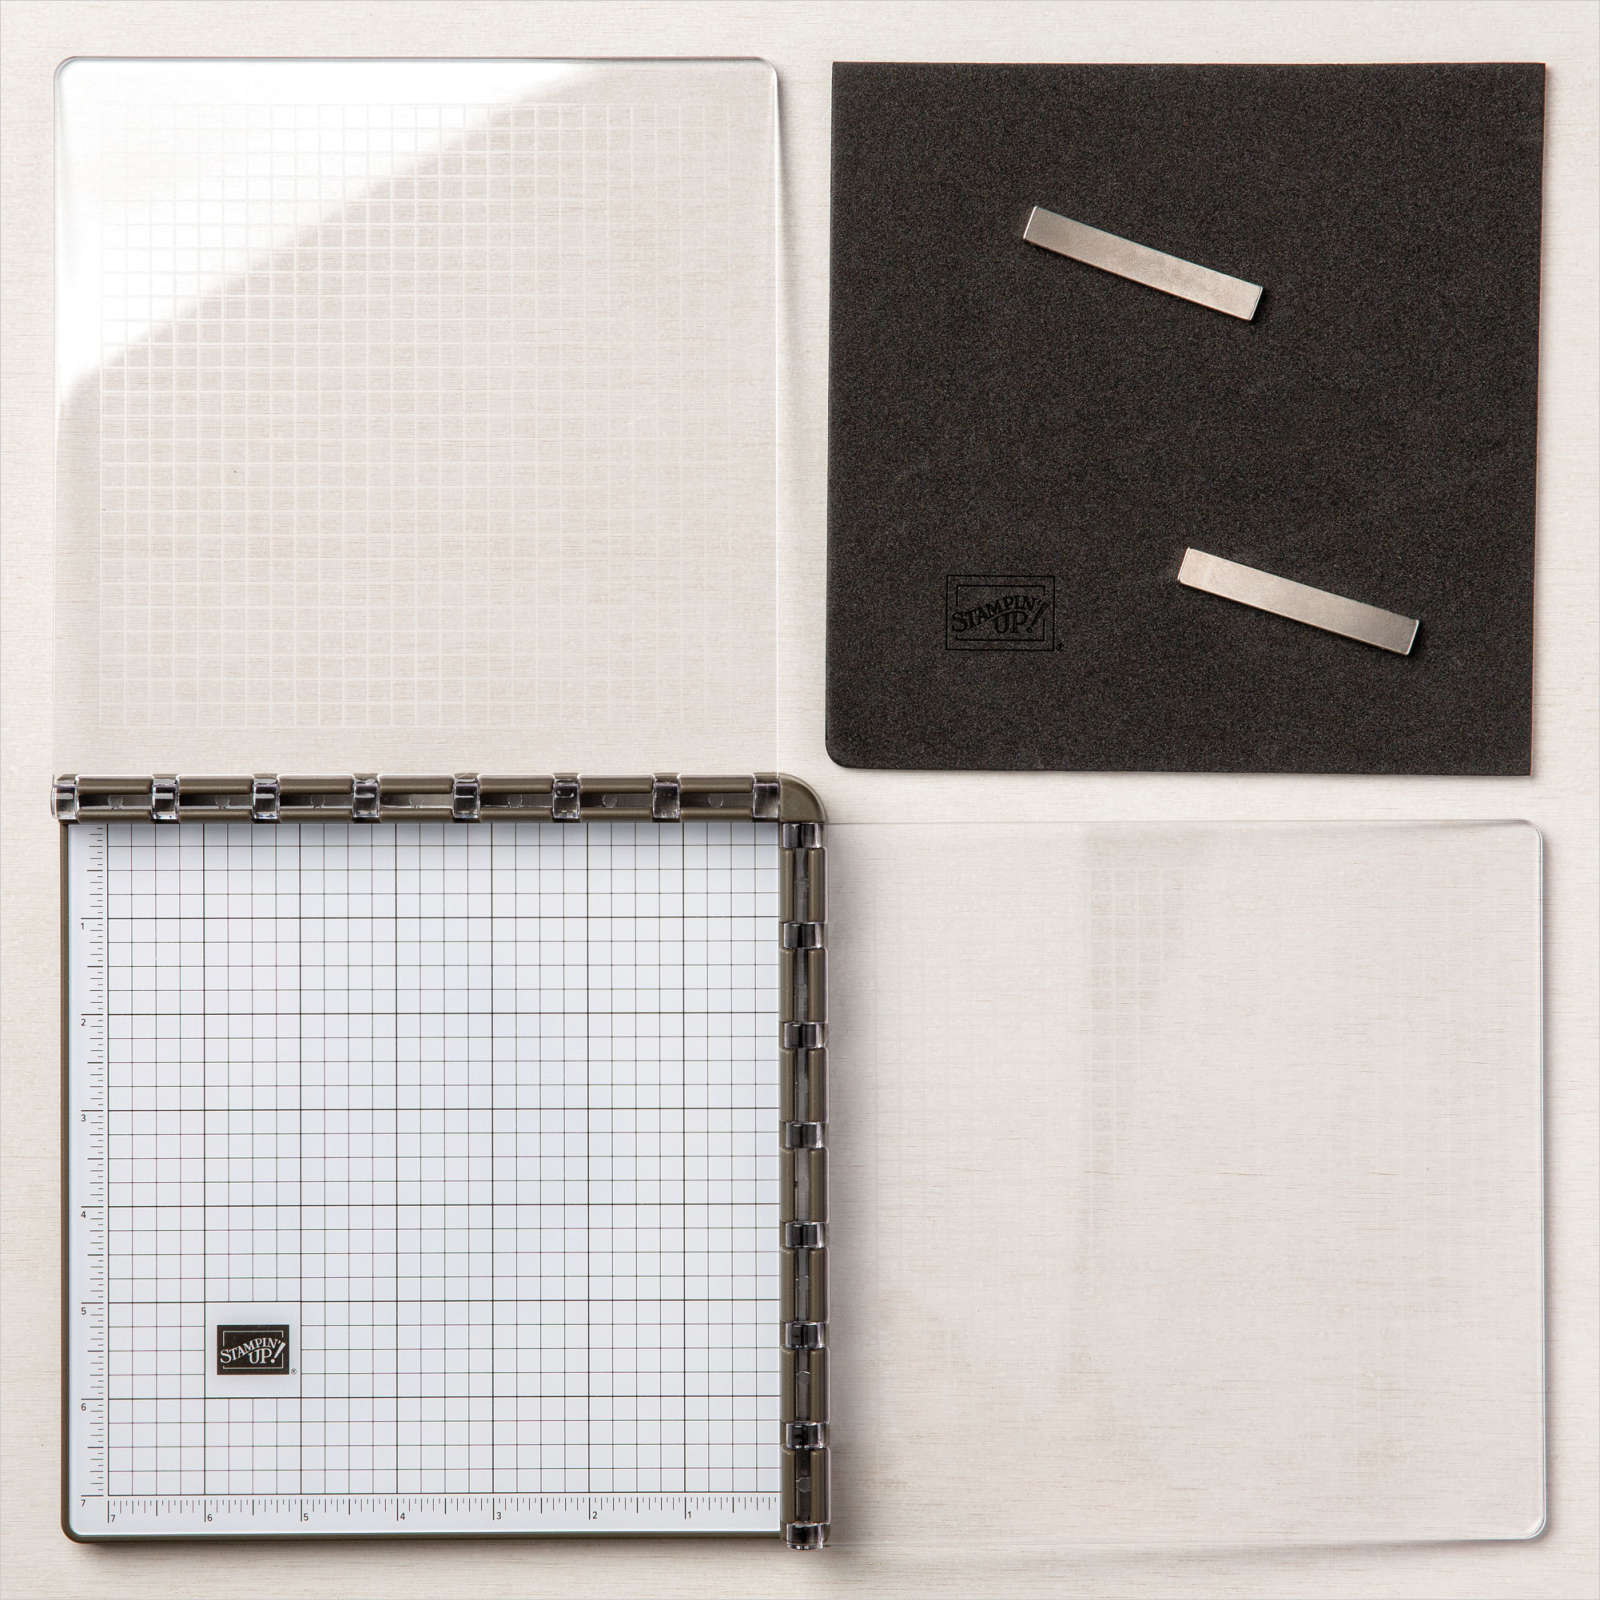
Because I was using watercolor paper that already had my inked background, I used the Stamparatus to ink up my flowers just in case it didn’t ink up well, I could stamp it again.
Ready to give this technique a try?
You can see more cards with the retiring Inspiring Iris stamp here and here.
Thanks for stopping by . . . till next time . . .
Card Supplies
Below are the Stampin’ Up! supplies used for today’s project. If you would like to purchase any of the supplies, click on the Add All to Cart button below it will take you to my online store. From there, you can see your cart and remove or add any products you like.


