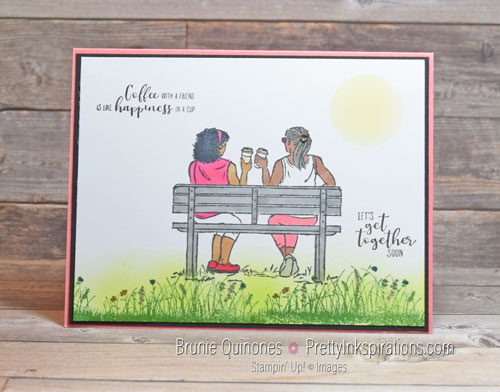
Today we’ll continue creating with the Coffee With Friends set. If you missed yesterday’s post, you’ll see the other woman image from the set. I like creating scenes and this set makes it easy to do that.
Masking
I wanted to create a scene in a park on a sunny day so I made the sun by negative masking.
Negative masking is when you die cut or punch an image and use the paper as your mask.
To create the sun, die cut or punch a small – medium circle on masking or copy paper and place the circle negative mask where you want it on the cardstock you’ll be stamping the scene. You can discard the die cut or punched circle or simply save it for another project. (You can use it to create a moon with the mask!)
Sponge the inside of the circle as light or deep a color you want. Remove the cardstock and your sun is complete. Tip – whichever tool you use to create your circle negative, make sure there’s enough paper around it so when you sponge the inside, you won’t get excess ink outside the circle.
Card Details
- Card base – Flirty Flamingo 5-1/2″ x 8-1/2″
- Basic Black layer 5-3/8″ x 4-1/8″
- White cardstock – 5-1/4″ x 4″
- Image and sentiments stamped with Memento Black ink
- Grass with flowers from the Grassy Grove stamp set was inked with Garden Green and sponged with Parakeet Party ink using blending brush
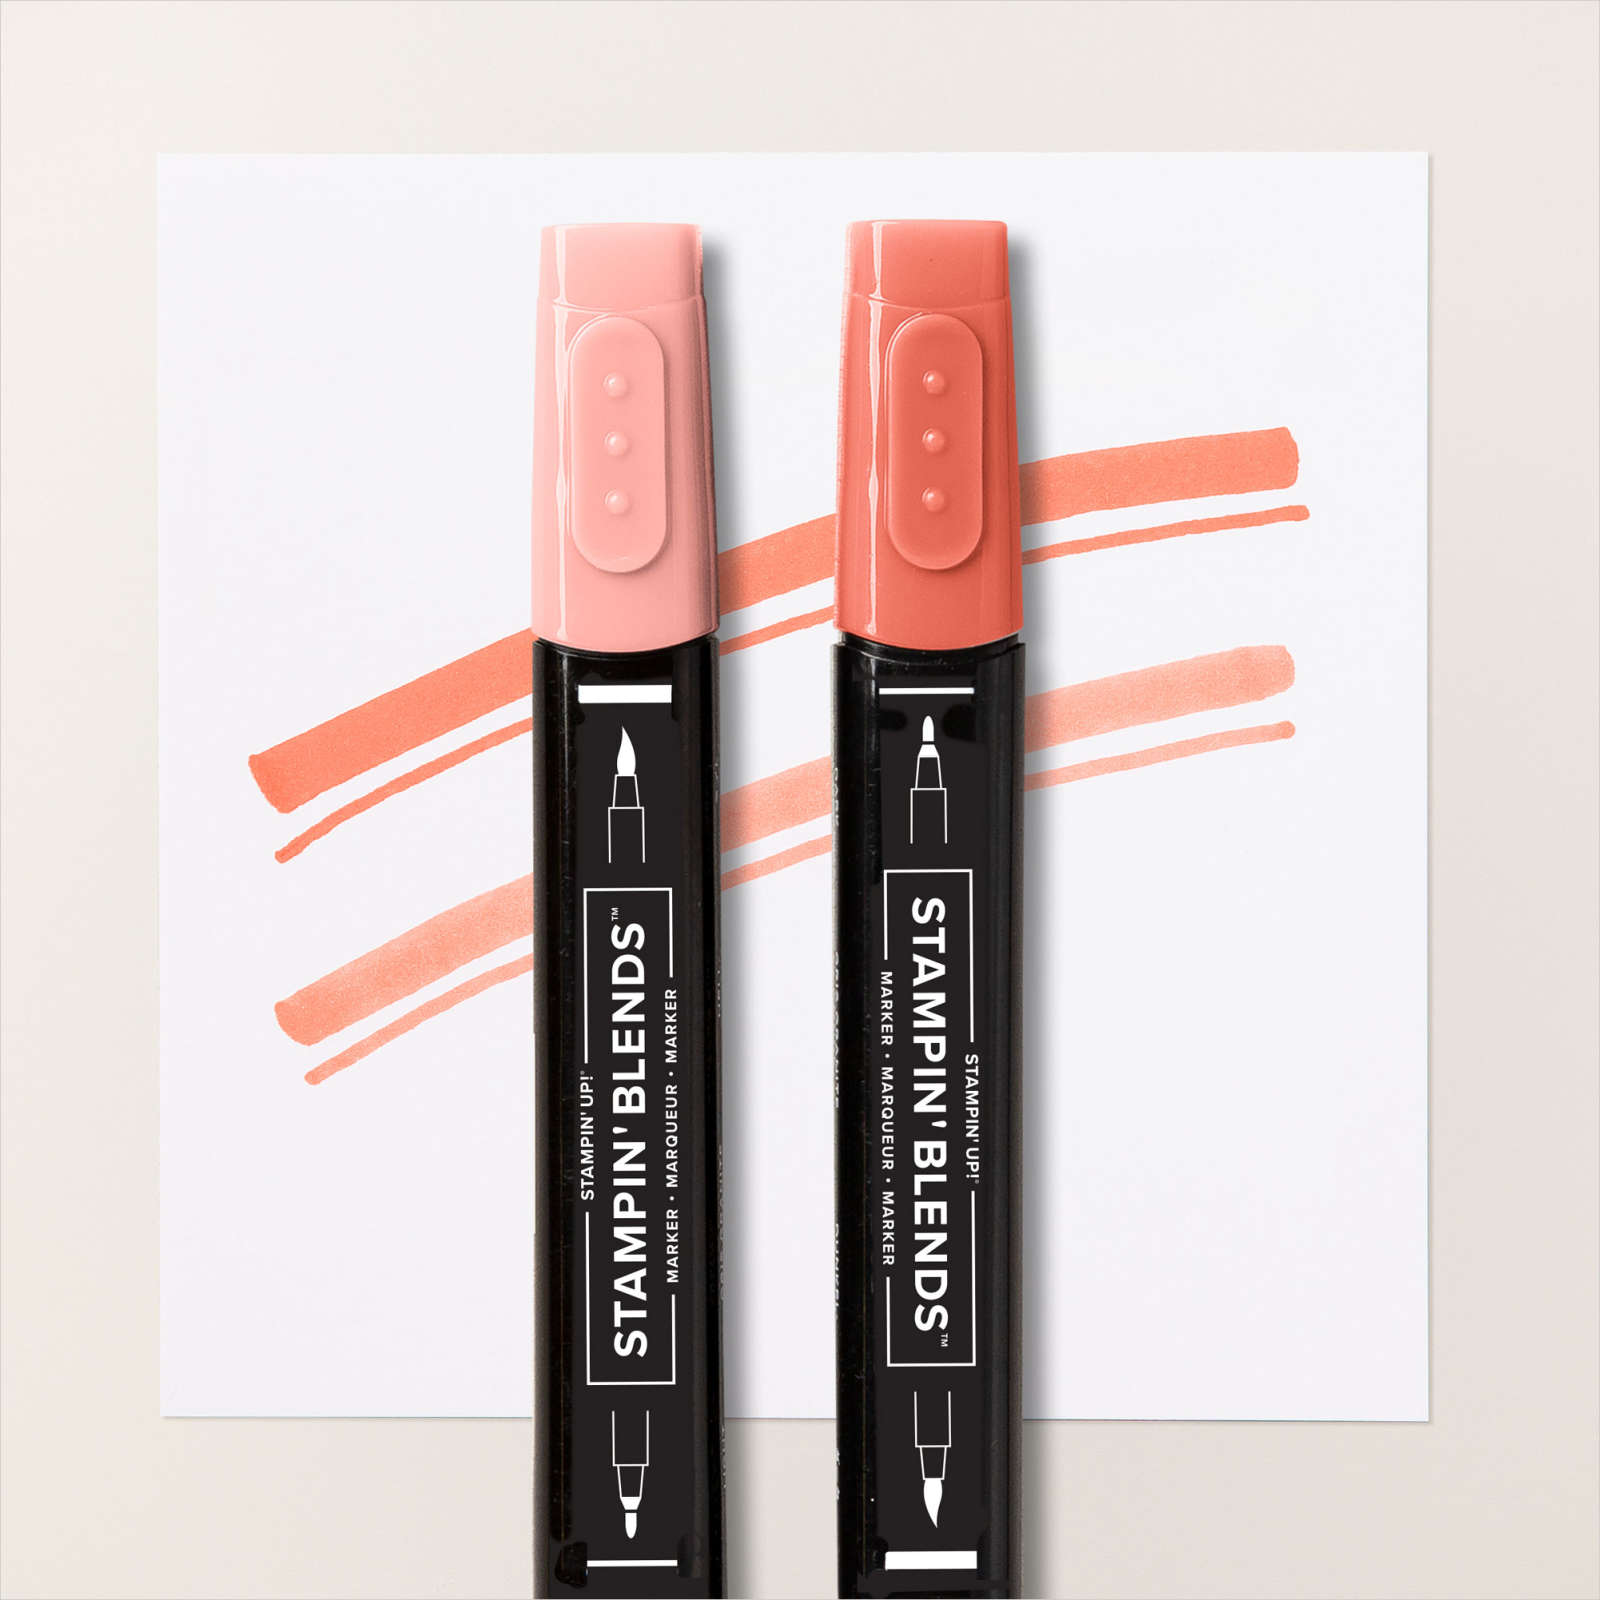
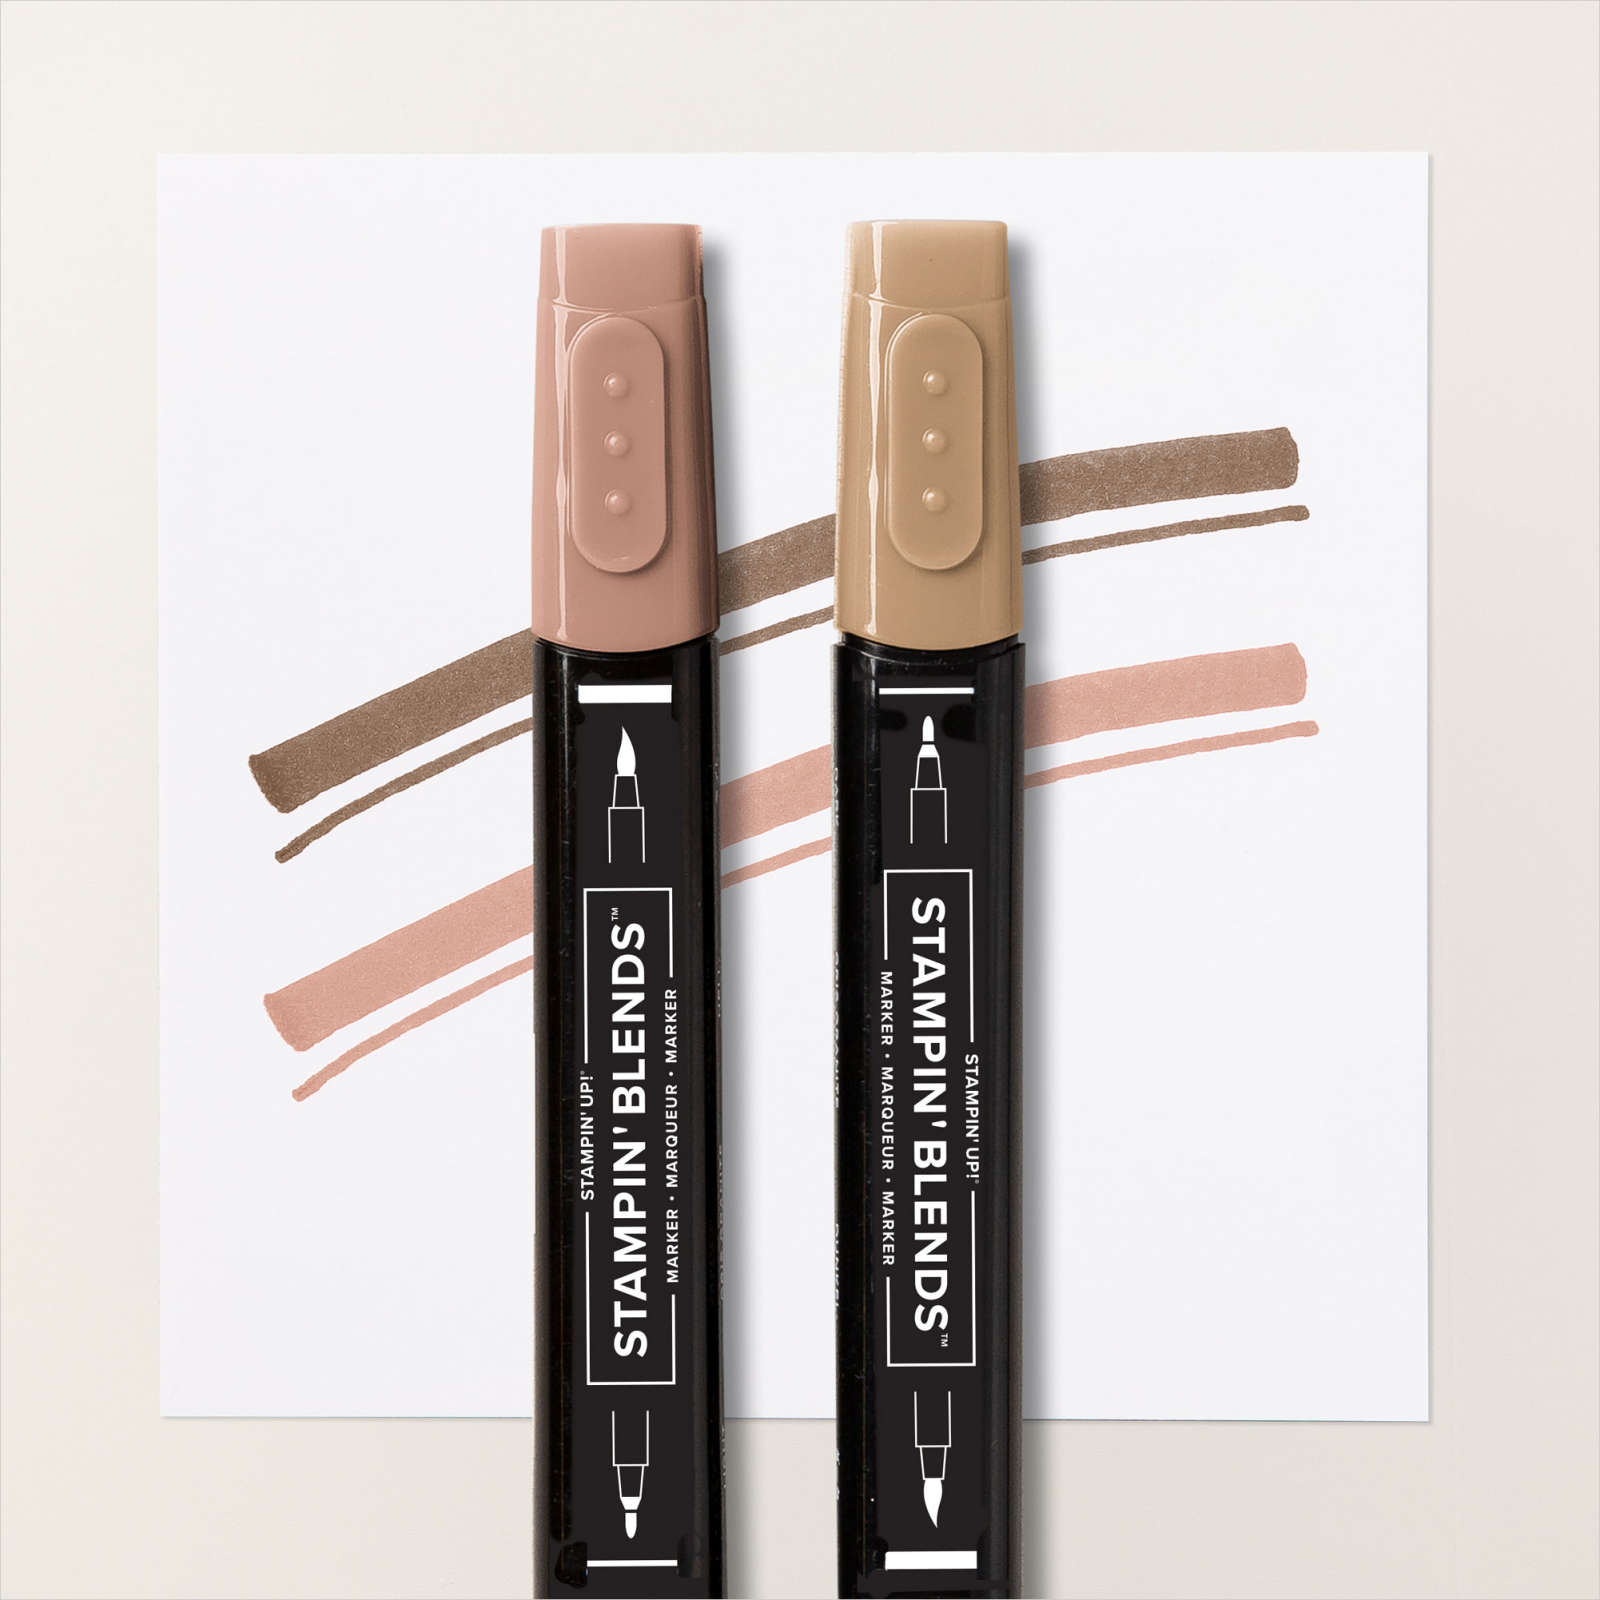
- Flowers were colored with Orchid Oasis, Fresh Freesia and Calypso Coral Stampin’ Blends
- Bench was colored with Smoky Slate Stampin’ Blends
- Women – Medium Blends, Basic Black, Melon Mambo, Flirty Flamingo, Pebbled Path, Smoky Slate, Crumb Cake
- A retired champagne rhinestone was added to the pony tail holder
- The retired Layering Circles was used to die cut the circle and negative sponged with Lemon Lolly ink
Did you know that Stampin’ Up! has masking paper which you can get at my online store? Works great for all your masking needs.
Till next time . . . thanks for stopping by . . .

Card Supplies
Below are the Stampin’ Up! supplies used for today’s project. If you would like to purchase any of the supplies, click on the Add All to Cart button below it will take you to my online store. From there, you can see your cart and remove or add any products you like.
Grassy Grove stamp was also used to create the scene.