I lost count on how many times I tried to get this blog post out since my last one. I’m glad it’s done and I can share it with you.
When I joined Stampin’ Up! in 2010, one of the products I purchased was Stampin’ Pastels and they use to come in various colors that were shaped into small squares and stored in a case. I enjoyed incorporating the pastels into my projects, especially using one of my favorite techniques, Popping Pastels. Stampin’ Up! discontinued them for a while, but thankfully brought them back with last year’s catalog.
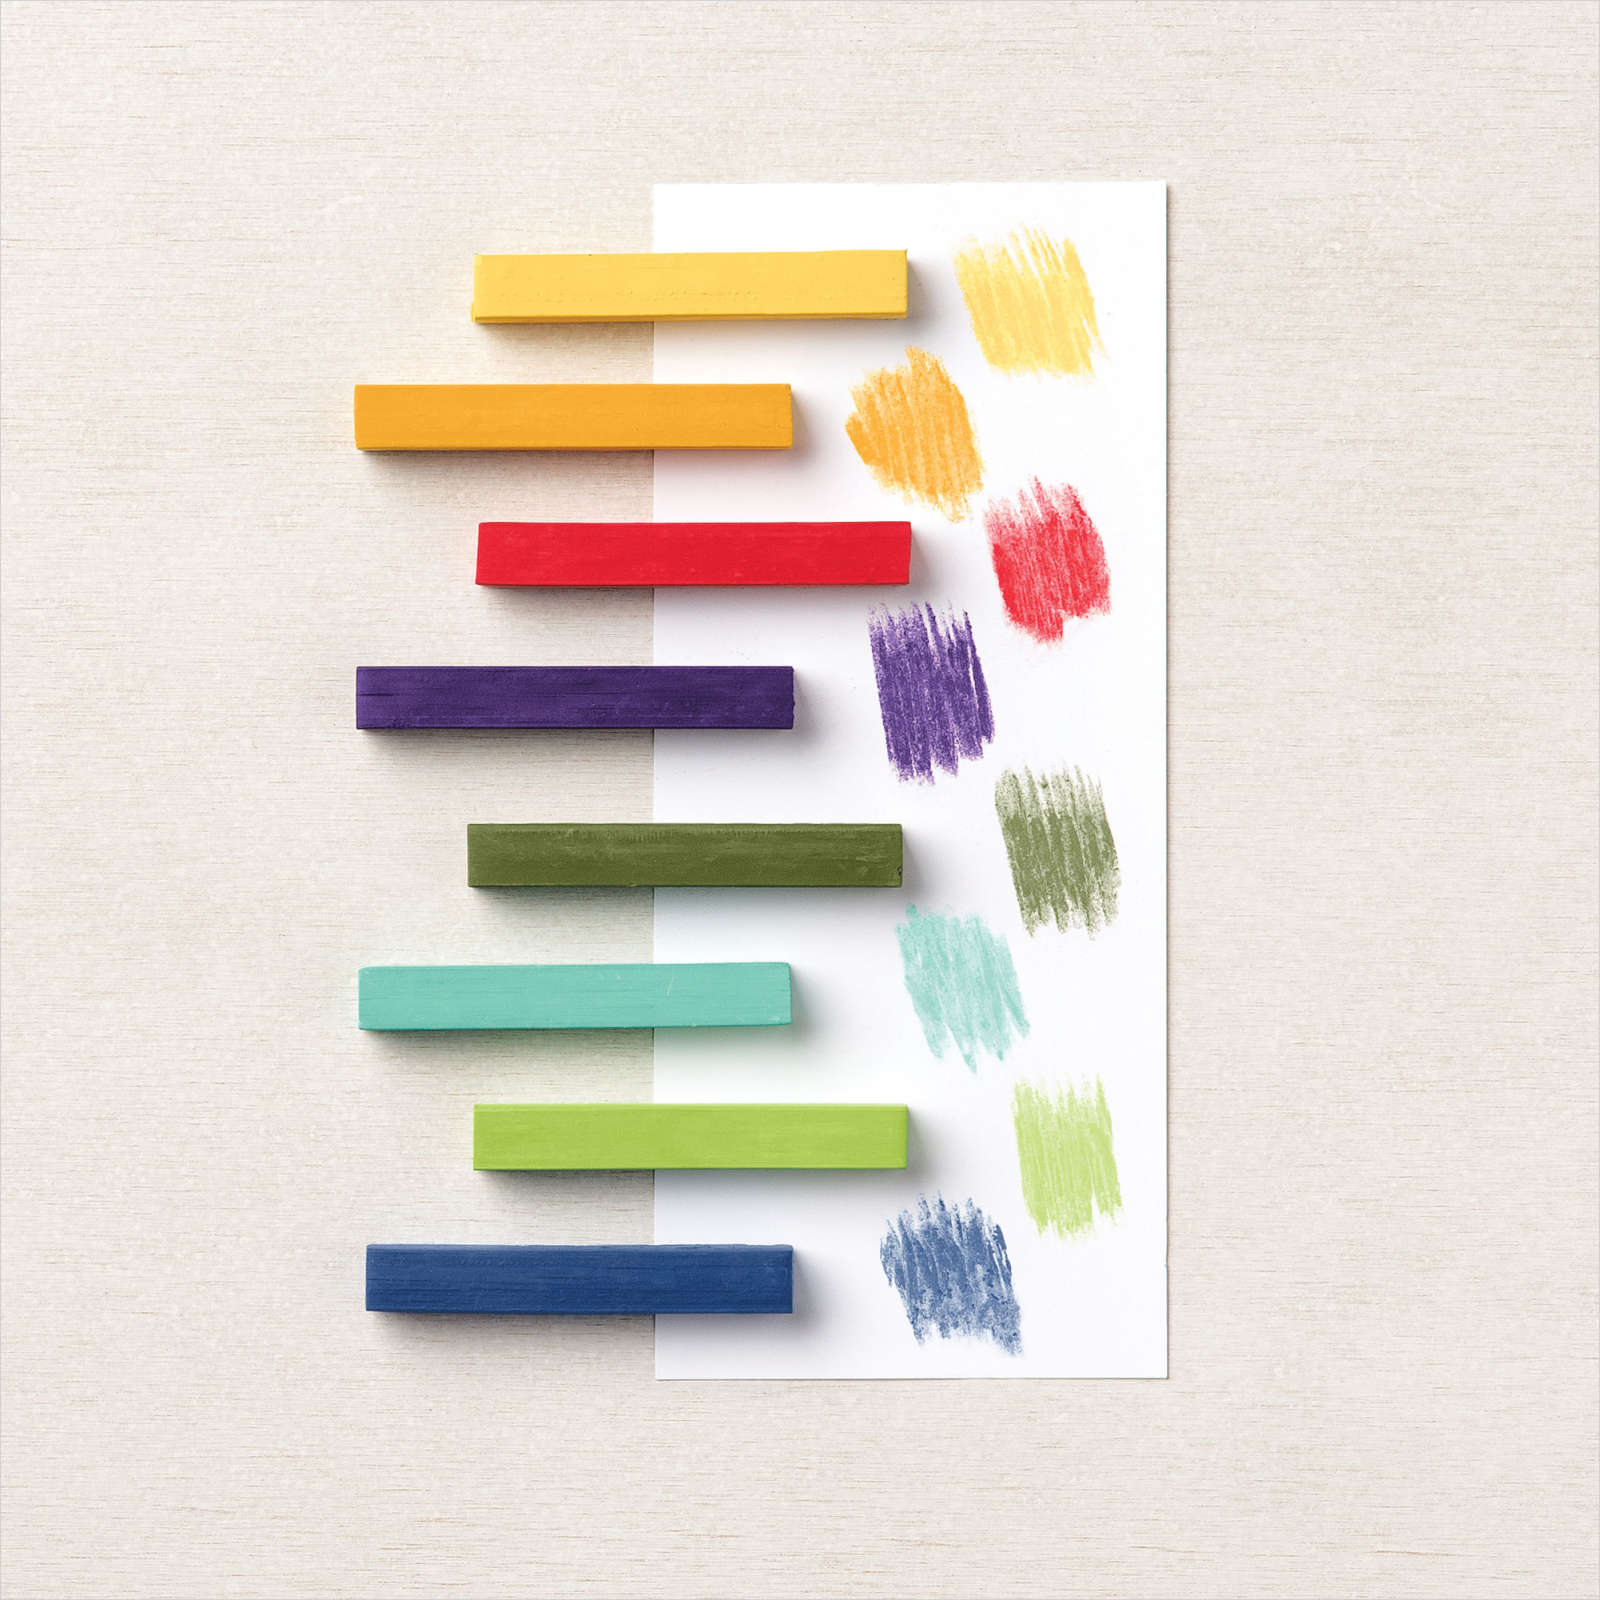
The Soft Pastels come in a set of 8 Stampin’ Up! colors – Coastal Cabana, Daffodil Delight, Gorgeous Grape, Mango Melody, Granny Apple Green, Poppy Parade, Mossy Meadow, and Night of Navy and can be used in various ways. Today we’ll continue our focus on watercoloring, specifically with soft pastels.
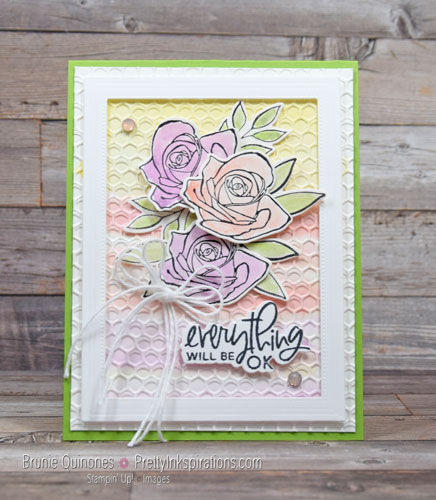
I started this card with a watercolor wash. Check out my last post to learn how I did it. I used Poppy Parade, Daffodil Delight and Gorgeous Grape ink refills.
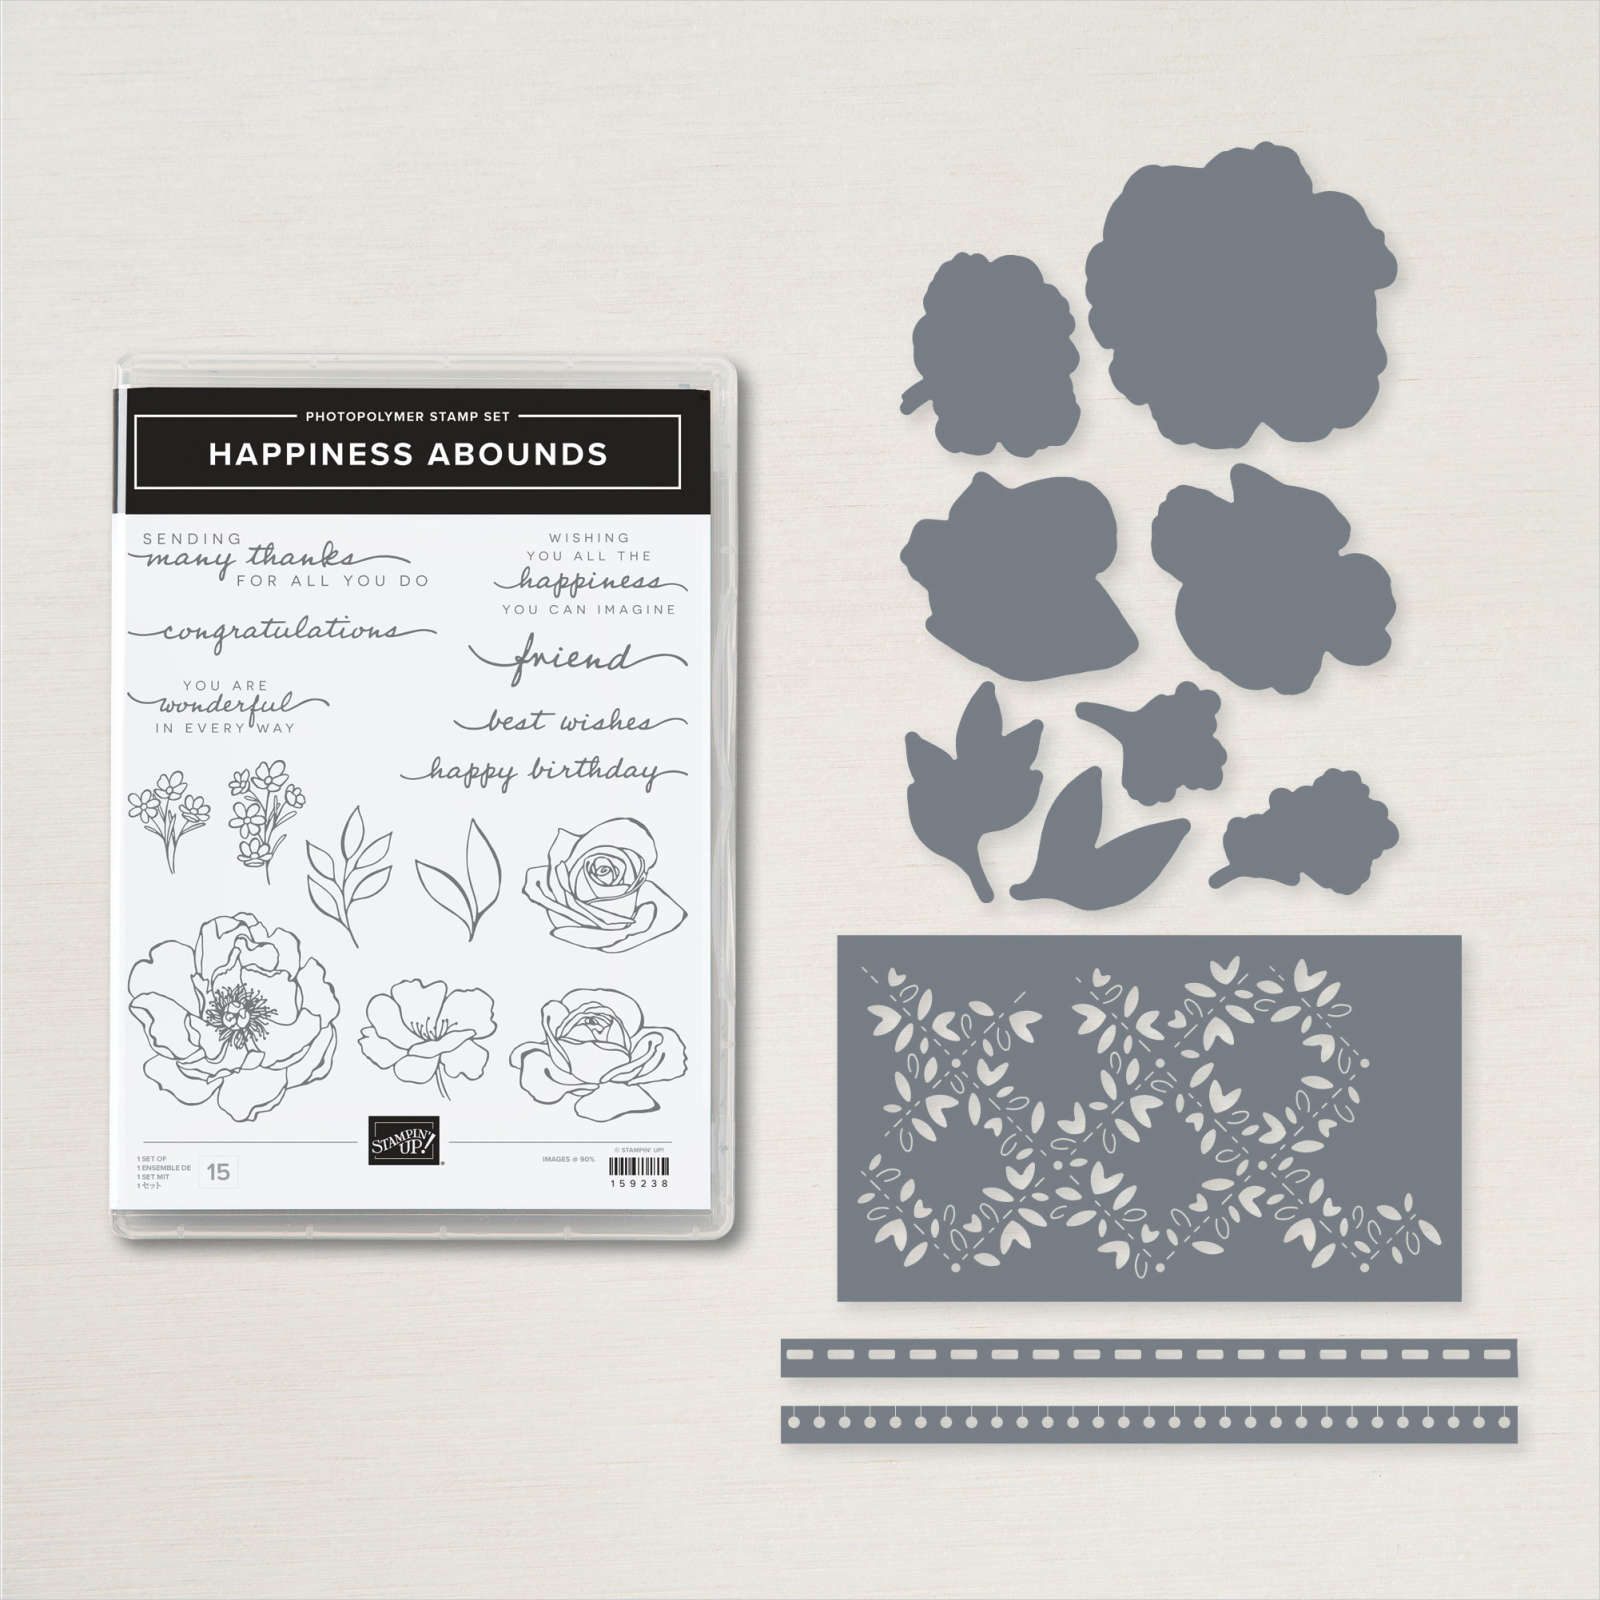
The flowers and leaves from the Happiness Abounds bundle were watercolored with Soft Pastels.
How To: Watercoloring With Soft Pastels
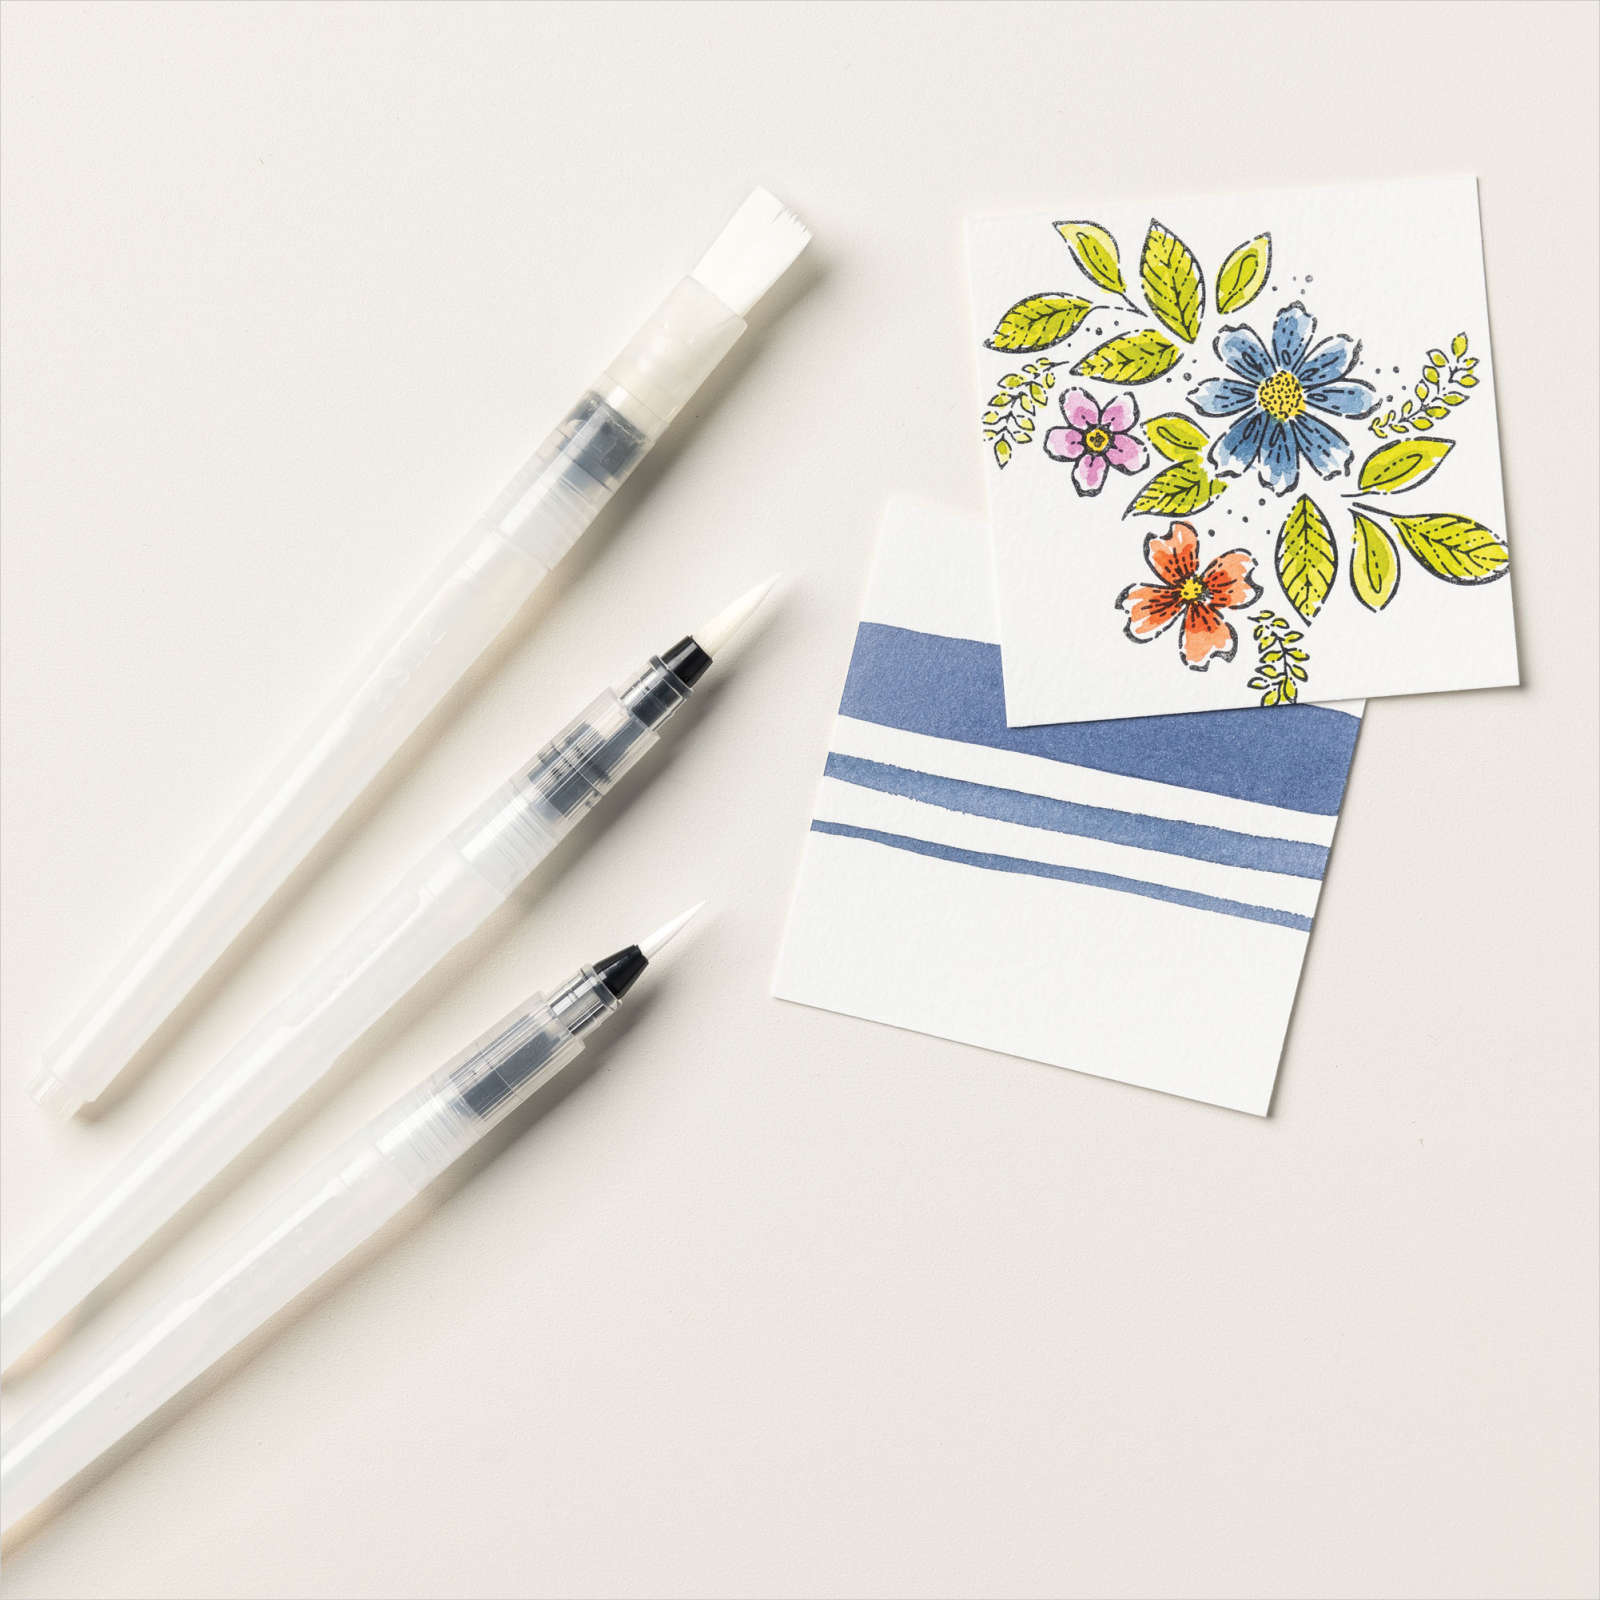
You will need a water painter, StazOn ink, watercolor paper or shimmery cardstock. Optional – silicone mat or clear block.
- Begin by shaving off pastel color with your spatula from the Take Your Pick tool or whatever metal flat tool you have.
- Shave color onto a silicone mat or clear block. You can also scribble onto a shimmery cardstock instead of shaving.
- Stamp image with StazOn ink onto shimmery cardstock or watercolor paper. StazOn ink is the best ink to use when coloring with water.
- Squeeze your water painter to release some water and pick up color.
- To blend colors or deepen the color, wait until it’s dry and then apply 2nd color.
- The amount of water you use will determine how light or dark your color will look on your image.
- Although I prefer the method above, you can use memento ink but wait until it dries and don’t use too much water. You can add color to your image with sponge dauber or blending brush and then use the water painter to pull in the color.
Card Details
- Card base – Granny Apple Green 4-1/4″ x 5-1/2″
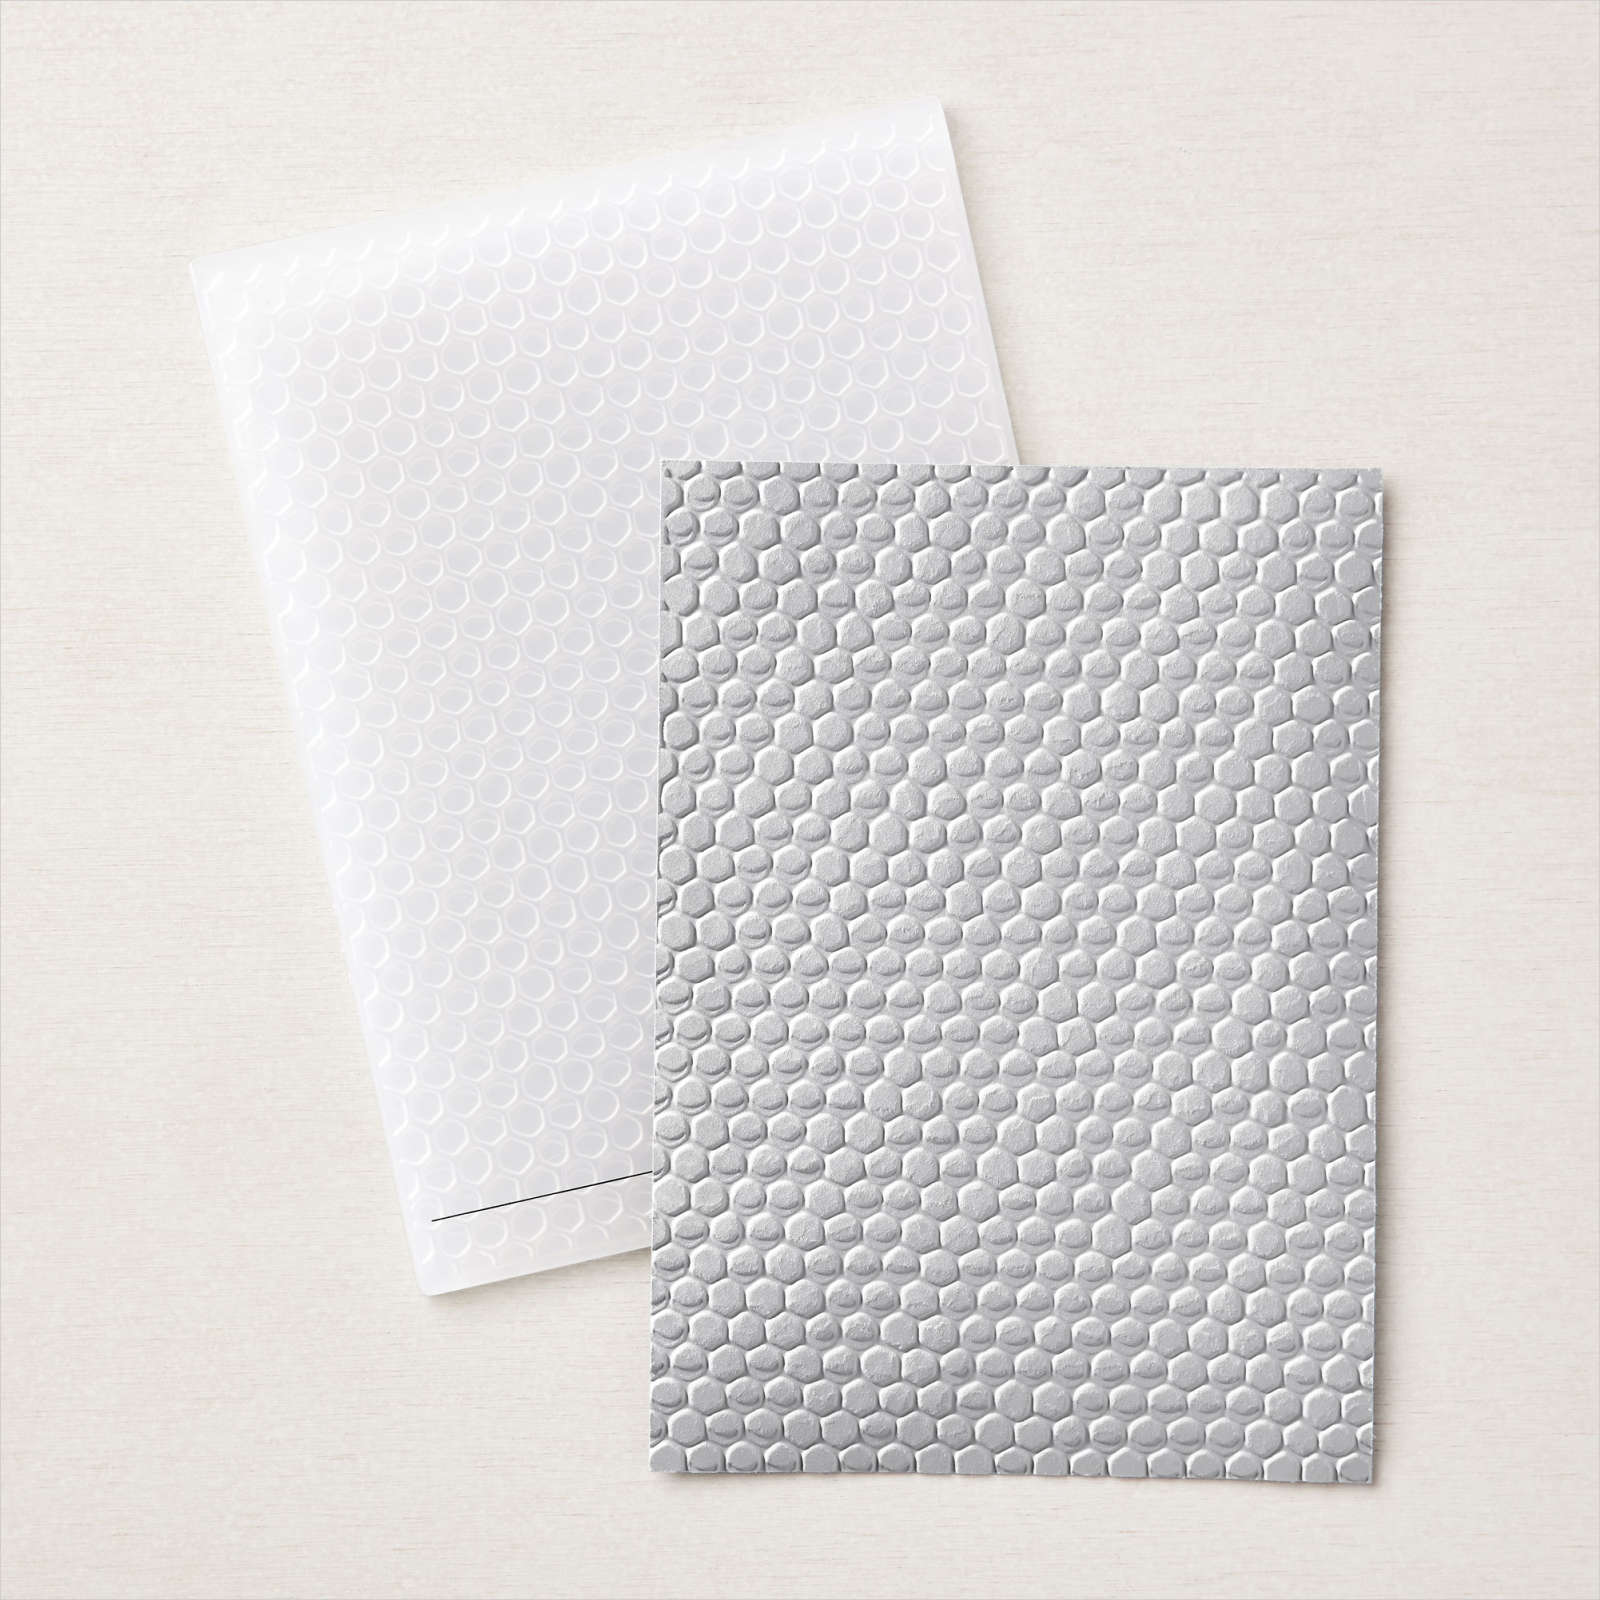
- Basic White cardstock 5-1/4″ x 4″ watercolored washed and embossed with Hive 3D embossing folder
- Largest frame from the Fabulous Frames dies was die cut on white cardstock.
- Sentiment from Charming Sentiments was stamped with Memento Black ink and die cut with the Silhouette Sentiments Dies.
- Flowers were stamped with StazOn ink onto Shimmery Cardstock. I used Poppy Parade and Gorgeous Grape pastels for my flowers. Leaves were colored with Mossy Meadow, and Granny Apple Green.
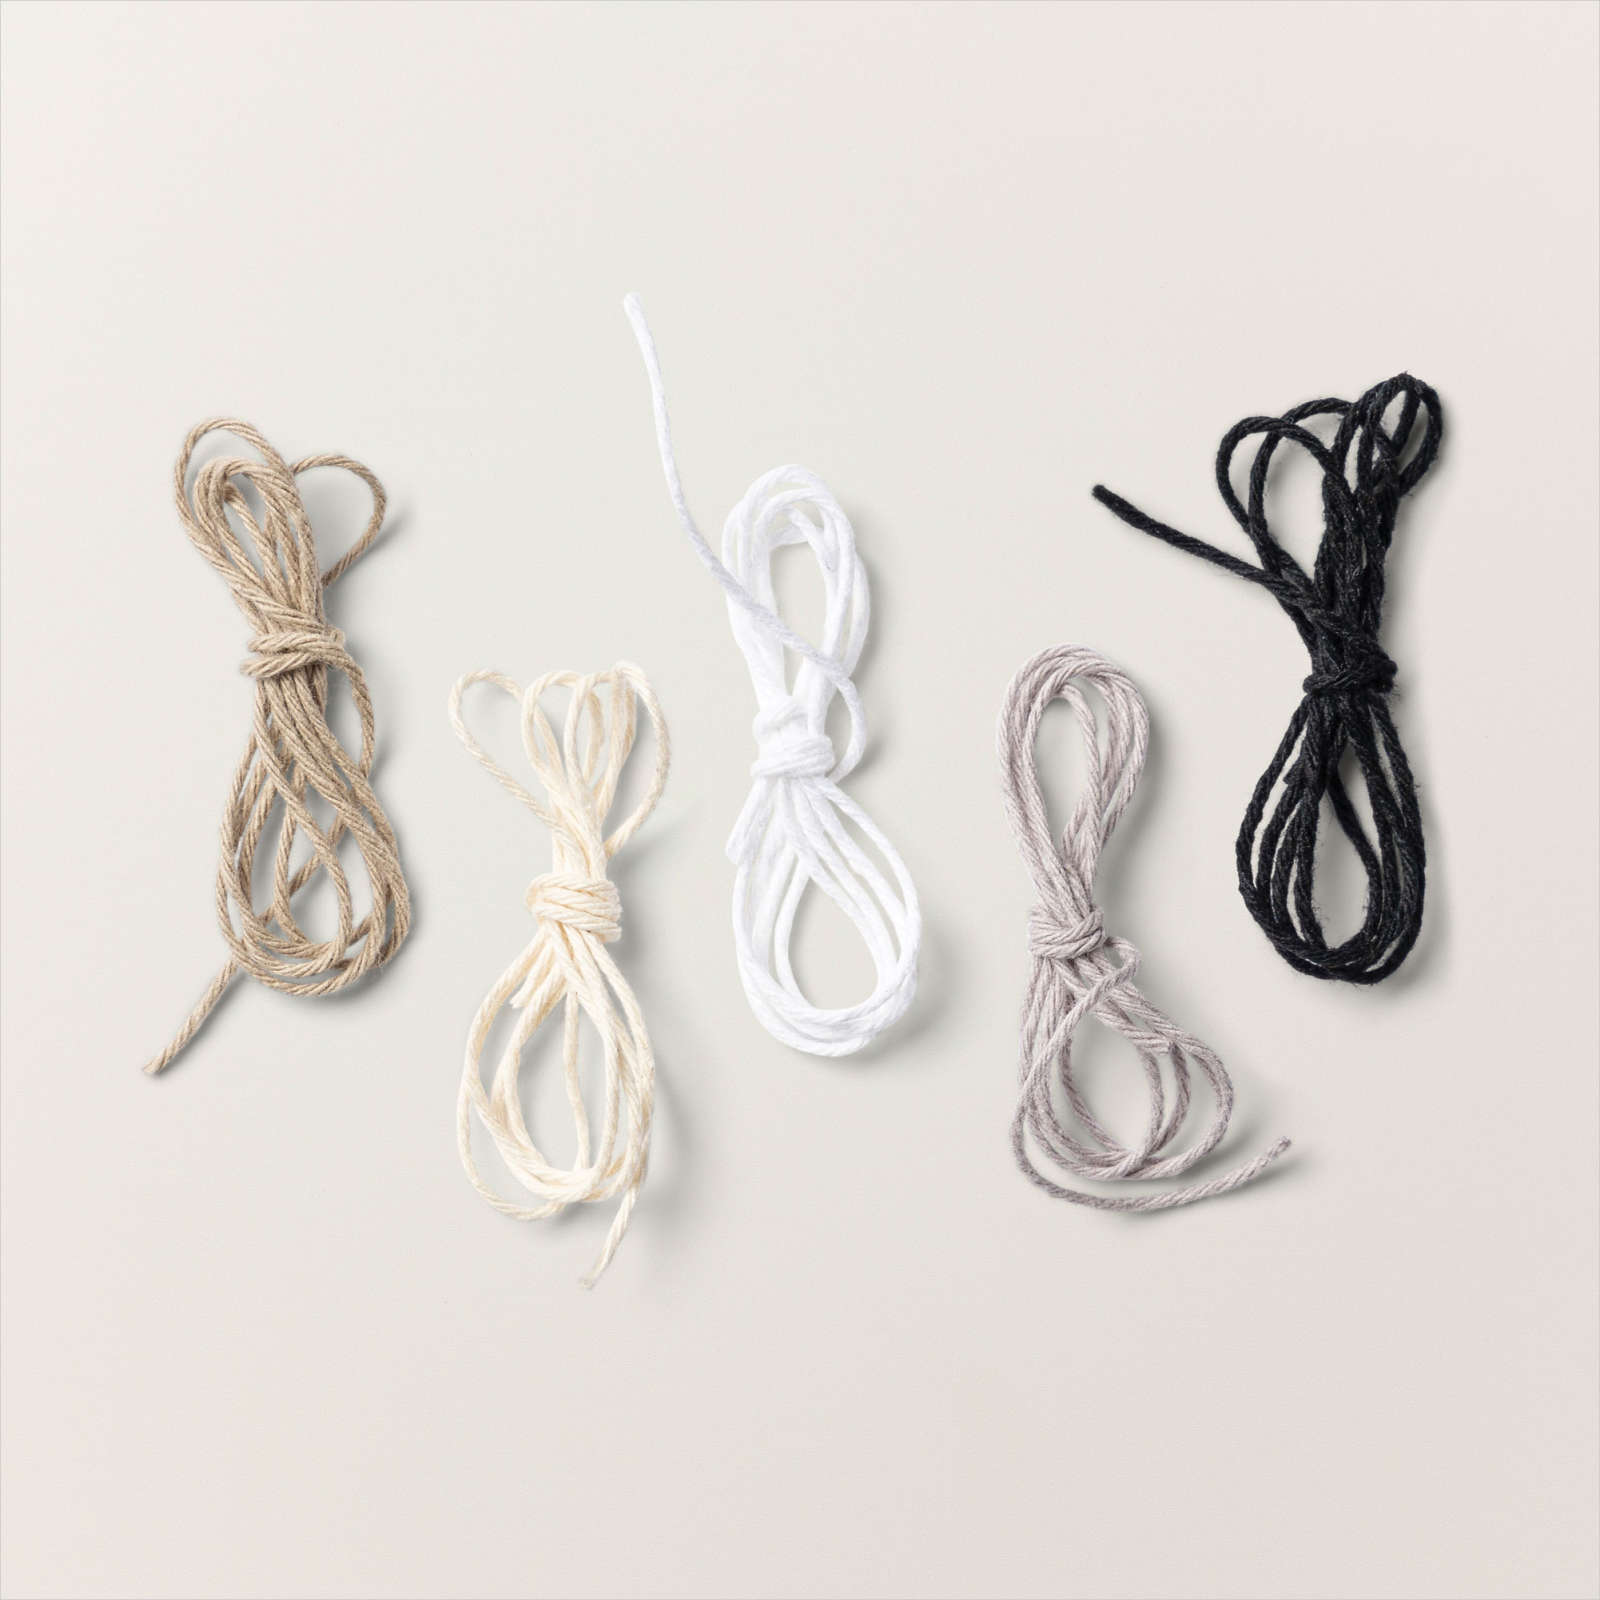
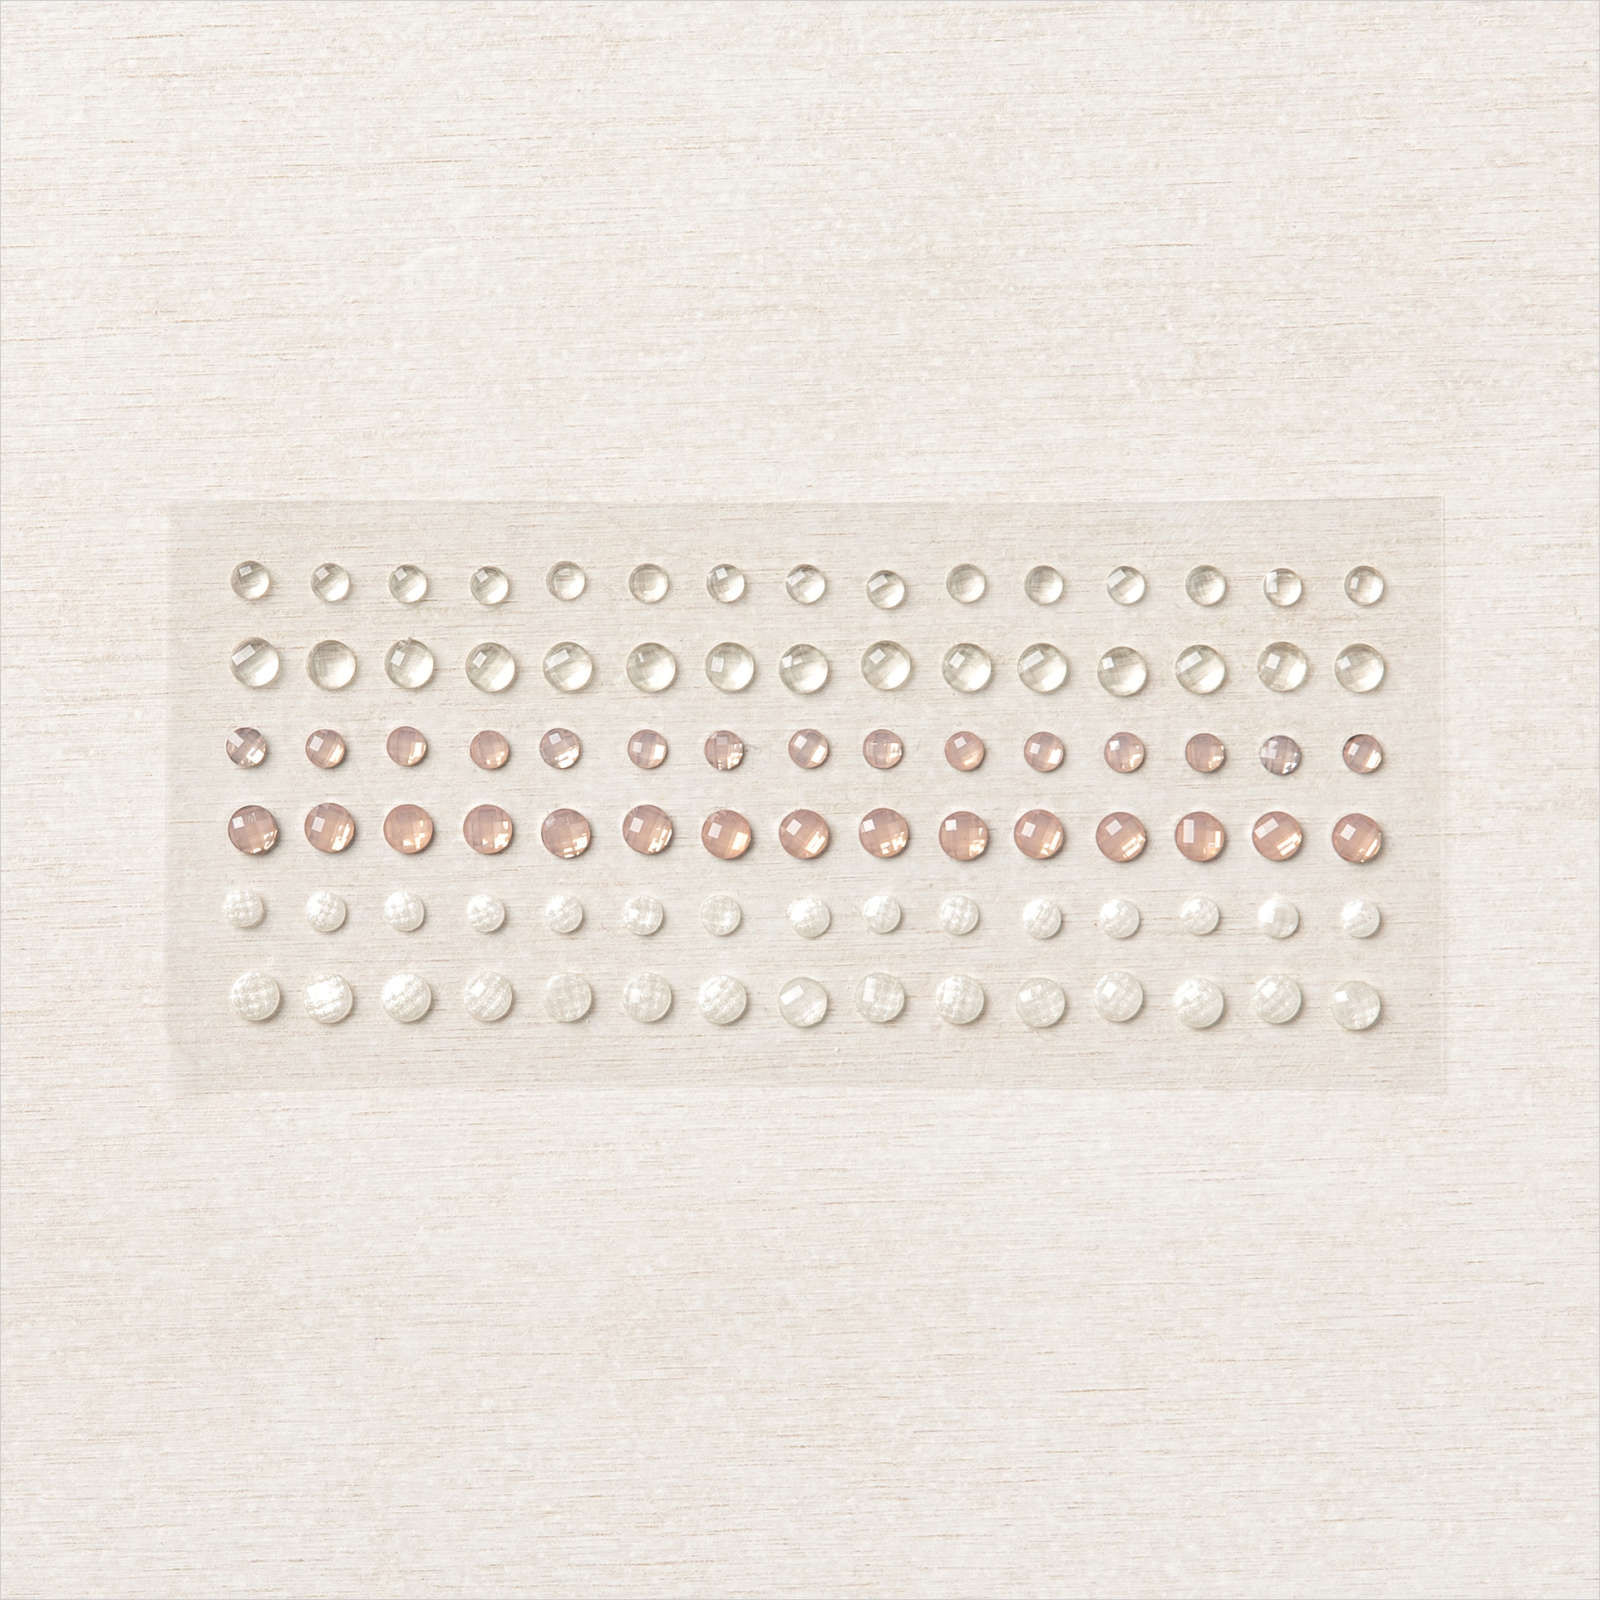
- Elegant Faceted gems, and white twine were added to finish the card.
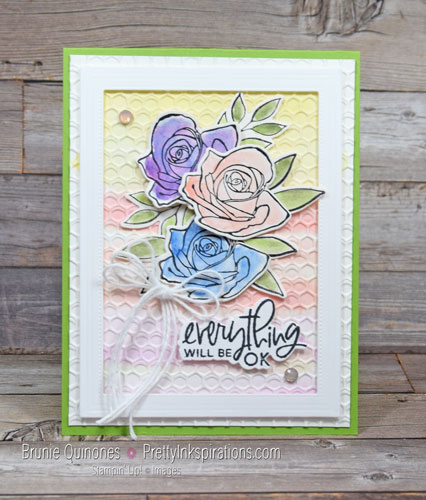
When I finished my 1st card, I thought the flowers blended too much with the background. I wanted them to pop a bit so on my 2nd card, I colored the bottom flower with Night of Navy and I blended the top flower with 2 colors – Poppy Parade and Night of Navy which created a periwinkle shade.
If you notice, the Poppy Parade flower is lighter and actually looks like a different color. Instead of adding more color, I left it as is. Which card do you like best – light or darker flowers?.
Have you tried the pastels yet? If not, consider giving them a try. In future posts, I’ll share with you other ways to use the soft pastels.
Thanks for stopping by . . .till next time . . .

Card Supplies
Below are the Stampin’ Up! supplies used for today’s project. If you would like to purchase any of the supplies, click on the Add All to Cart button below it will take you to my online store. From there, you can see your cart and remove or add any products you like.
1 Comment
Comments are closed.







Beautiful water color card. I will have to pull my chalk pastels out that I haven’t used in a while.