Are you one of those people who has tons of patterned paper stored away because you love it so much that you don’t want to cut it up? If you are, let’s try to remedy that.
I’ve had these set of cards sitting in my draft folder for quite a while and hadn’t gotten around to posting them. I shared them with my customers last year via zoom. when we weren’t able to meet in person. Everyone chose whatever patterned paper and stamp they had among their supplies.
All six of these cards were made using the one sheet wonder technique.
What Is One Sheet Wonder?
This technique has been around for quite a while but perhaps you’ve never heard of it. So what exactly is the one sheet wonder technique? It’s when you use one sheet of patterned paper to create a certain number of cards. You can pretty much use any size paper, but I find that a square piece is easier. I chose to use a 6 x 6 template using the Subtles Designer Series Paper (this design was retired last year).
Why use this technique? This is a great way to create a number of cards quickly. Using one patterned paper and one stamp makes a nice card set to gift someone. There are many templates out there but you can also come up with your own. Here’s the one I created for today’s cards. The section with the squiggly line is an extra piece I didn’t use.
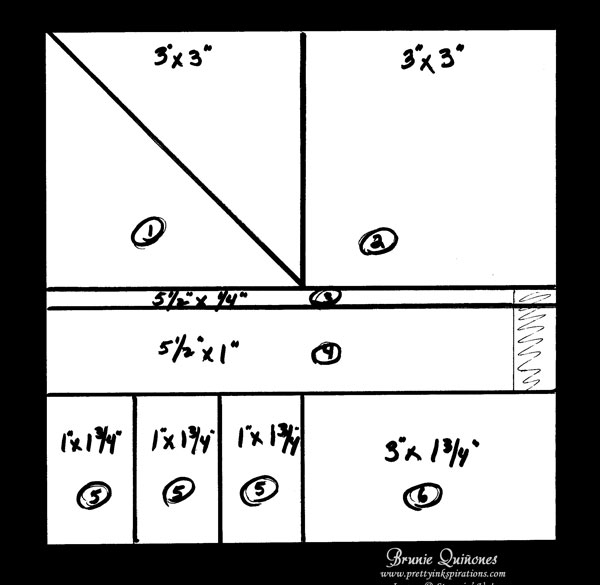
I divided this sheet into 6 sections to create 6 cards. Each section has a number that corresponds to the size of patterned paper that will be used on one card. Let’s take a look at each card and section. I used Pool Party for all my card bases except one.
First Card: 2 Triangles From 3″ x 3″ DSP
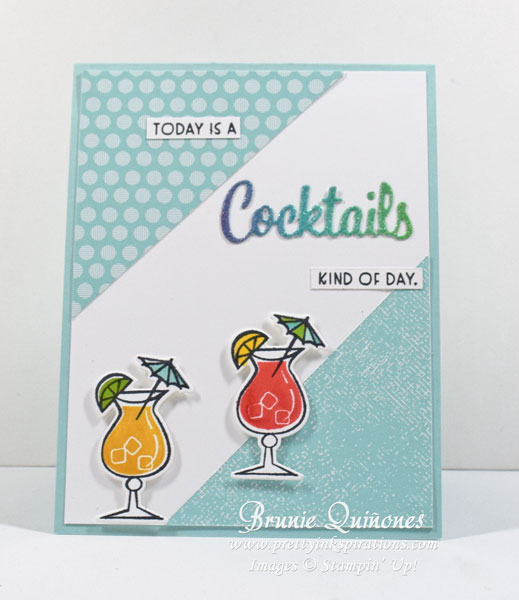
For the Cocktails card I used the 3″ x 3″ square cut in half making 2 triangles. I chose to place one triangle on top and the other at the bottom with the reverse side of the patterned paper.
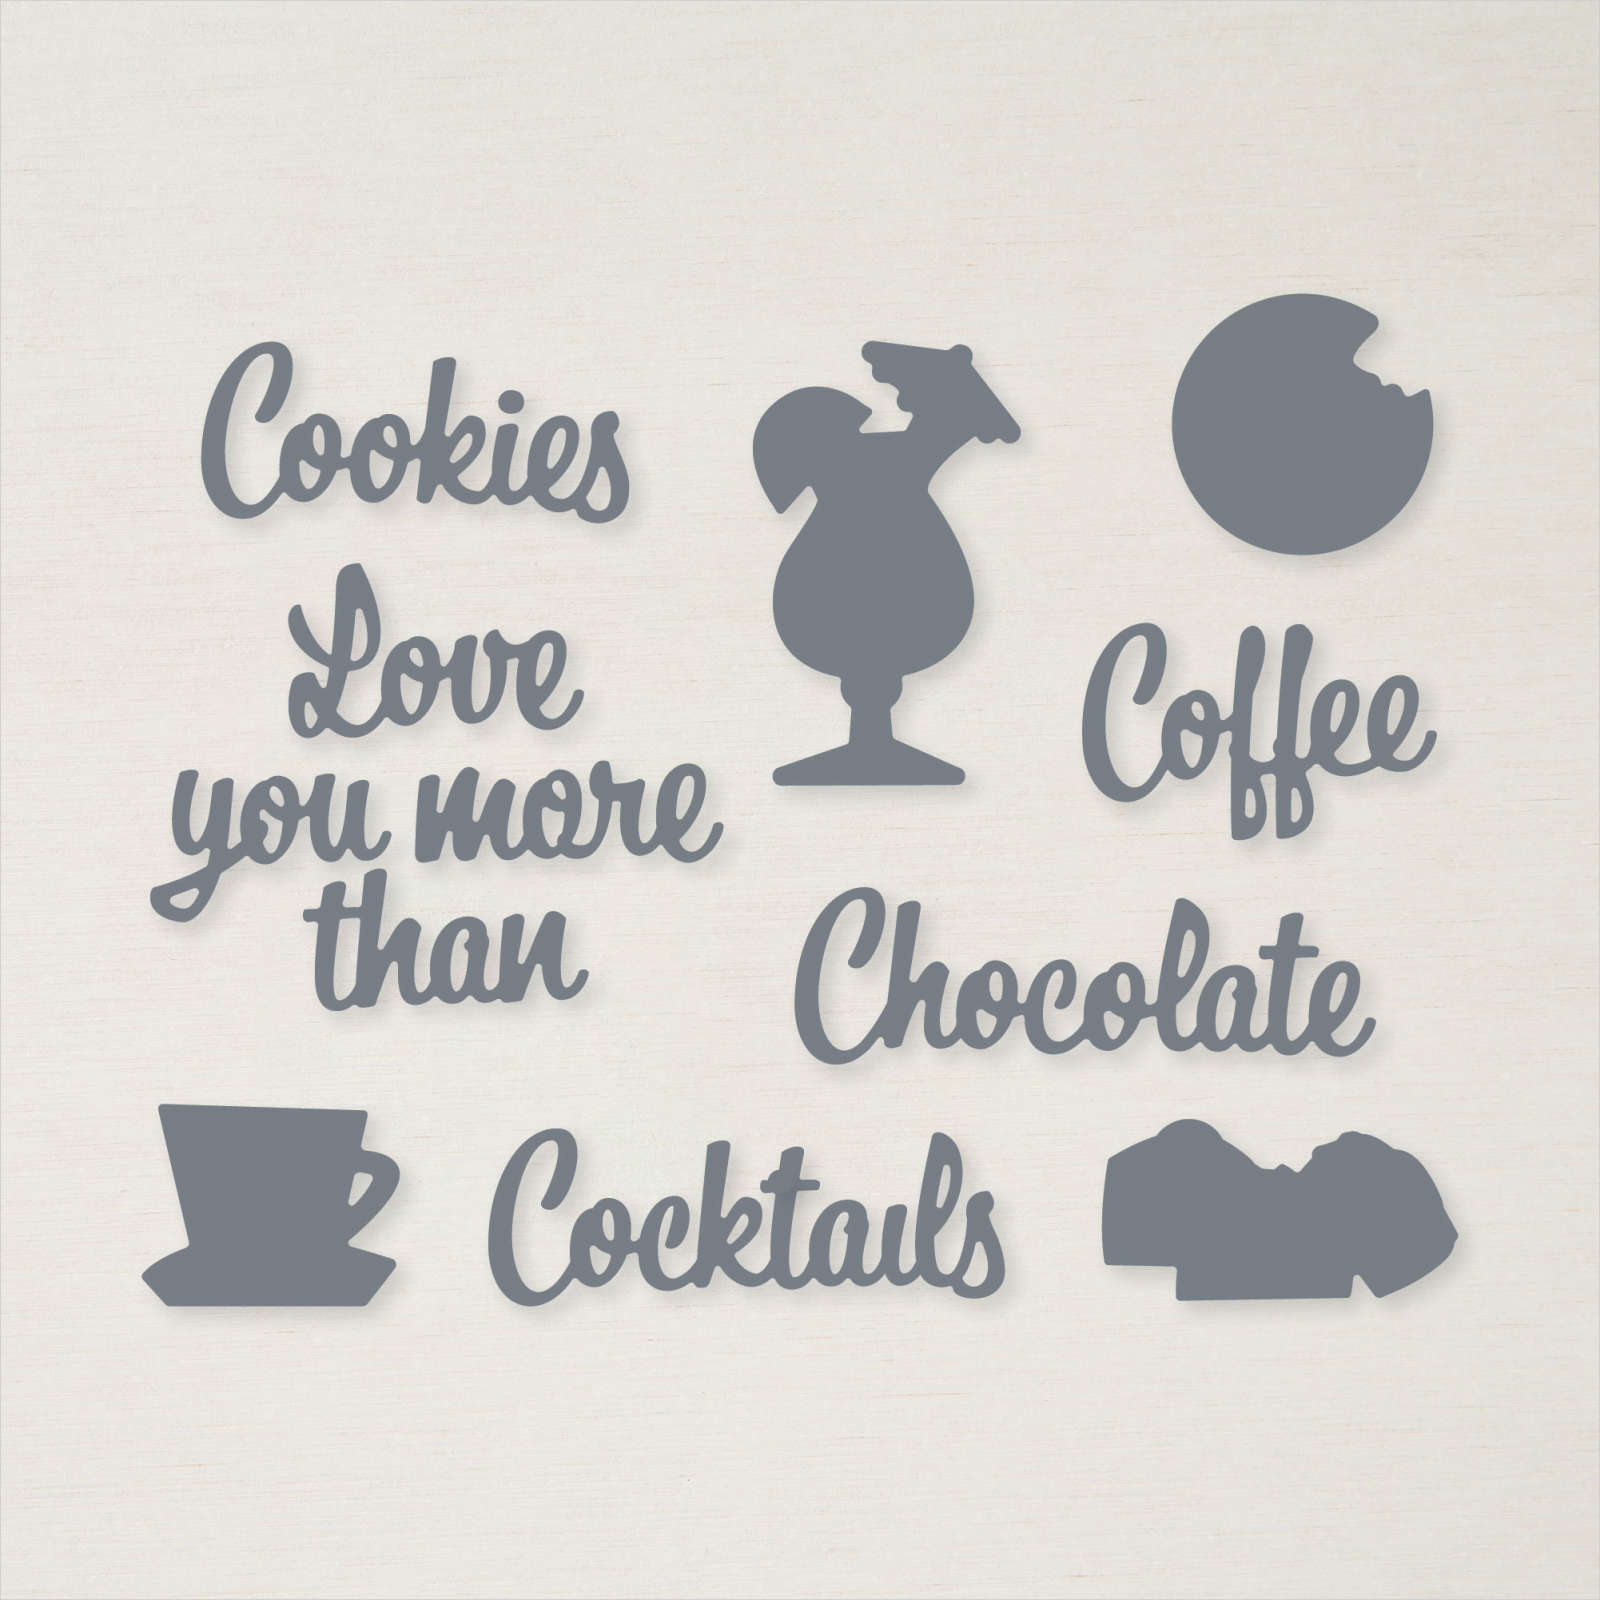
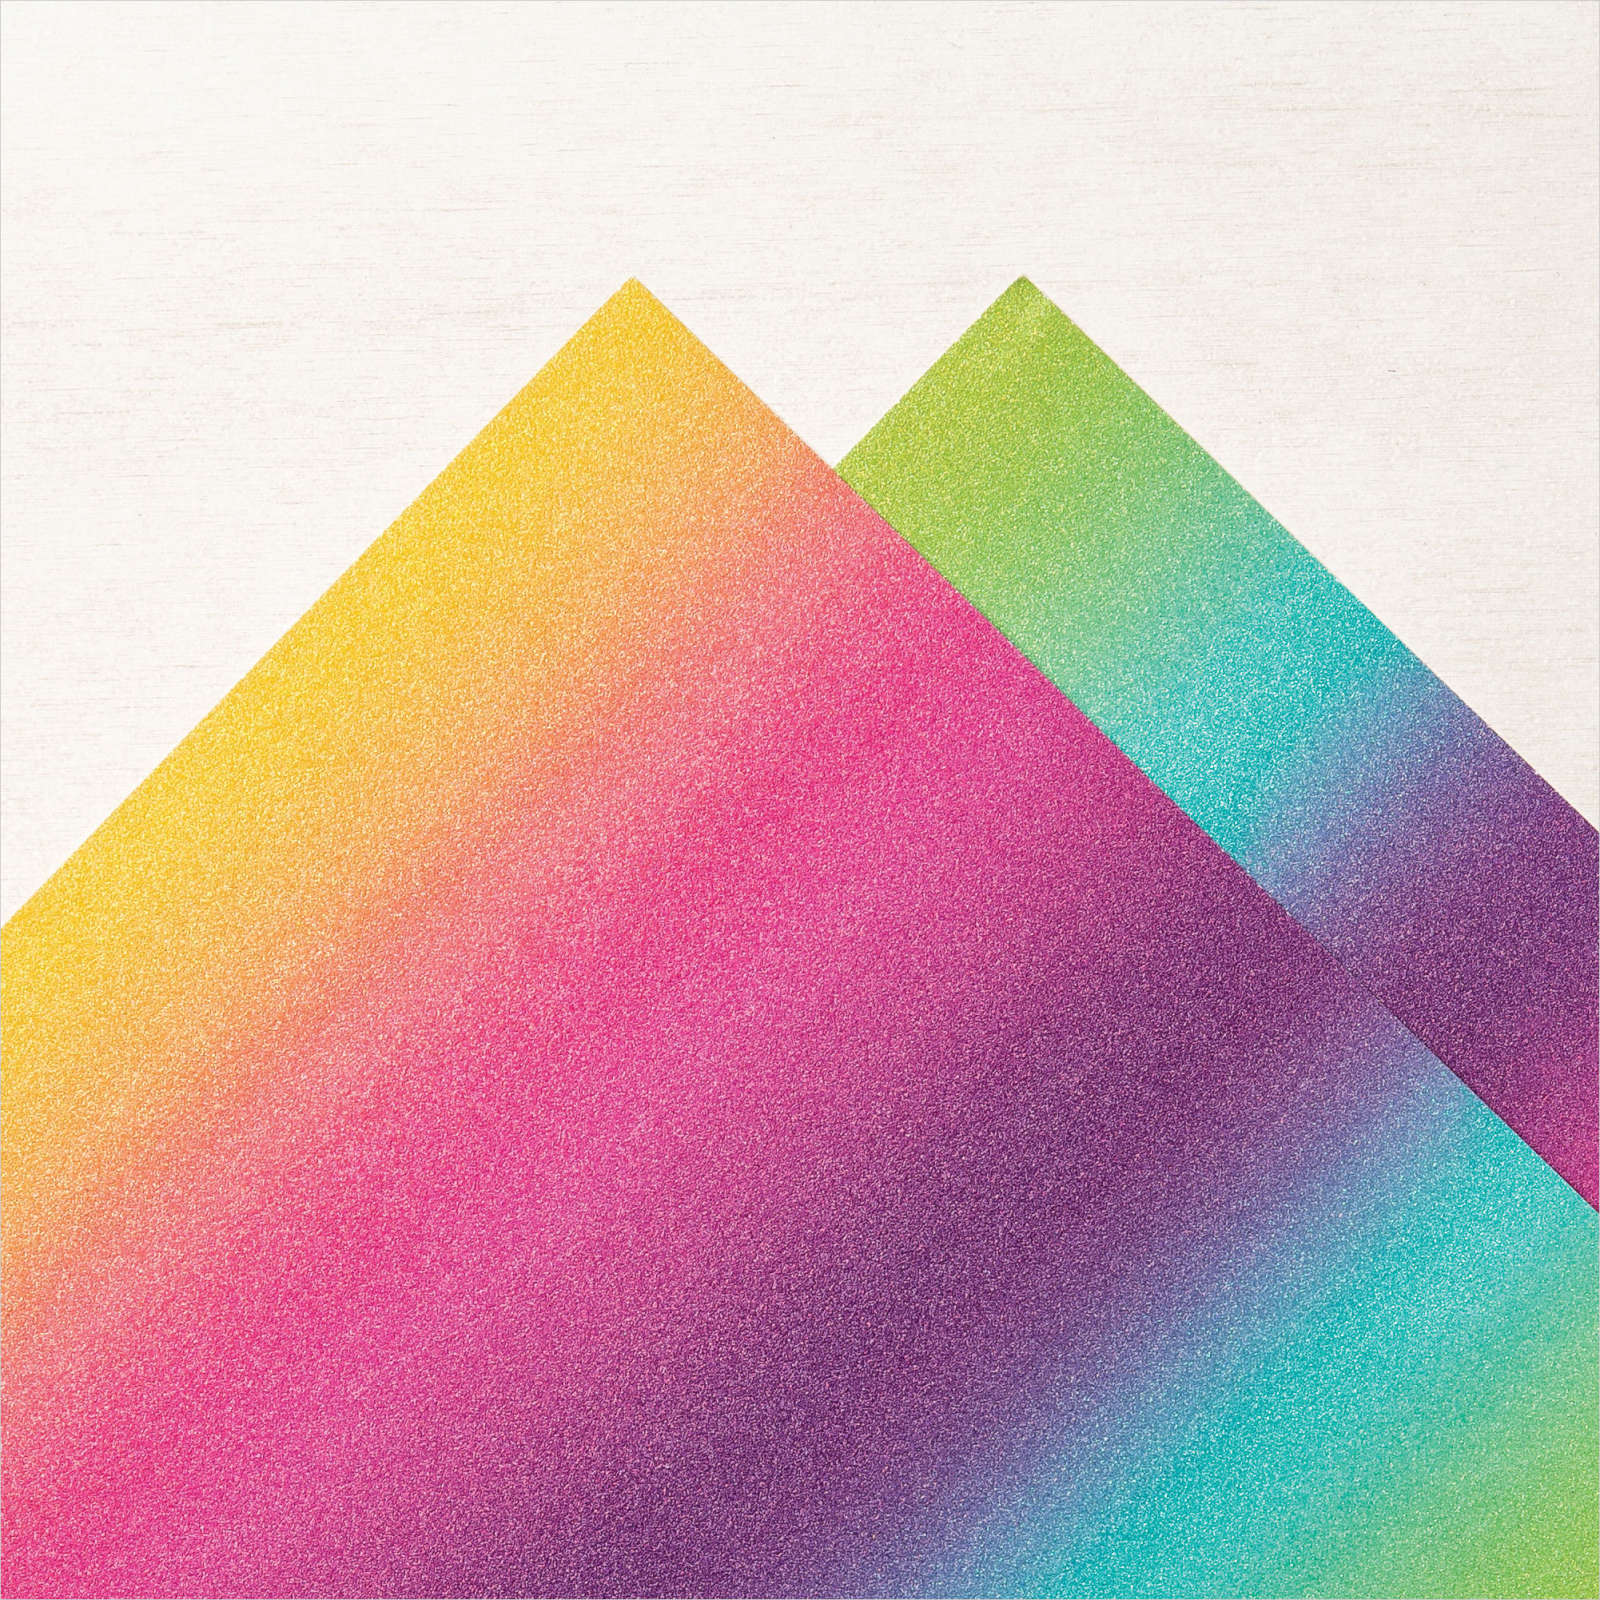
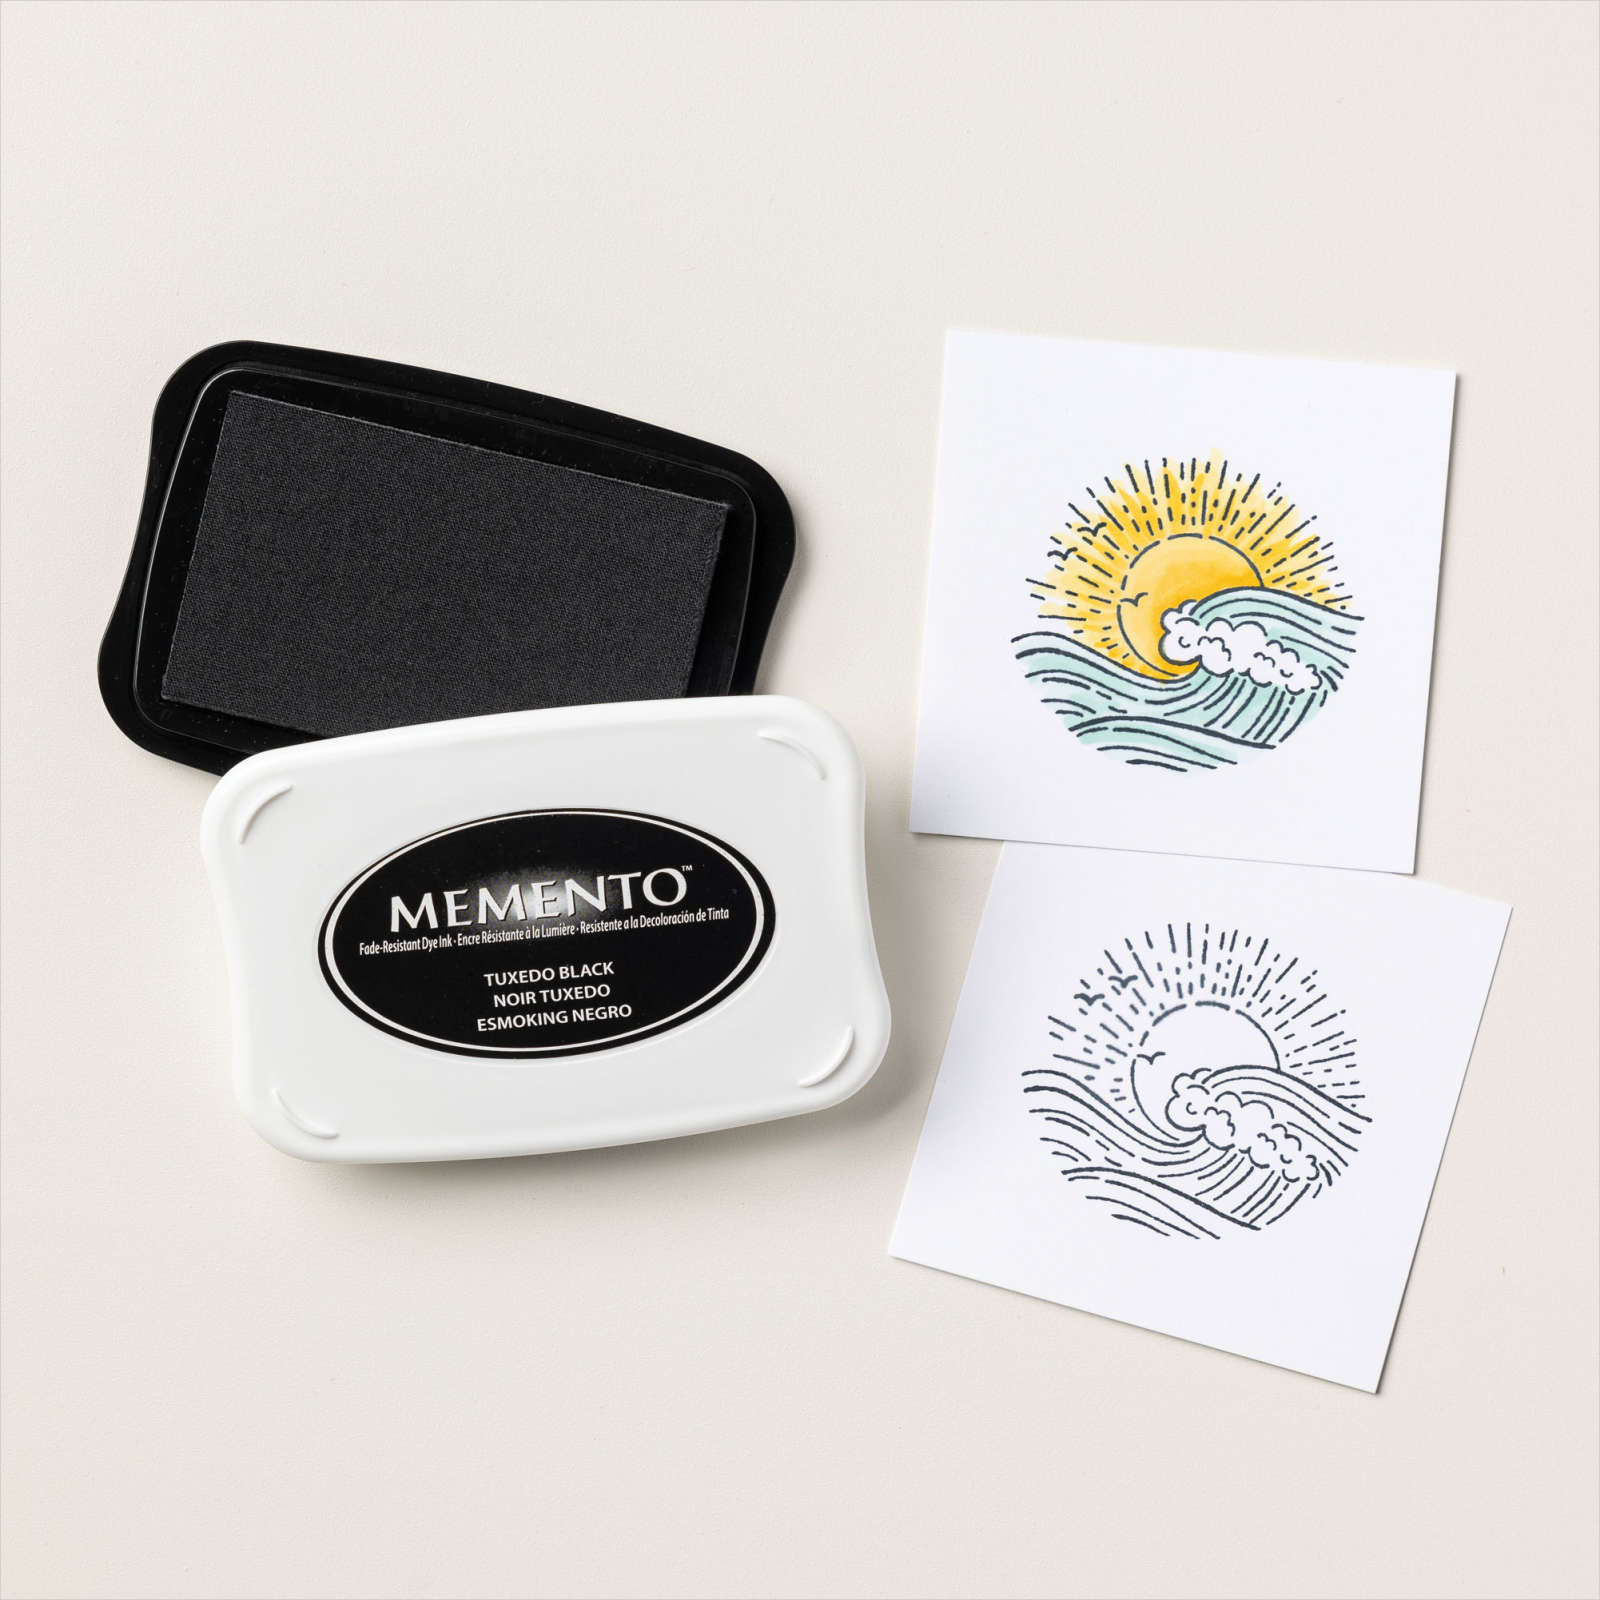
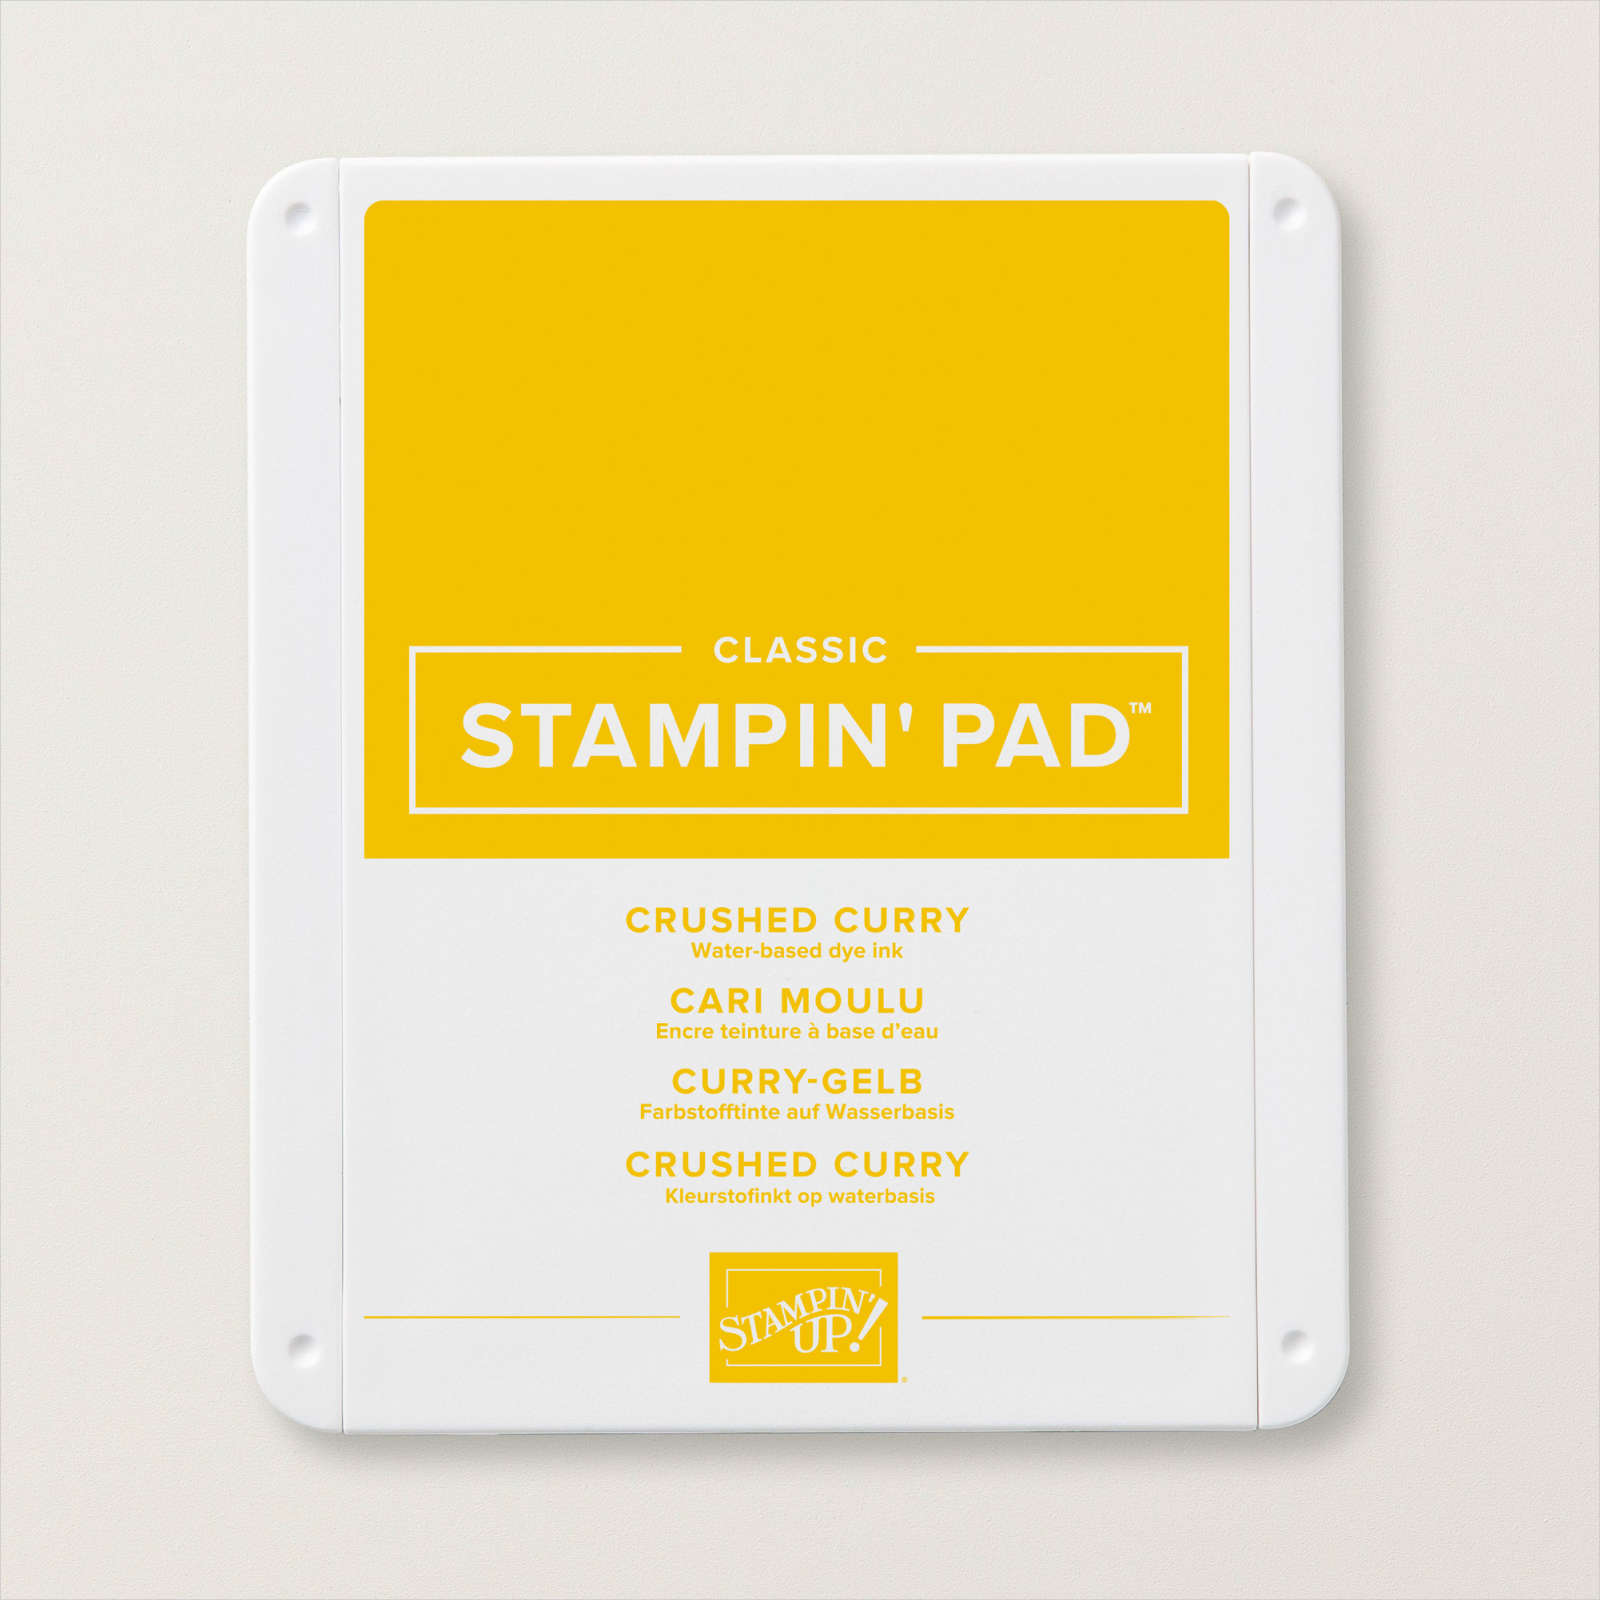
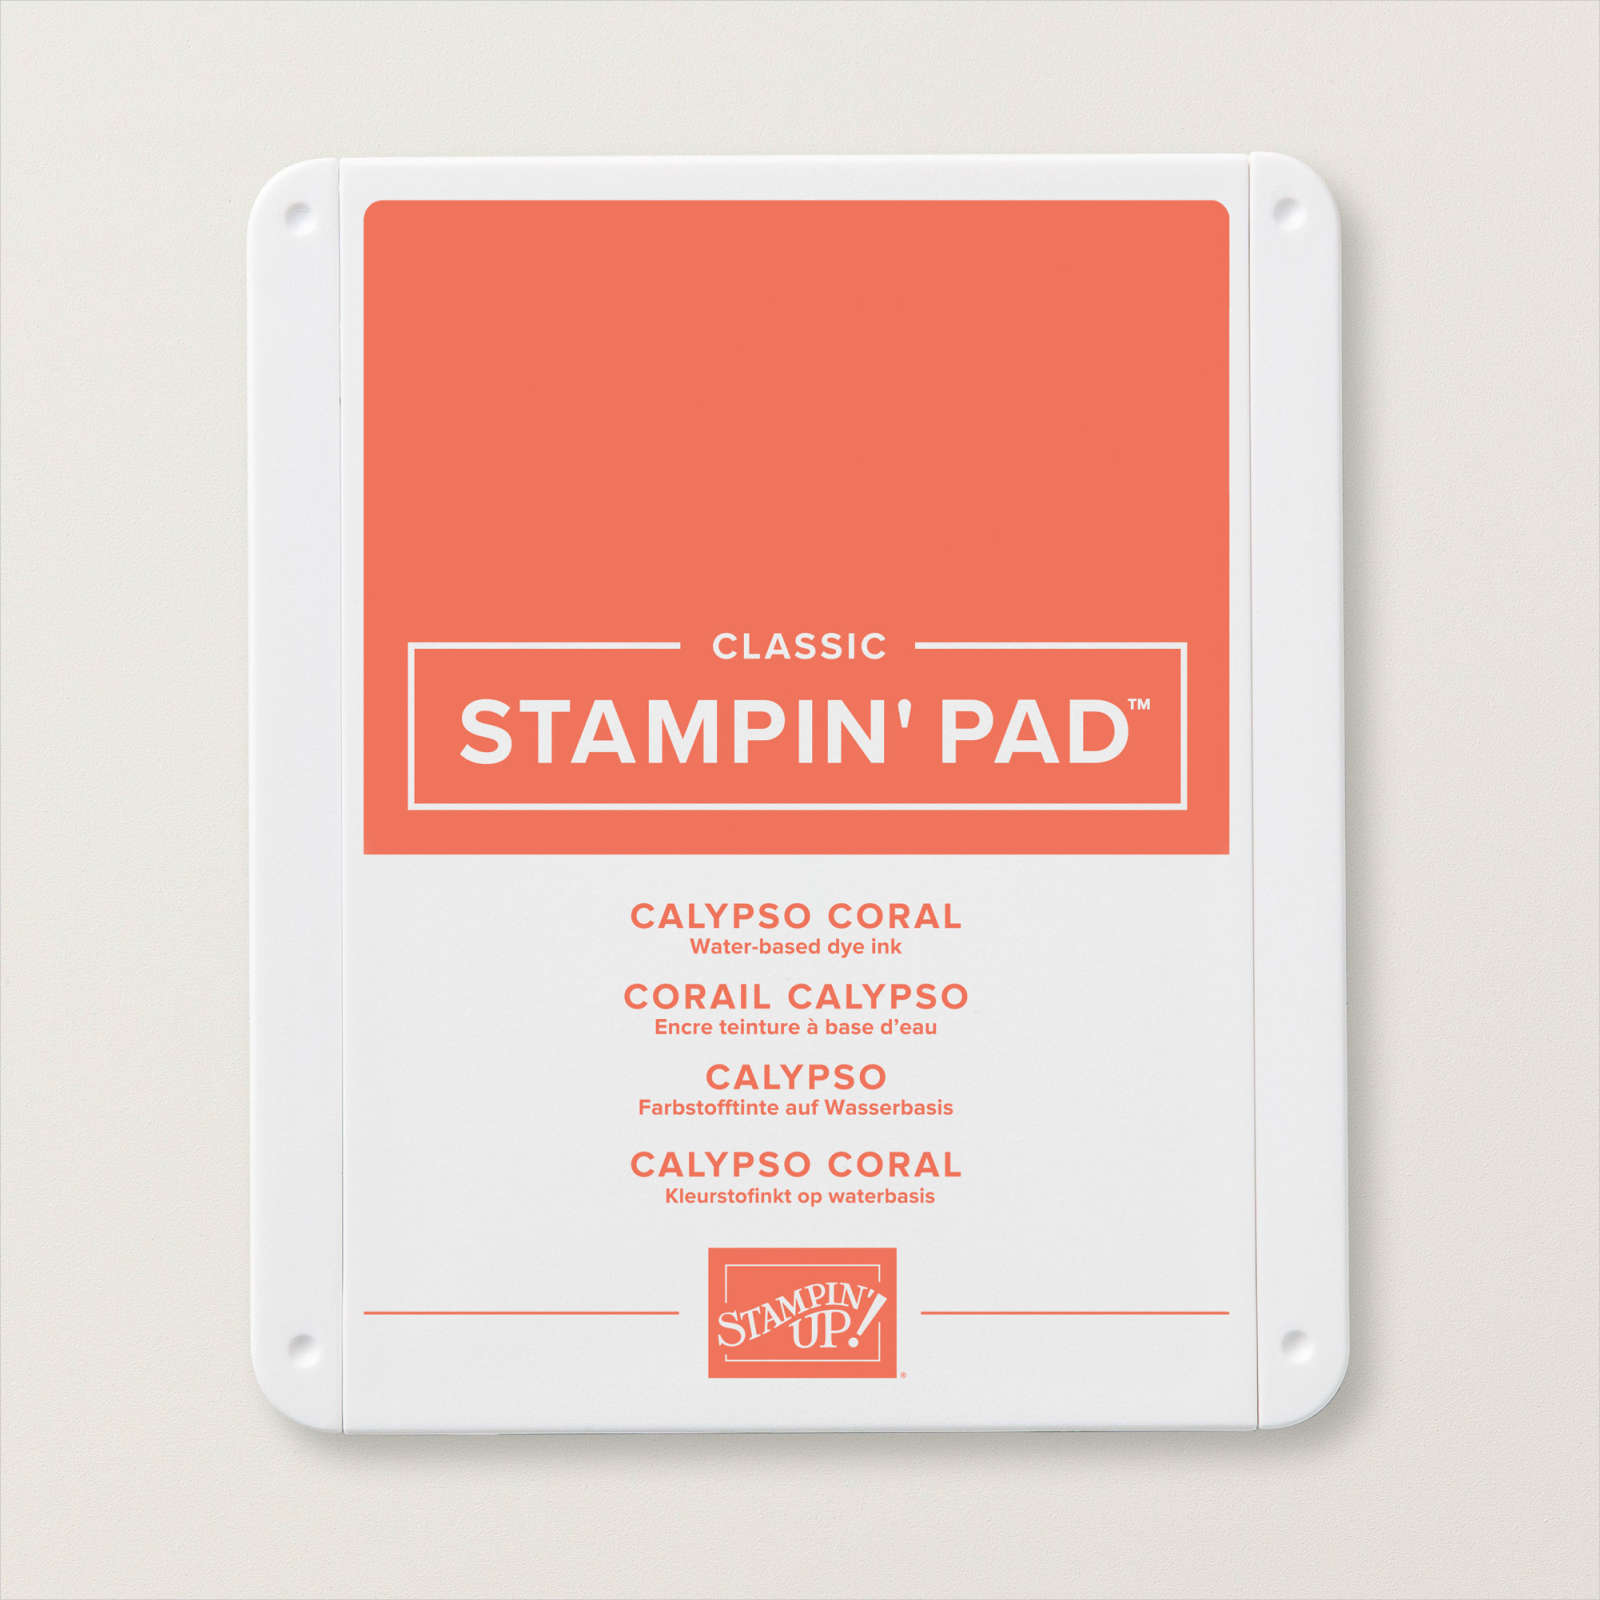
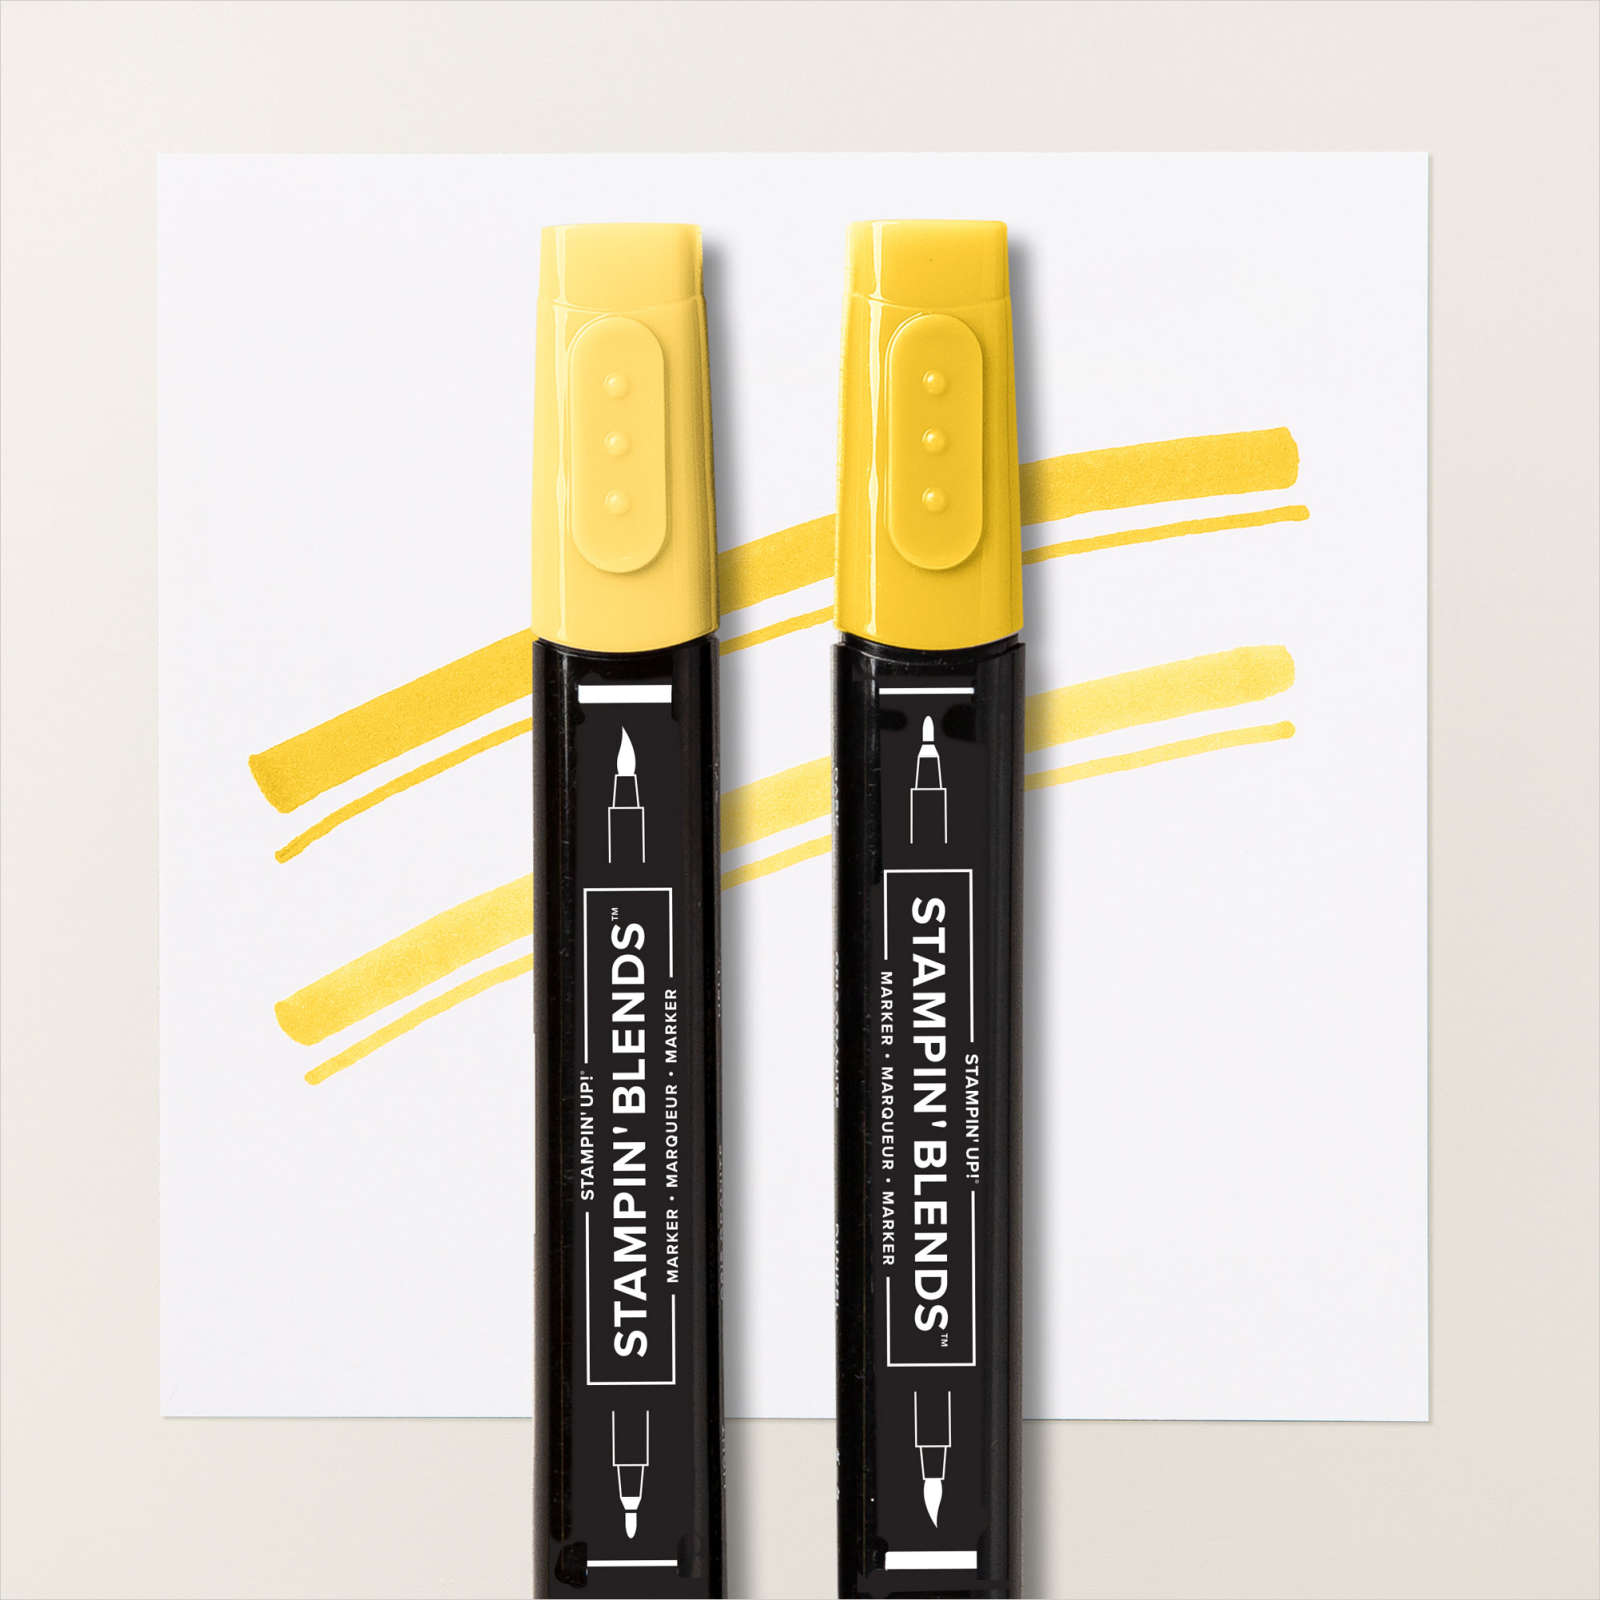
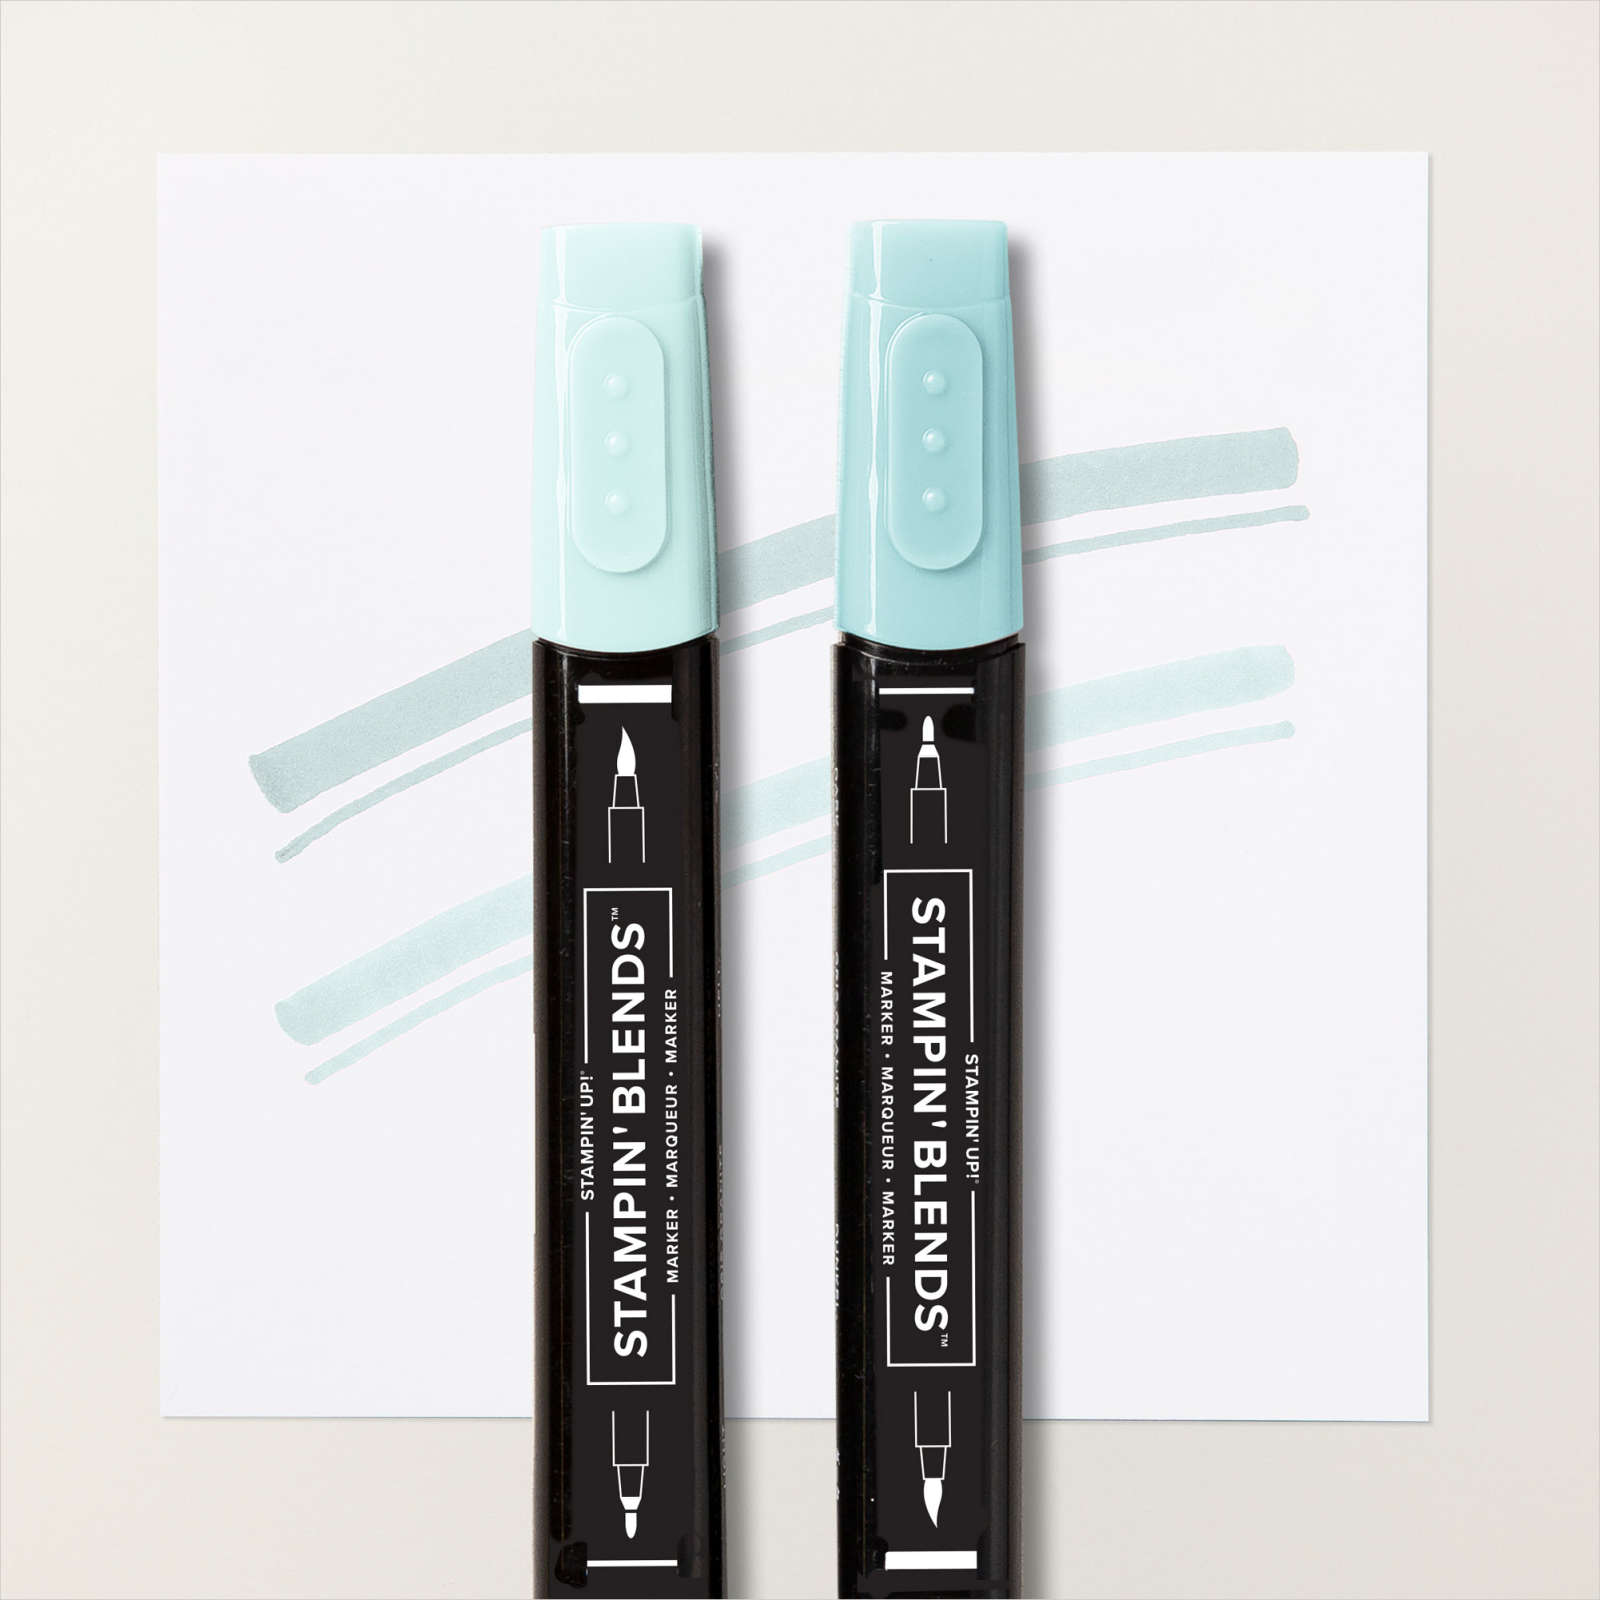
The word Cocktails was die cut from the Rainbow Glimmer paper and I used the adhesive sheets which makes it easier to adhere to card base. The glasses were stamped with Memento Black and the inside with Crushed Curry & Calypso Coral. The umbrella and citrus were inked with Memento Black and colored with Stampin’ Blends – Dark Daffodil Delight, Dark Granny Apple Green, Light Bermuda Bay, and Dark Pool Party.
Second Card: 3″ x 3″ DSP
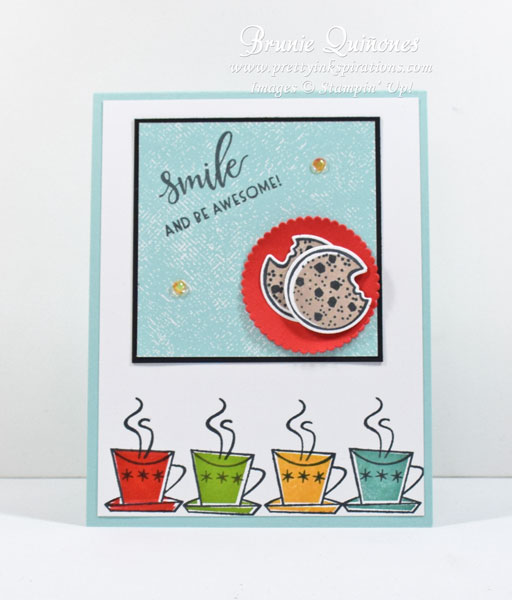
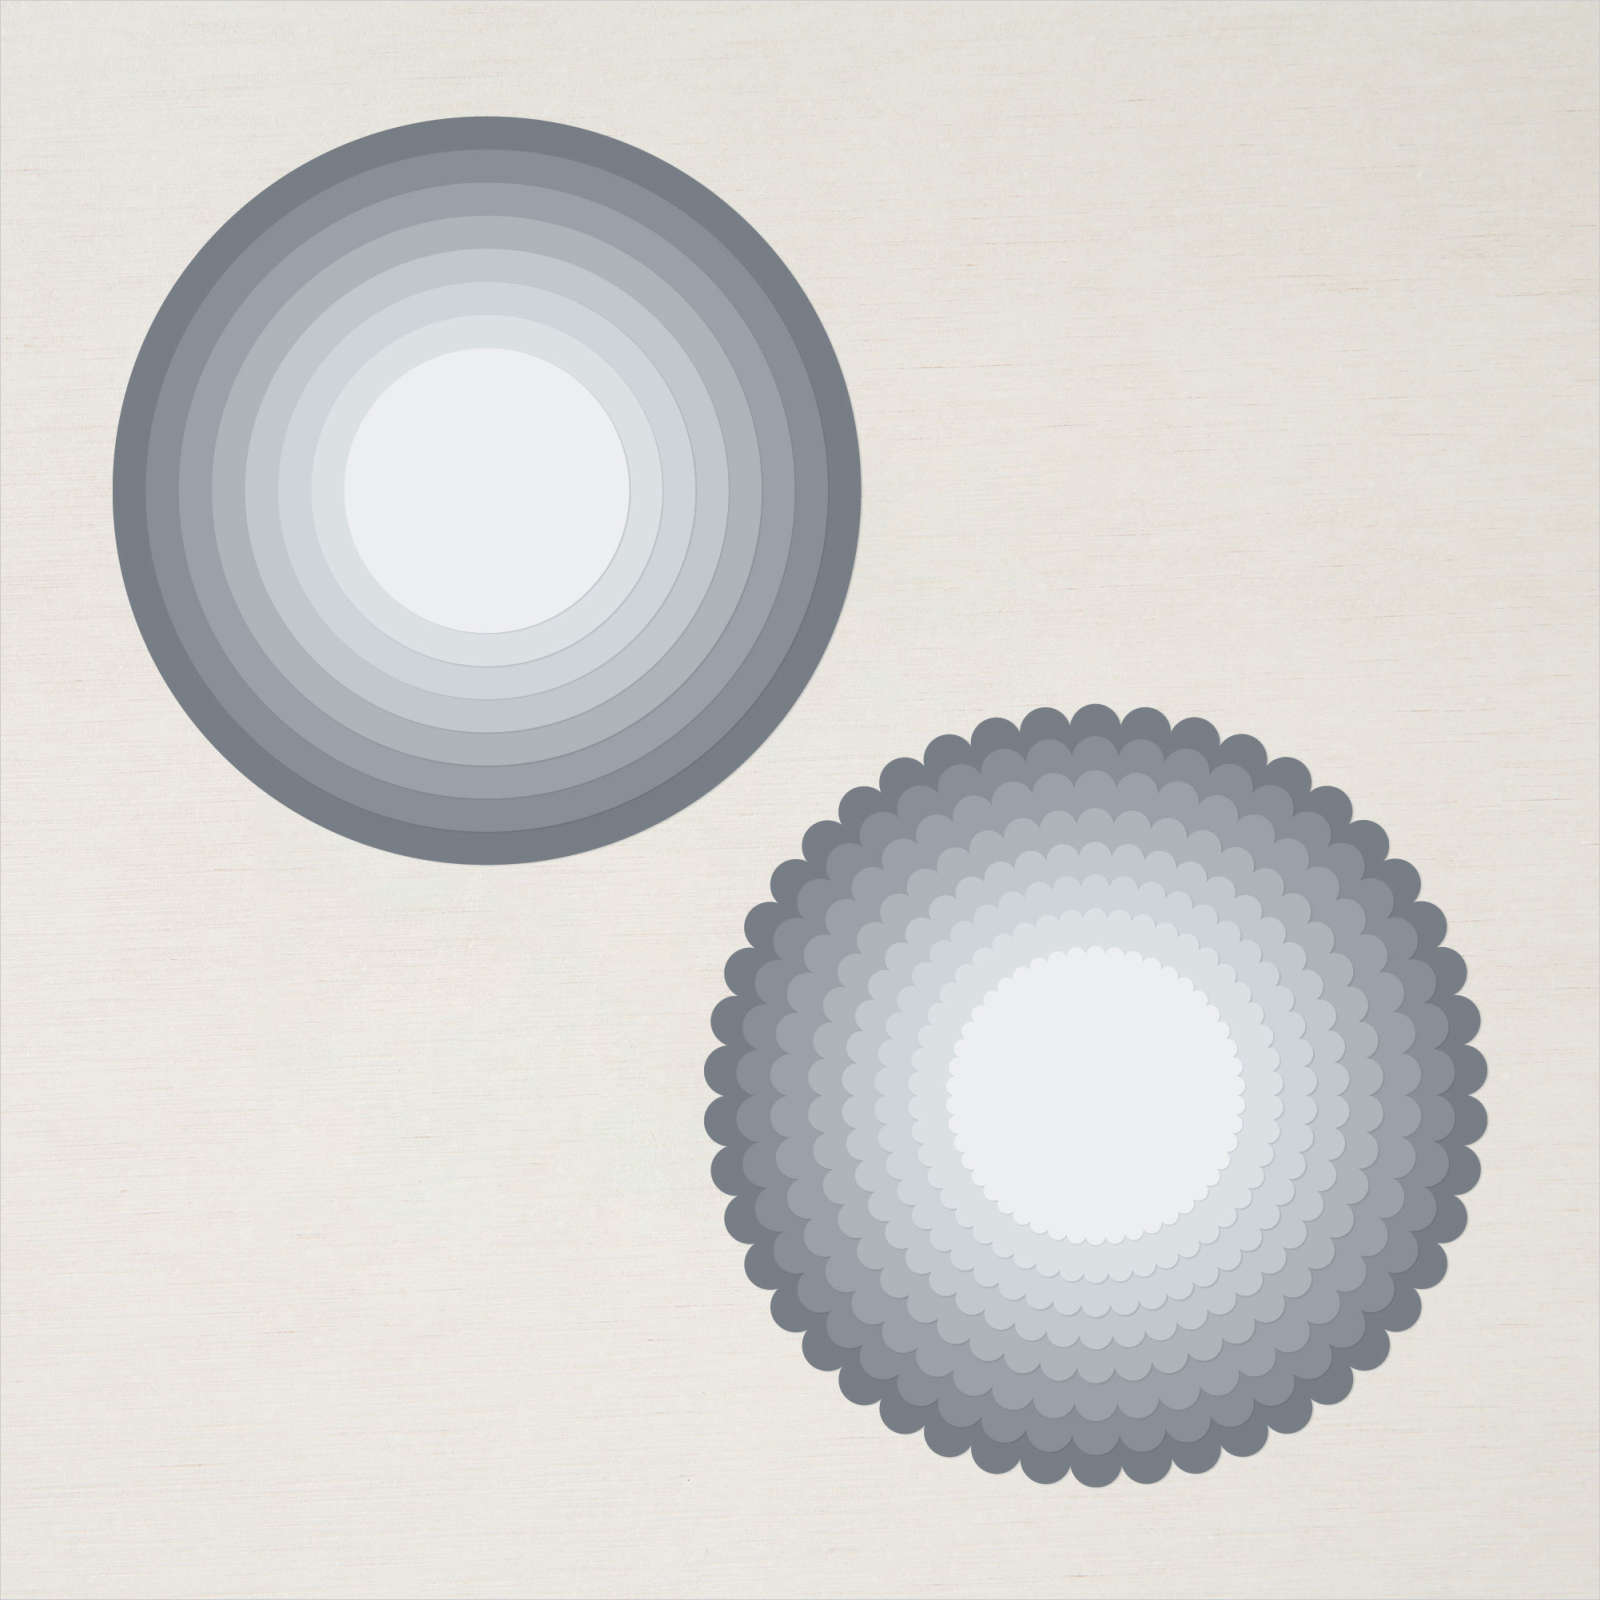
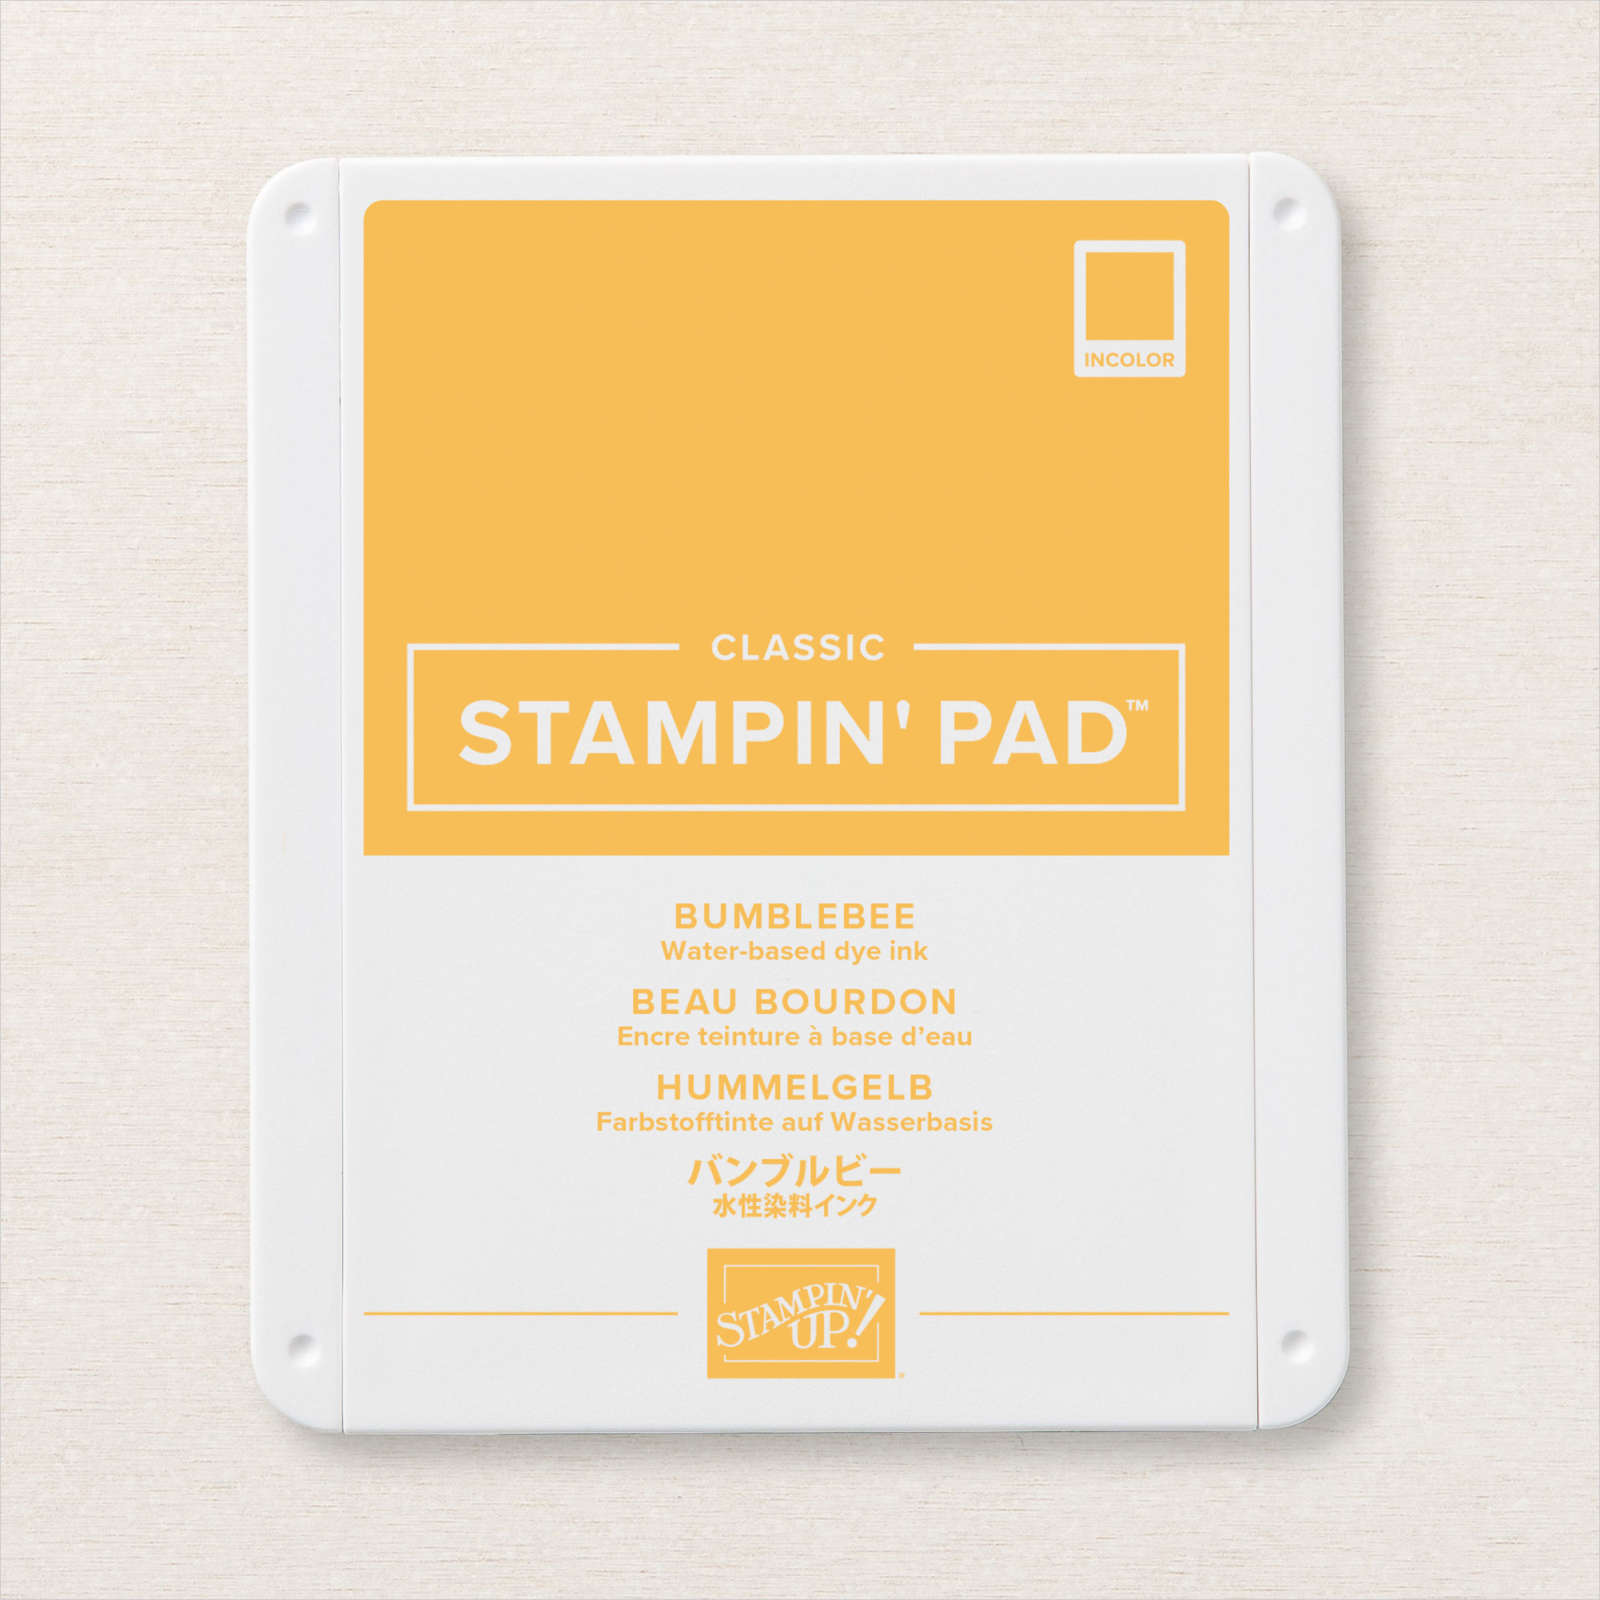
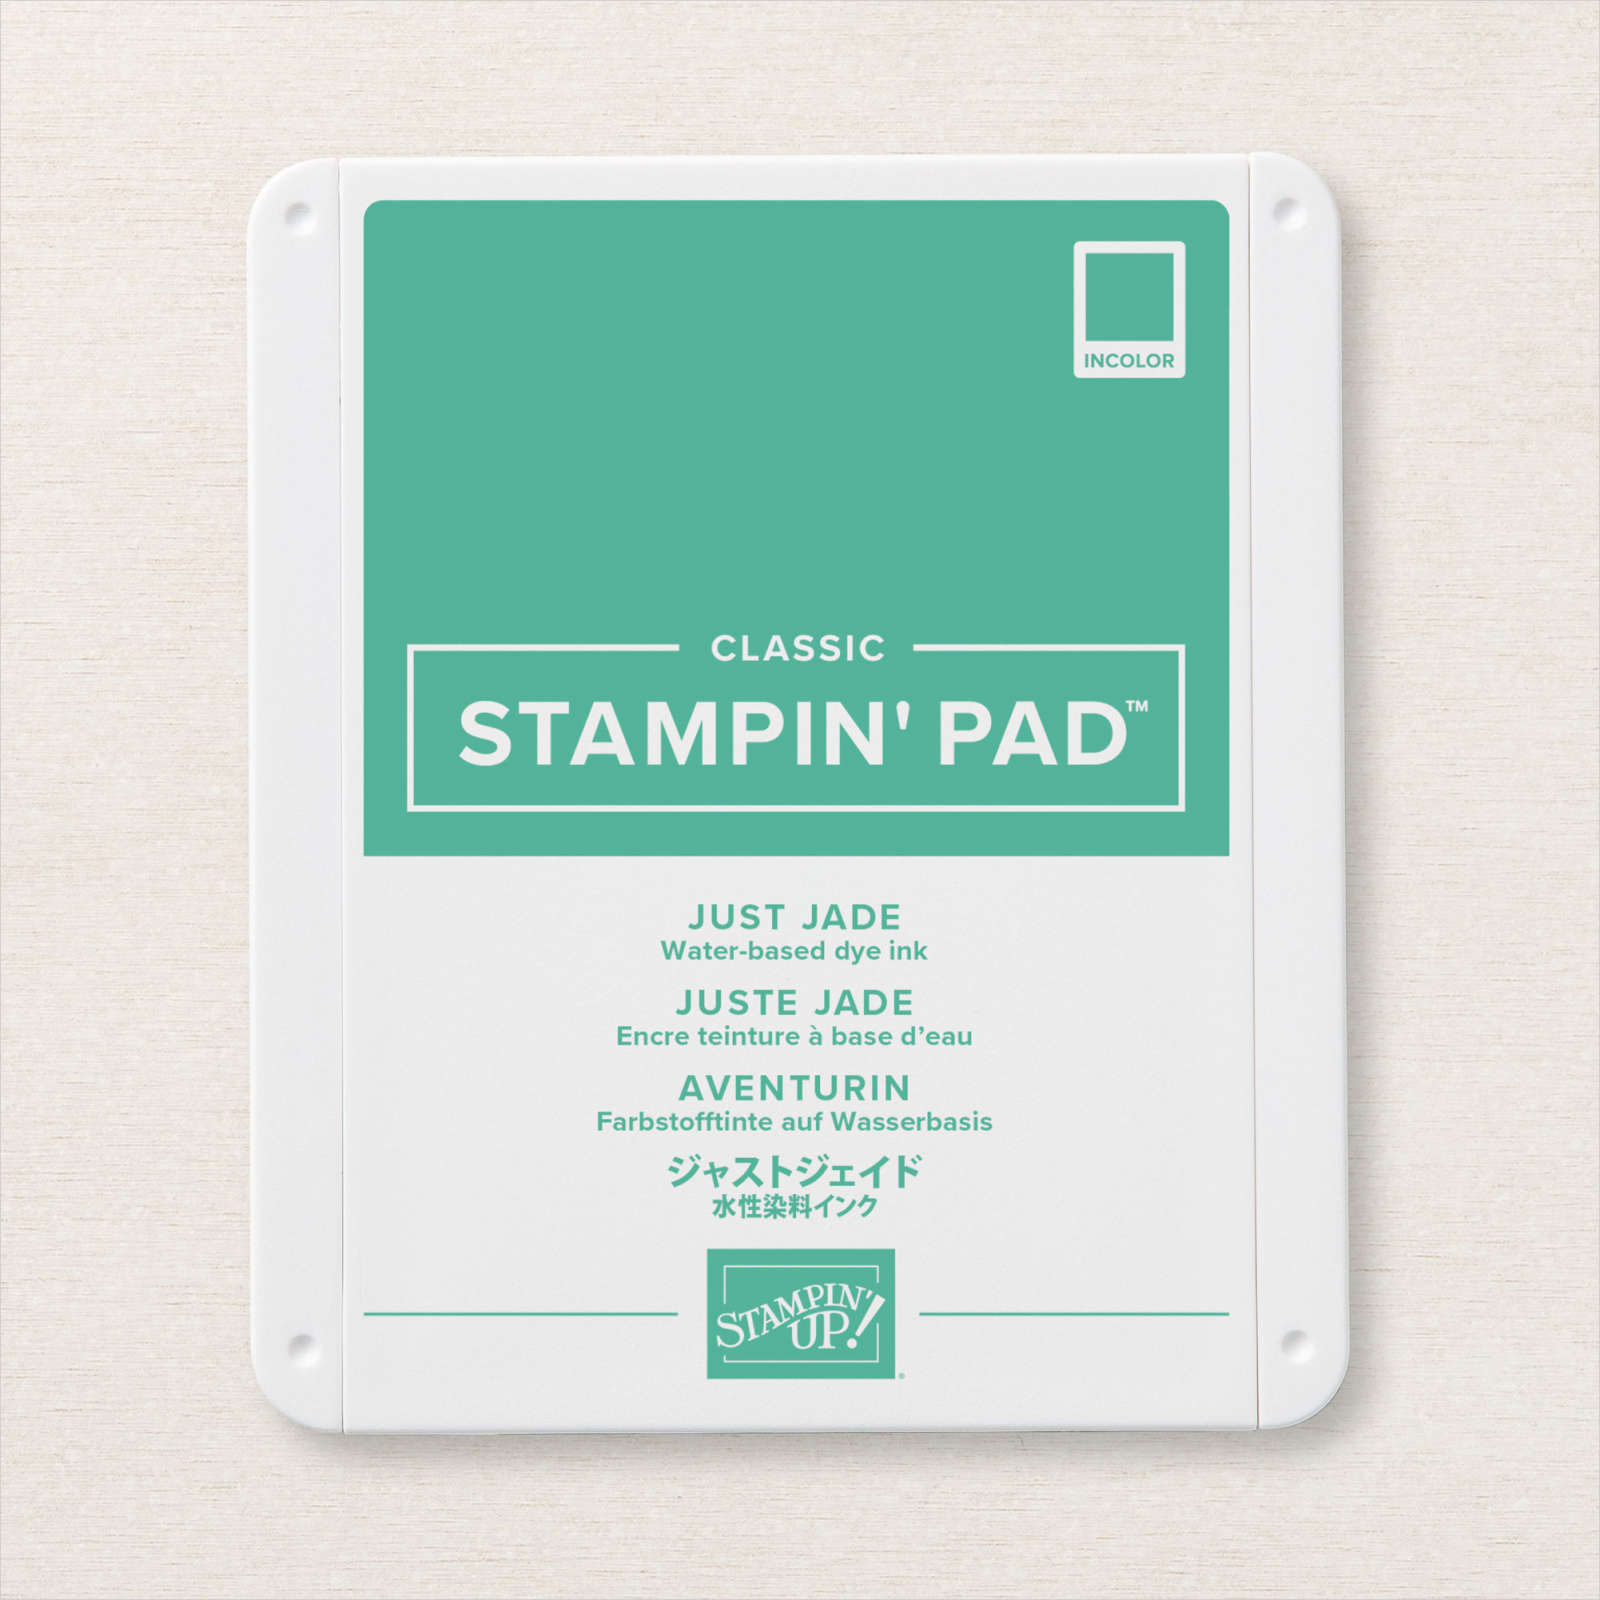
This is section 2. I used the 3″ x 3″ DSP for my focal point where I stamped my sentiment. I matted the DSP with Basic Black cardstock. For the plate, I die cut a scallop circle from the Layering Circles dies out of Poppy Parade cardstock. The cookies were stamped with Memento Black ink and the inside with Crumb Cake ink. The cups were stamped with Memento Black and the color of the cups with Poppy Parade, Granny Apple Green, Bumble Bee and Just Jade. Two Artistry Blooms sequins were added to complete the card.
Third Card: 5-1/2″ x 1/4″ DSP
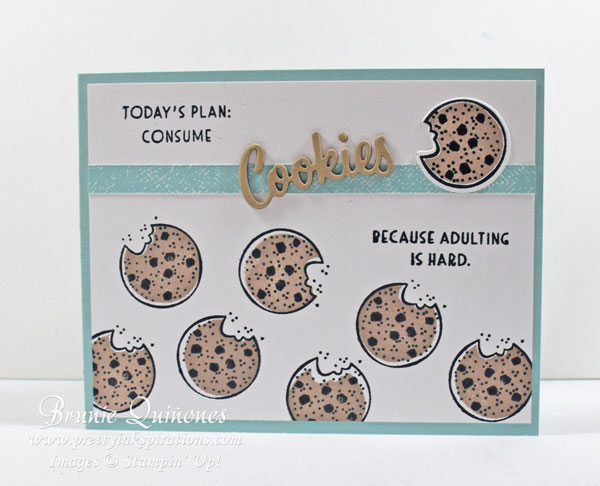
The DSP for section 3 was a strip of 5-1/2″ x 1/4″. Sentiment was stamped with Memento Black as well as the cookies, then filled in with Crumb Cake as the previous card. For the cookies word die cut, I cut 3 of them and glued them together so that it could stand out more.
Fourth Card: 5-1/2″ x 1″ DSP
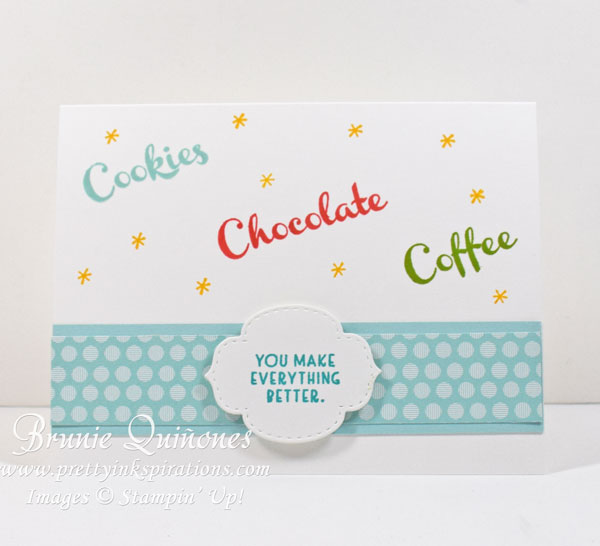
For this section, I used the 5-1/2″ x 1″ patterned paper as a focal point for my sentiment. The patterned paper was matted with Pool Party cardstock. I used one of the dies from the Stitched So Sweetly set for the sentiment which was stamped with Bermuda Bay ink. The words were stamped with Pool Party, Poppy Parade and Granny Apple Green. The stars were inked with Crushed Curry. I think the stars and colors give this card a retro feel.
Fifth Card: Three Pieces of 1″ x 1-3/4″ DSP
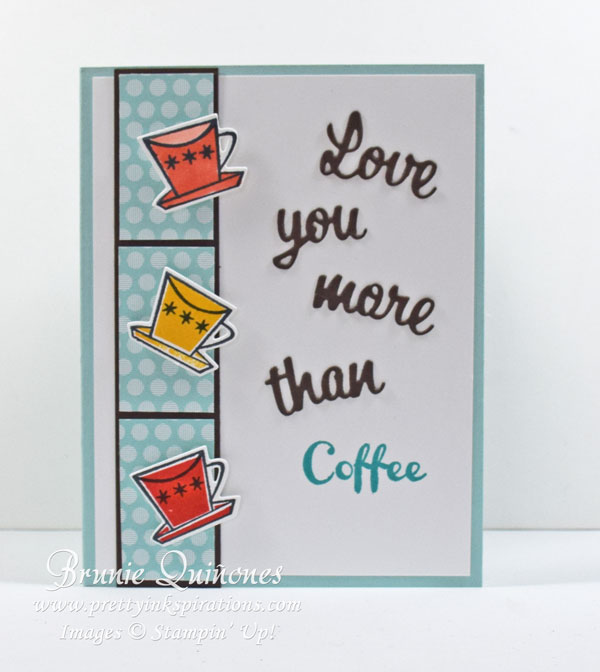
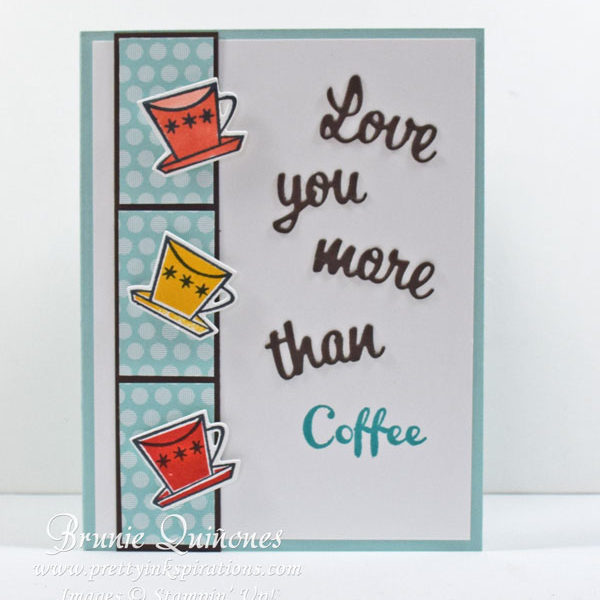
For the fifth section, I cut 3 equal pieces from a 3″ x 1-3/4″ DSP so each piece was 1″ x 1-3/4″. Each piece was matted with Early Espresso cardstock. Love You More Than was die cut from Early Espresso cardstock and Coffee cut from Pool Party. Once again, I used the Adhesive Sheets for the words.
Sixth Card: 3″ x 1-3/4″ DSP
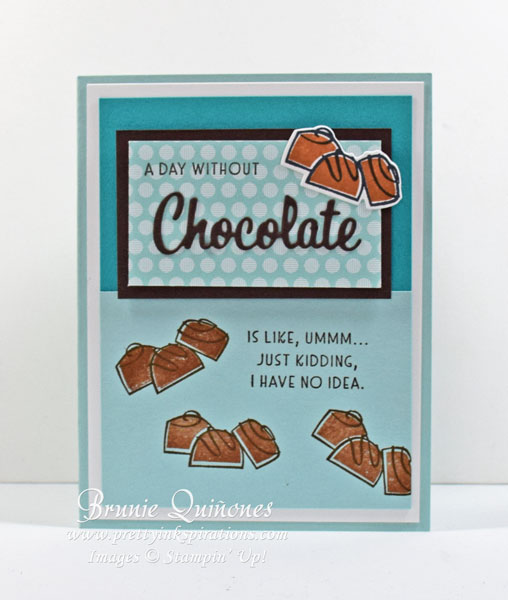
The sixth and last section is a piece of 3″ x 1-3/4″ DSP which was matted with Early Espresso cardstock. The cardstock on the top half of the card is Bermuda Bay and the bottom is Pool Party. The candies were stamped with Soft Suede and filled in with Cinnamon Cider ink.
Now that you know what a One Sheet Wonder is, want to give it a try? Use this template or create your own. What do you think of this technique? Feel free to leave me a comment.
If you want to see another set of cards I created using this stamp and the Love You More Than dies, click here.
Seasonal Sale
Don’t forget to get your wish list ready for the upcoming sale! 10% off cardstock, 15% off ink pads and 20% off dies. Click here to see more Stampin’ Up! promotions.
Thanks for stopping by . . . till next time . . .
Card Supplies
Below are the Stampin’ Up! supplies used for today’s project. If you would like to purchase any of the supplies, click on the Add All to Cart button below it will take you to my online store. From there, you can see your cart and remove or add any products you like.
