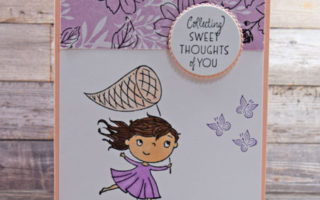
The focus of today’s card is on the Picture This Dies. It’s a new die from the 2021-2022 Annual Catalog. The die is a stand alone die that does not have a coordinating stamp but can be used with different stamps.
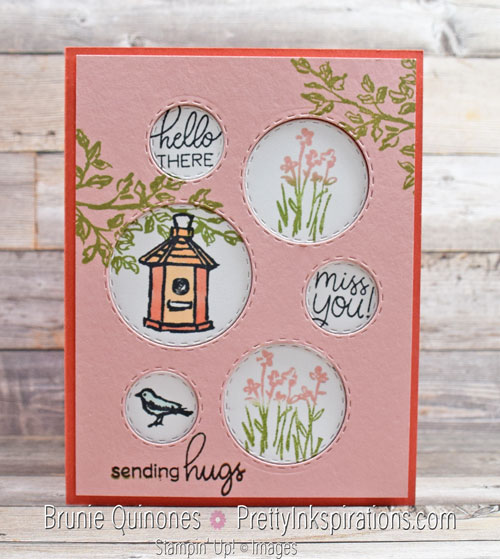
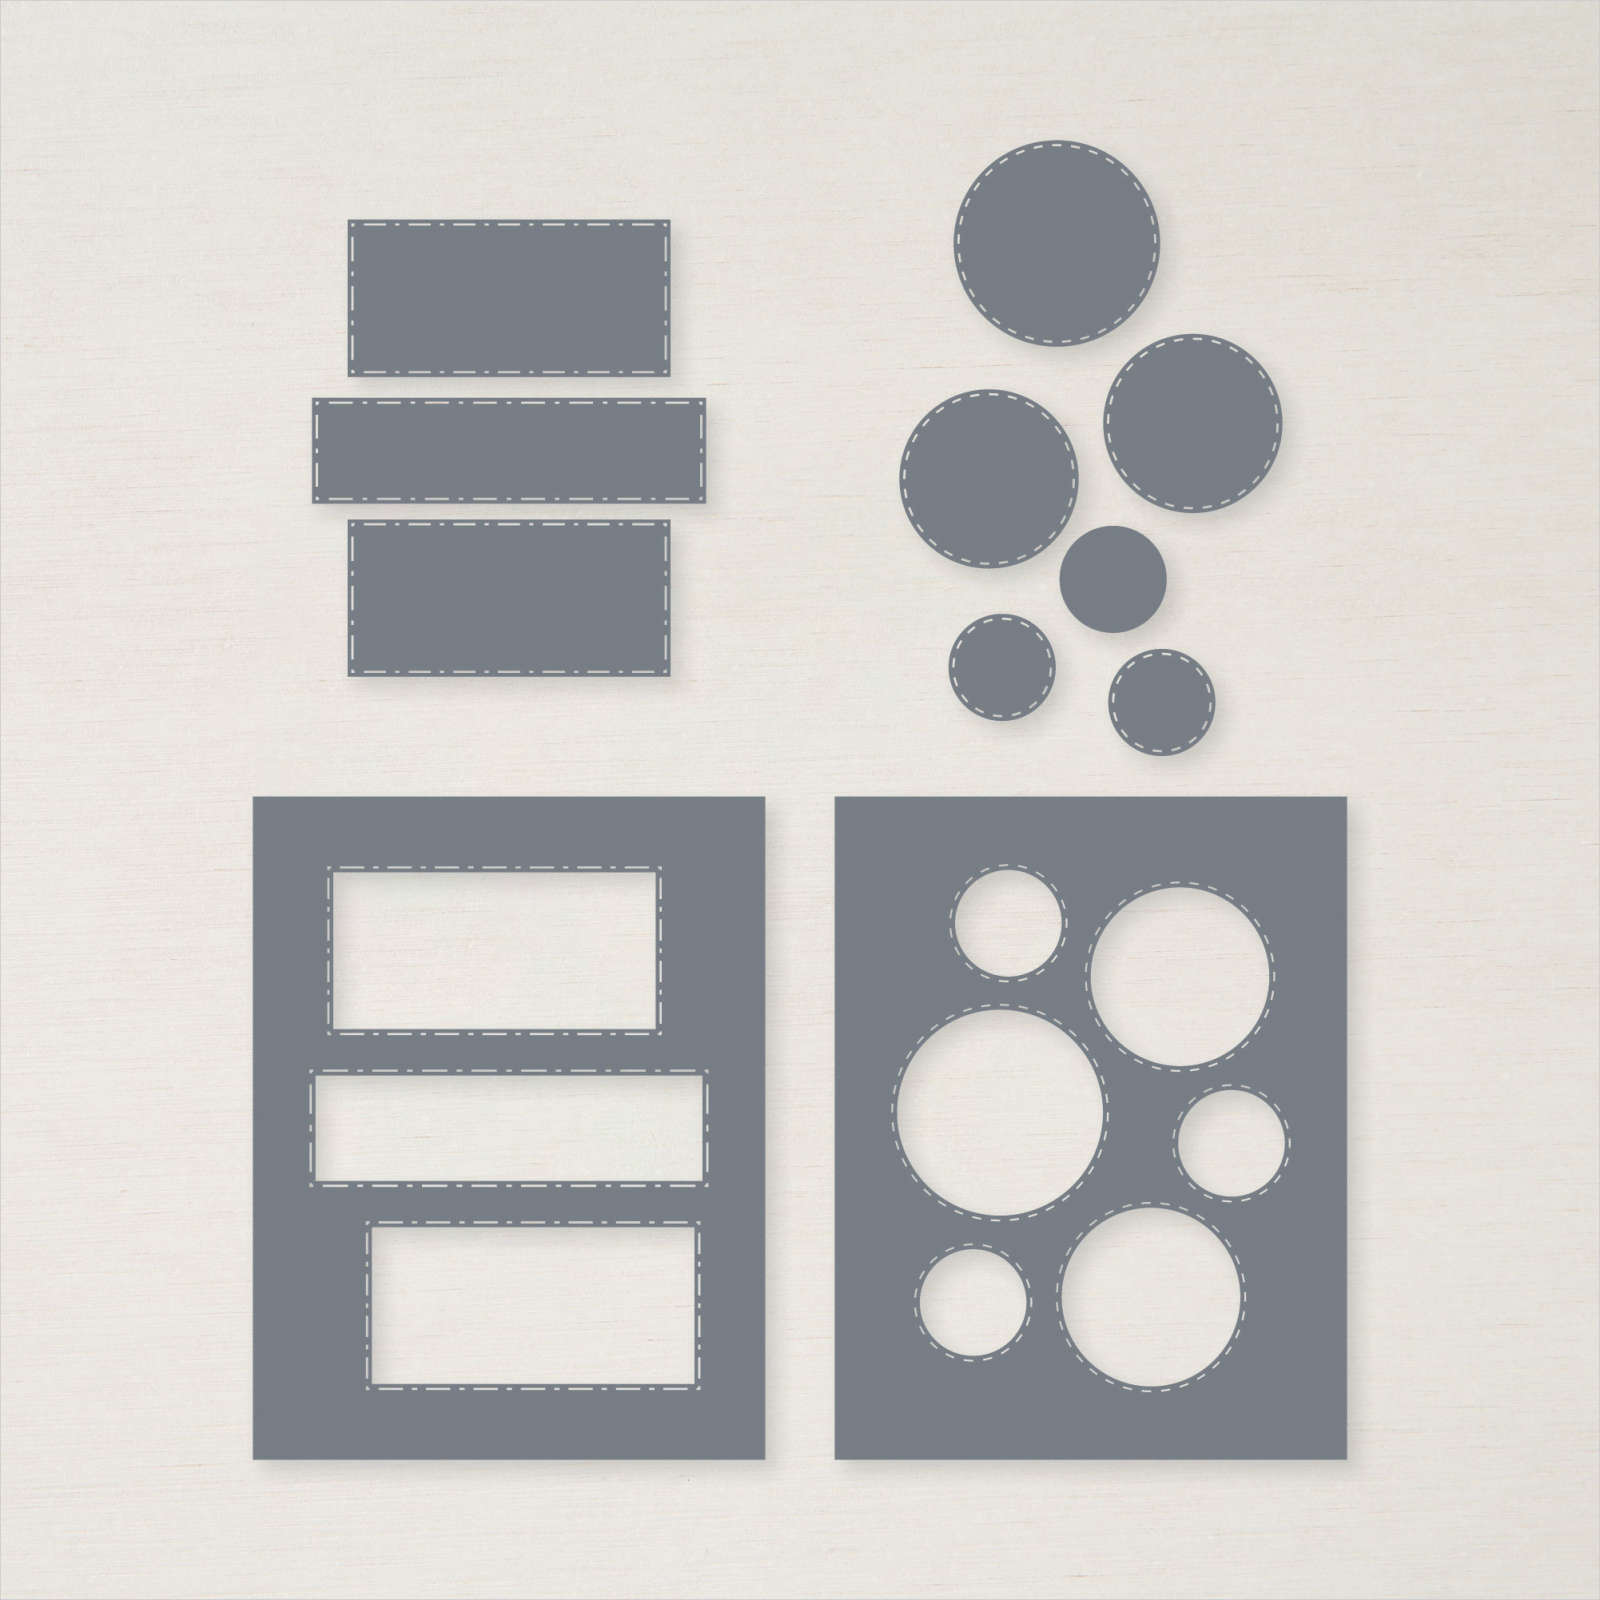
The Picture This dies comes with two dies that cuts windows on the card front. One cuts the stitched window circles as on my card and the other has three stitched rectangle windows. If you have different size circles in your supplies, you can duplicate this look by placing your dies on your cardstock until you get the amount of circles desired, however, having this die allows you to create your card quicker. For this card, I chose to use sentiments along with images. You can also use patterned paper or an embellishment behind the windows.
Instead of placing a white cardstock under my card front, I used the same die to die cut a white cardstock. I used the individual circles and glued them in each window.
Peekaboo Farm & Garden Birdhouses
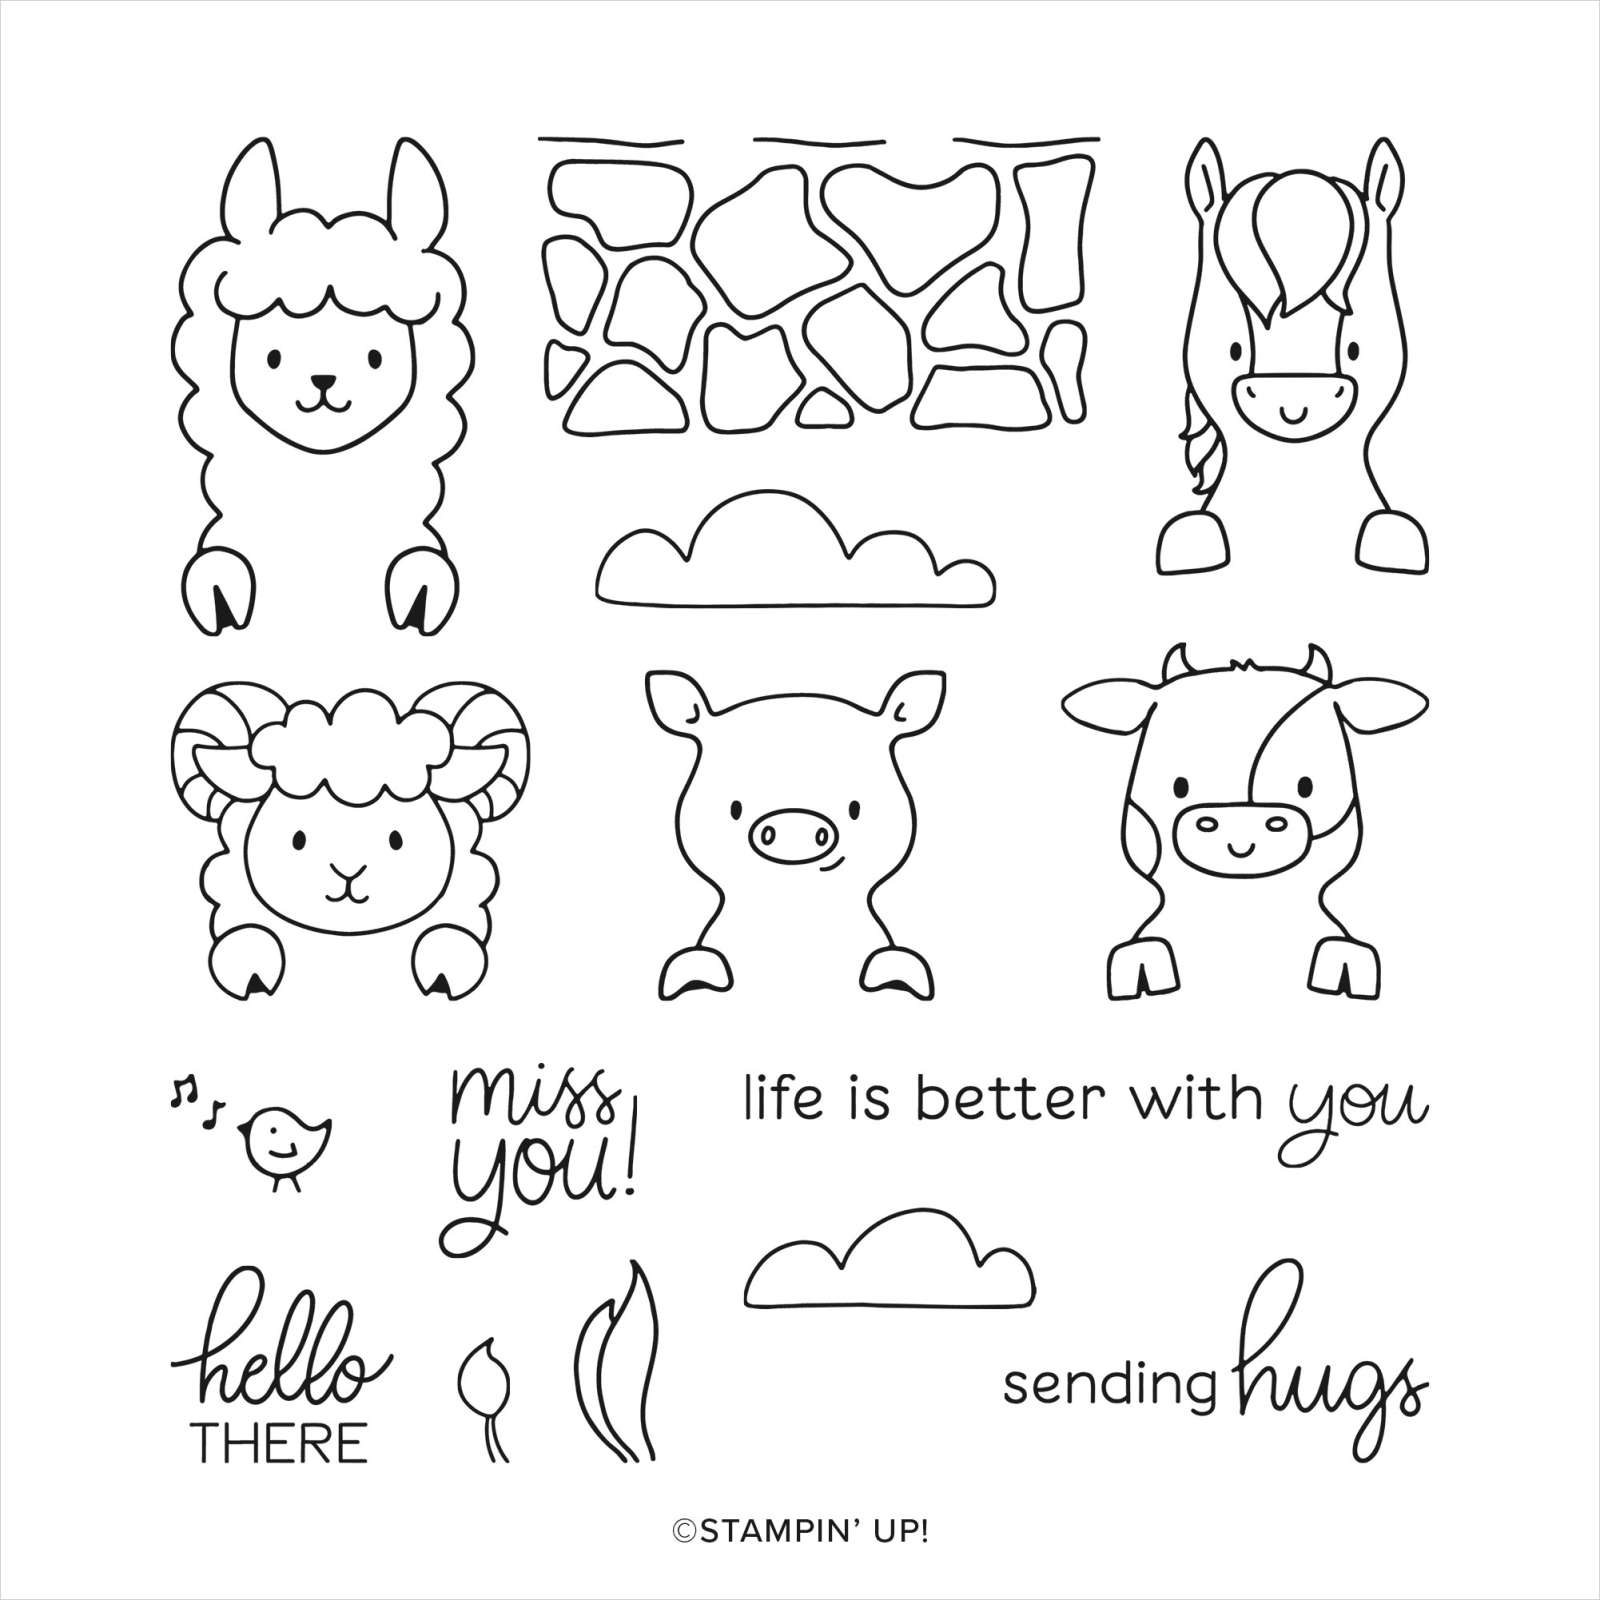
I combined two new stamps to create this card – the sentiments from the Peekaboo Farm stamp and the images from the Garden Birdhouses stamp. The Peekaboo Farm is an adorable 15 photopolymer stamp which has 11 images and 4 sentiments. The images consist of animals, clouds and a stone fence. What do I like about this set? The especially like the fence and the font type. I love having different types of fonts.
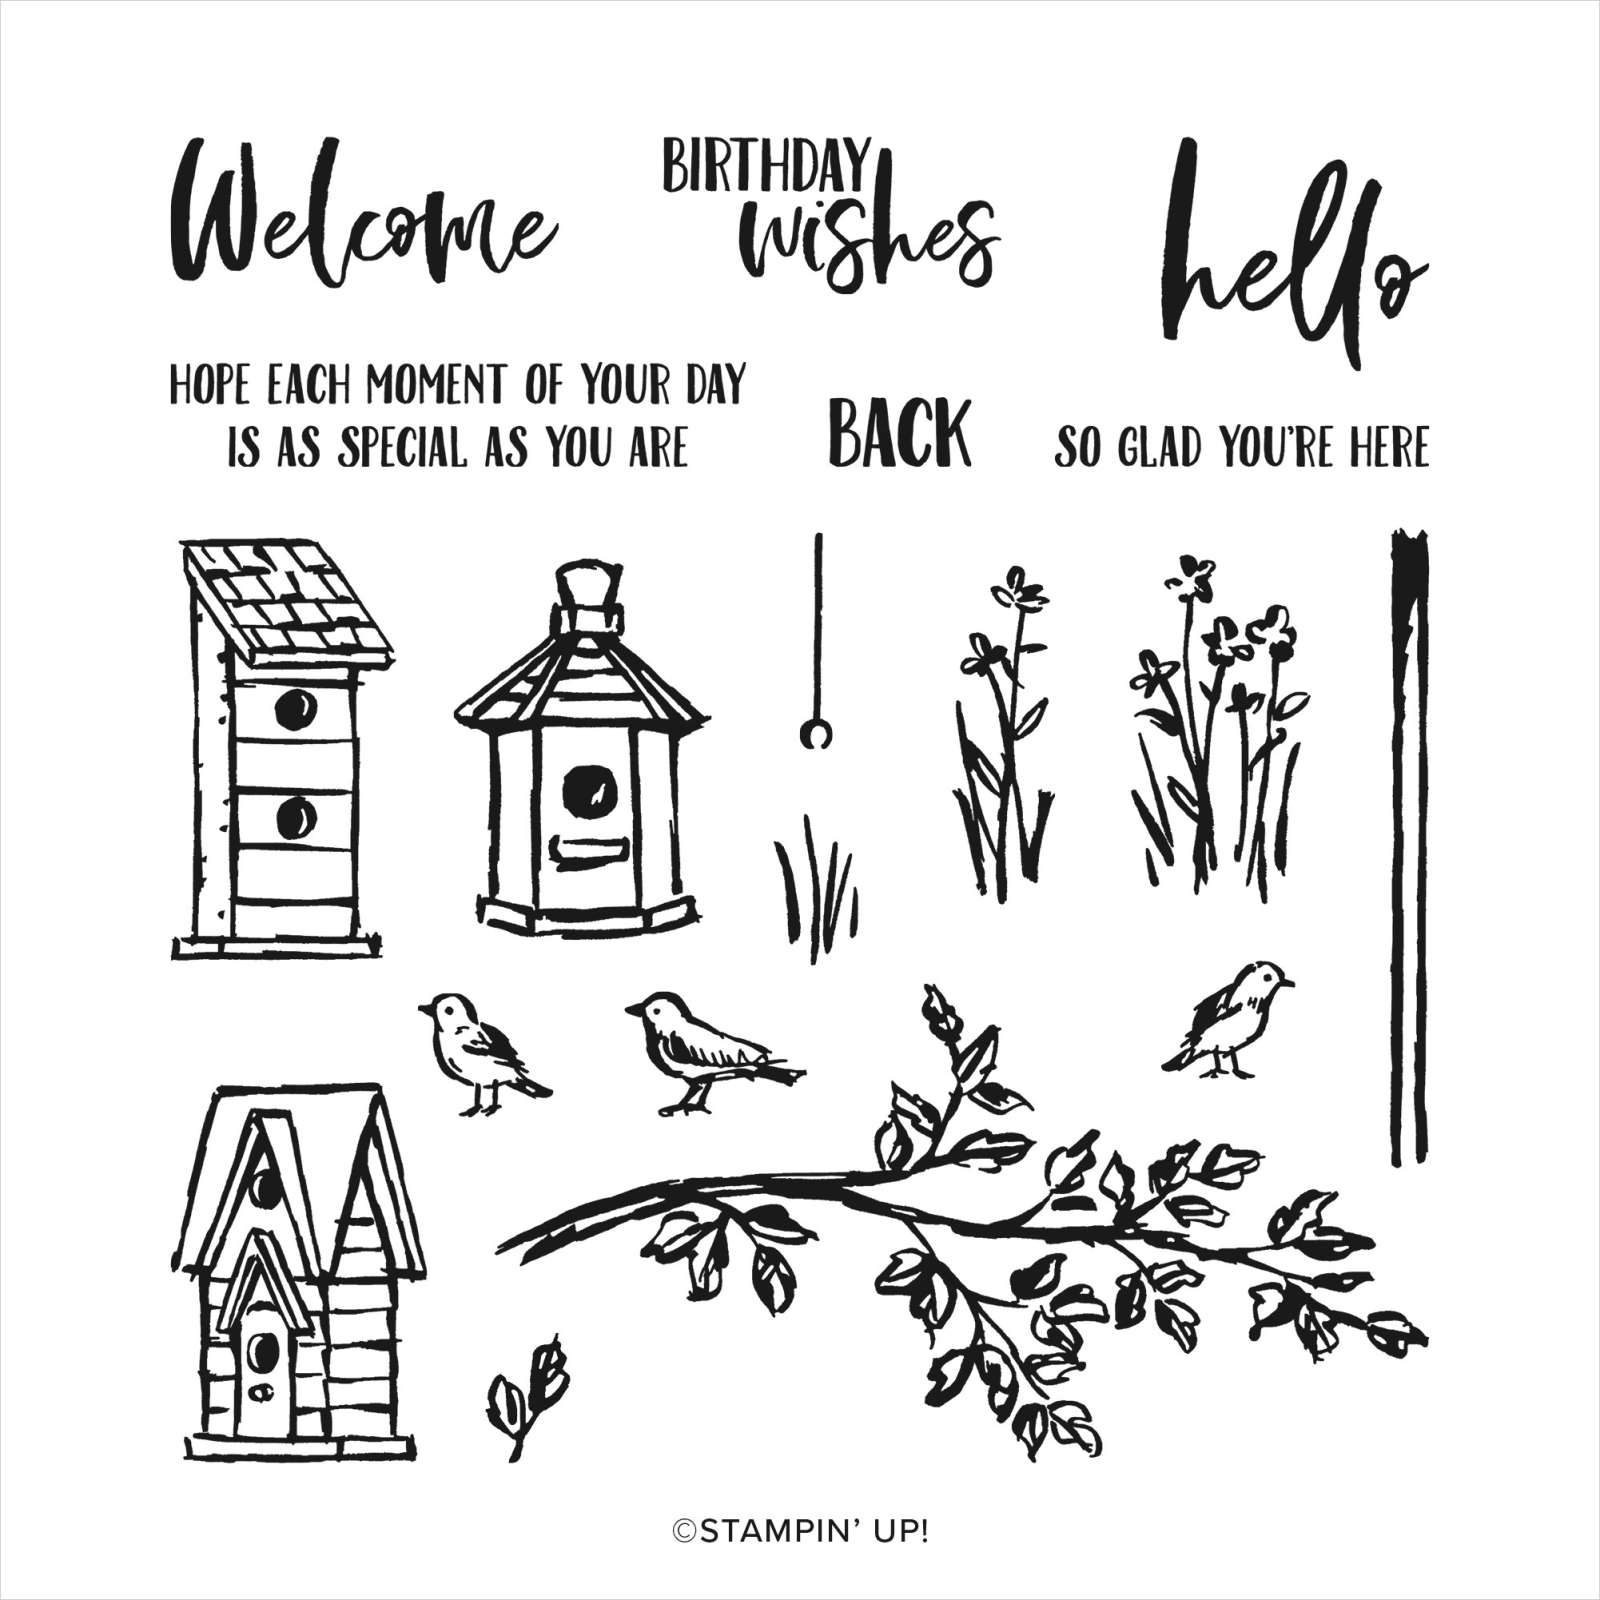
The Garden Birdhouses is a 19 piece photopolymer stamp that has 6 sentiments and 13 images. With the birdhouses, flowers, birds, it’s easy to create your own garden scene. You can hang your birdhouse on a branch or place on a pole with flowers surrounding it. To be honest, when I first saw this stamp, I liked the birdhouses but wasn’t sure if I liked the boldness of the set with its dark lines. Ironically, that’s exactly what I like now.
Card Supplies
- Card base – Calypso Coral 5-1/2″ x 8-1/2″ scored at 4-1/4″.
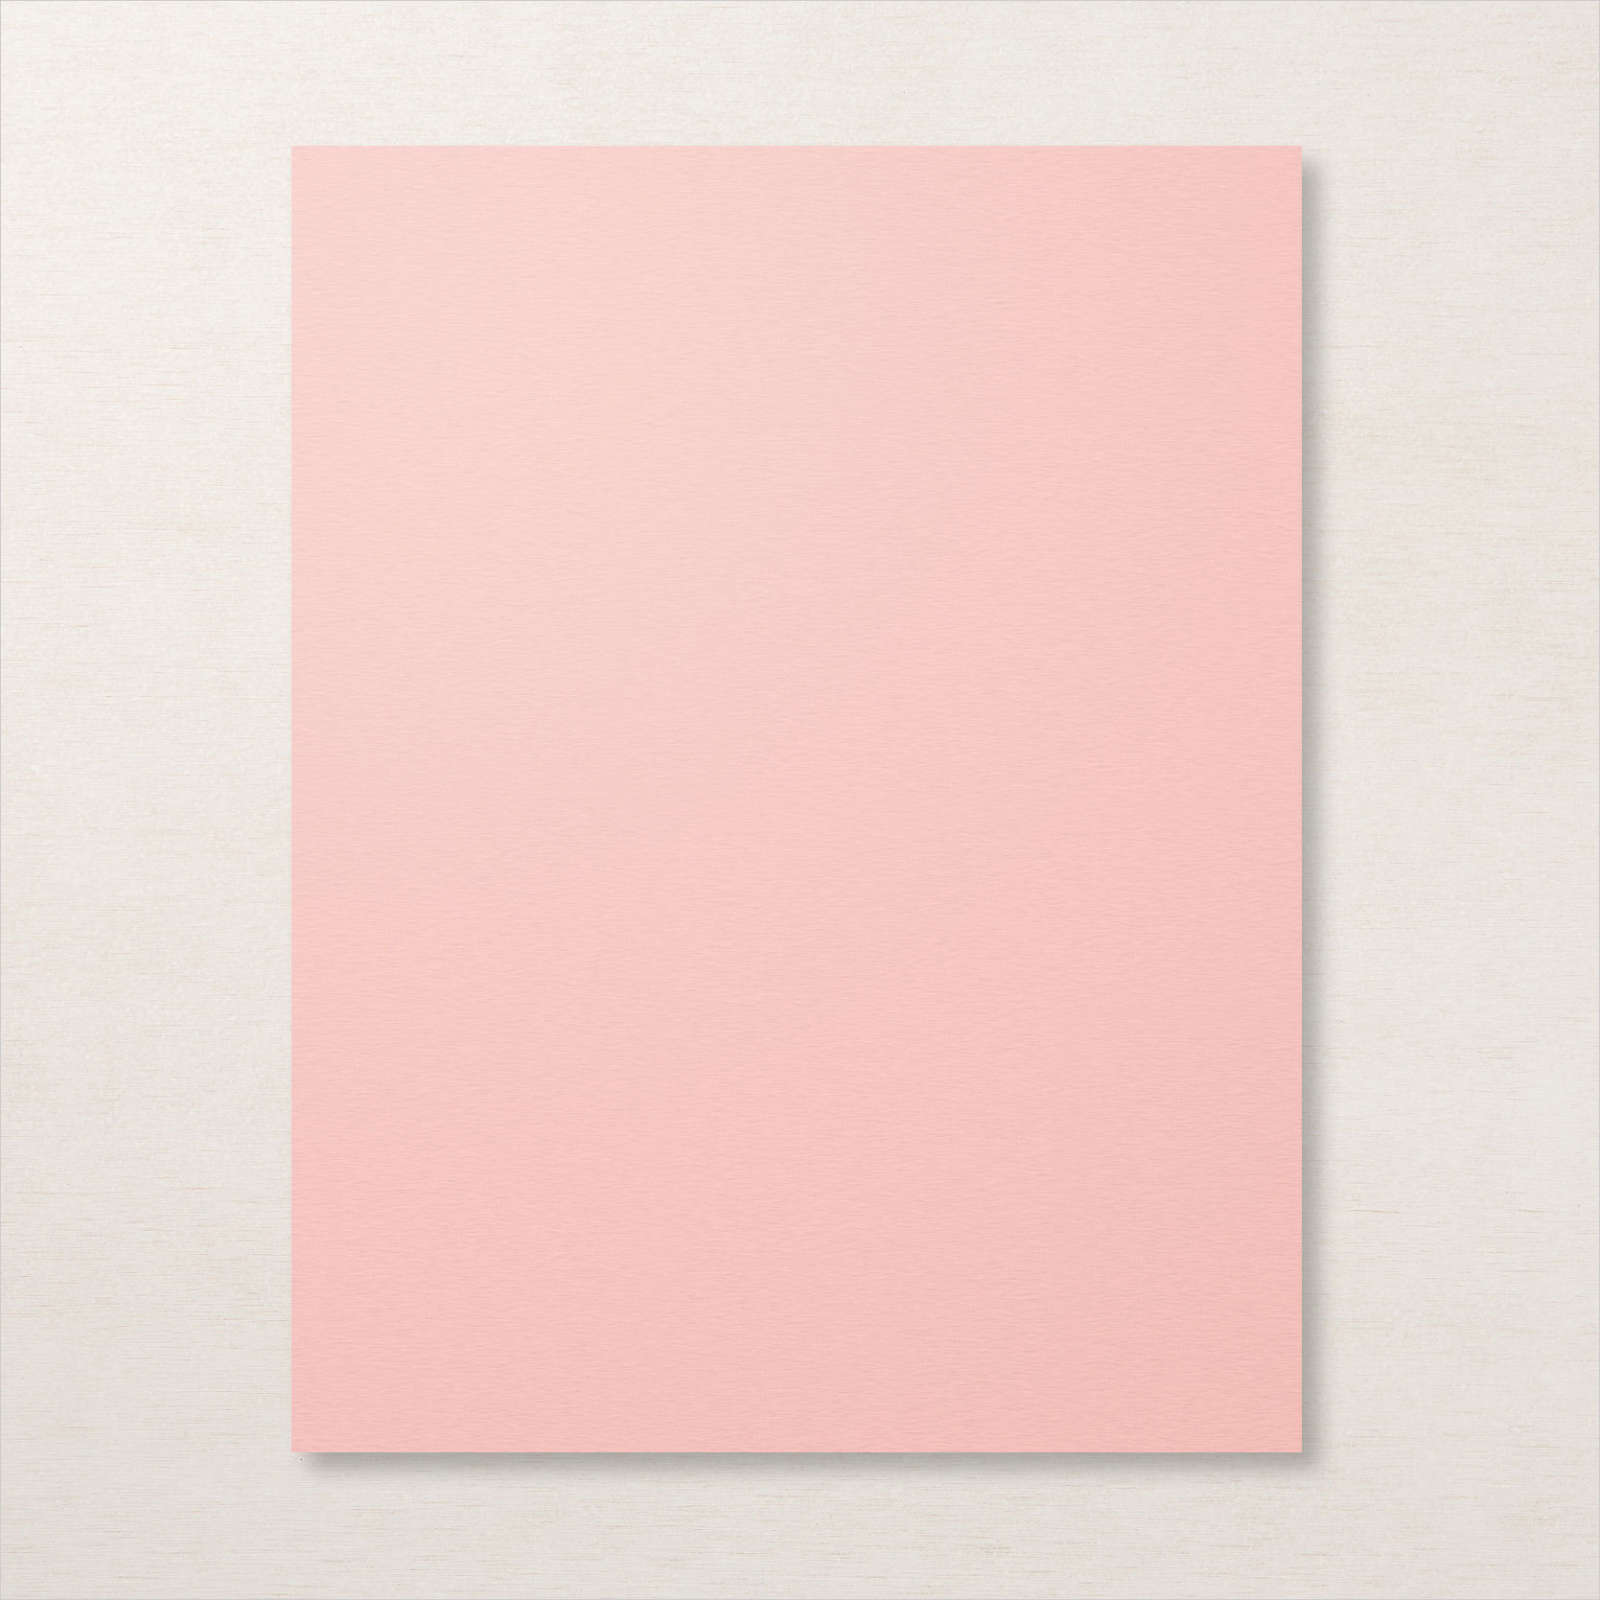
- Blushing Bride – card front 4″ x 5-1/4″ die cut with Picture This dies
- Sentiments were stamped with Memento Black ink
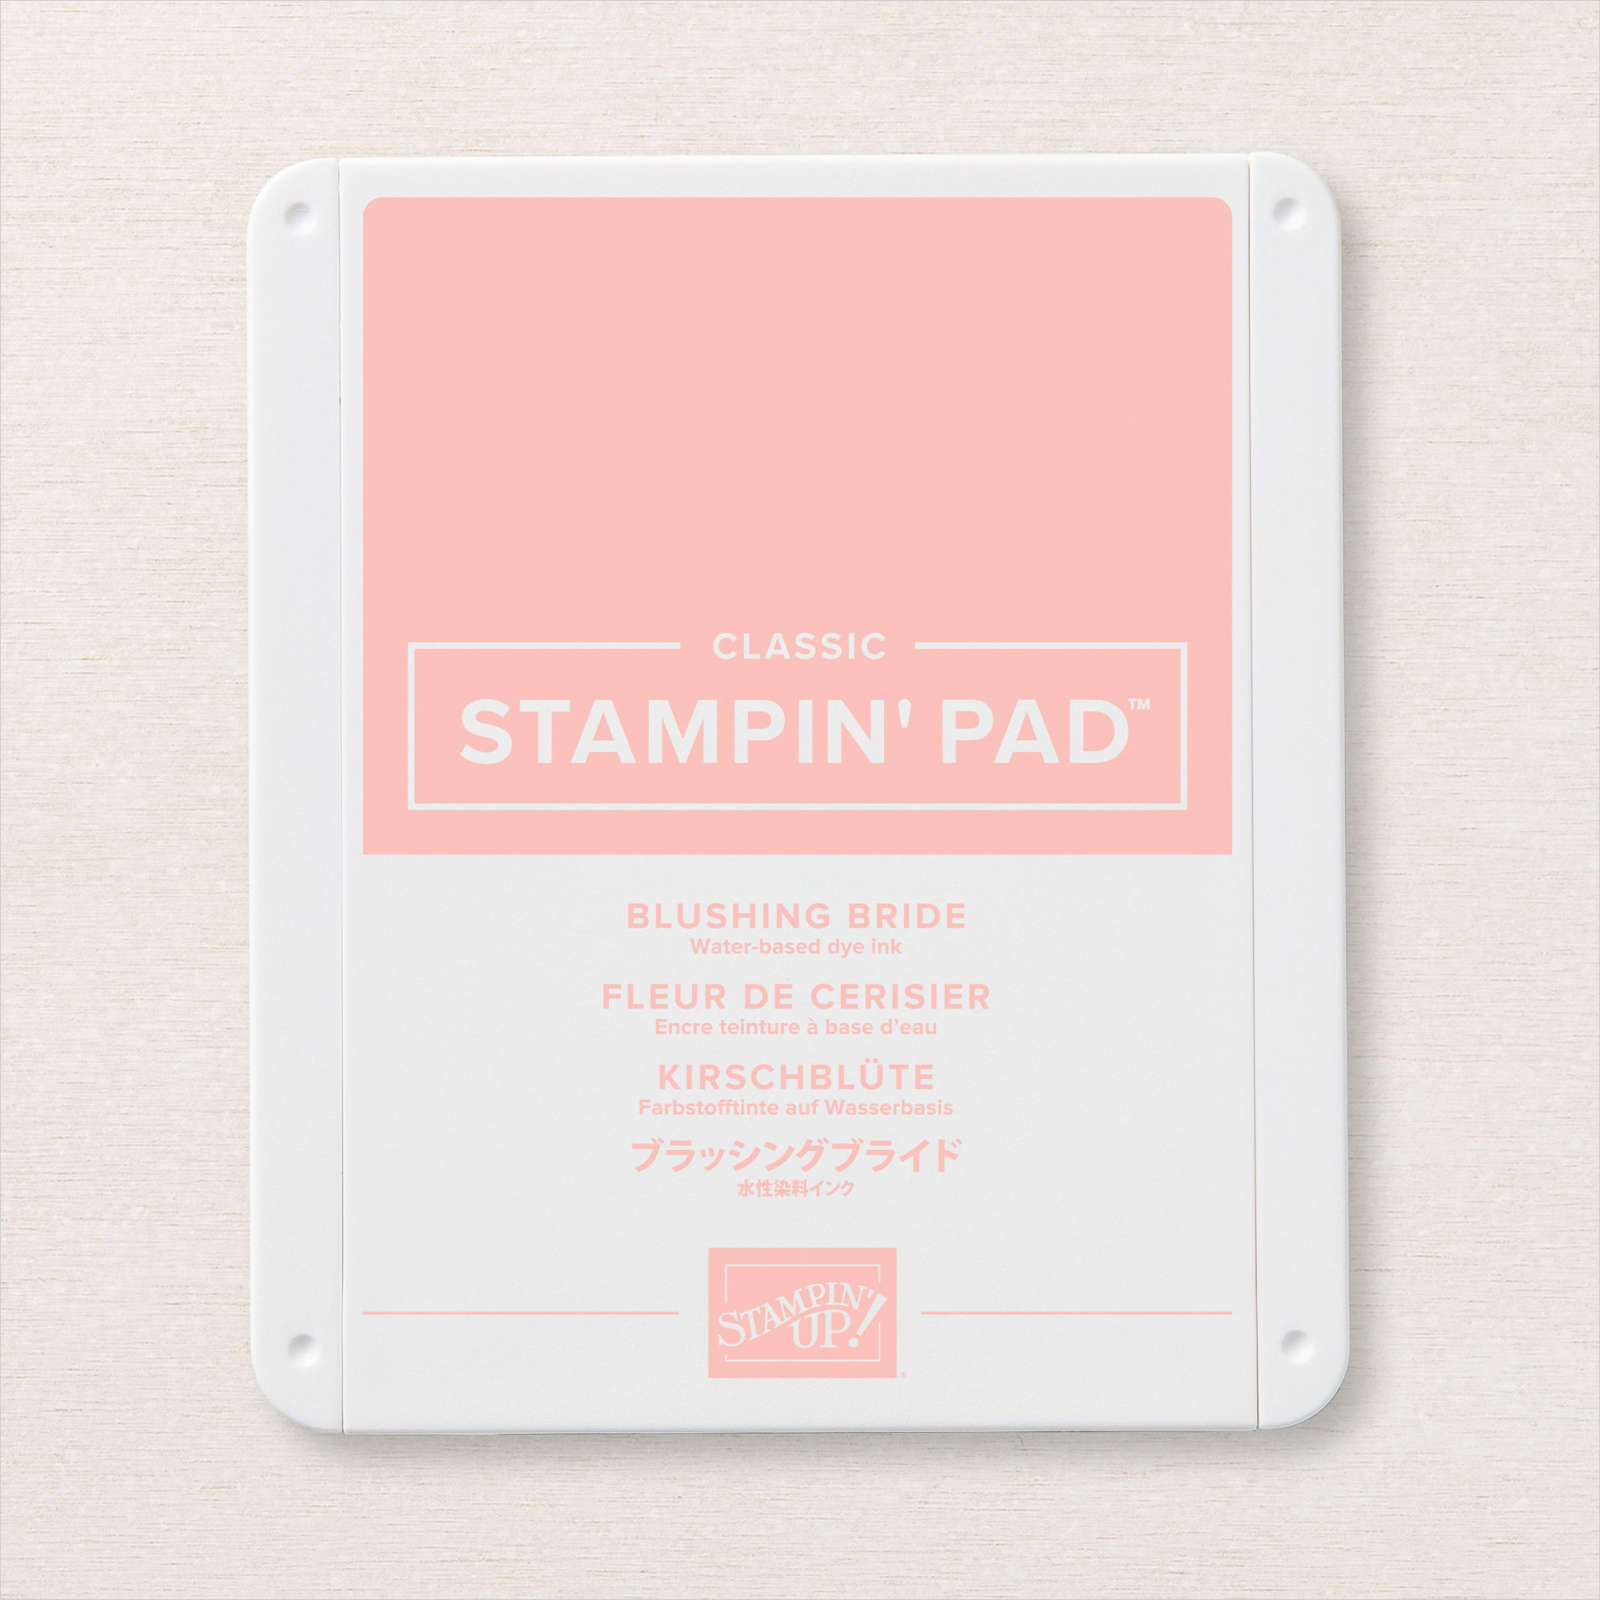
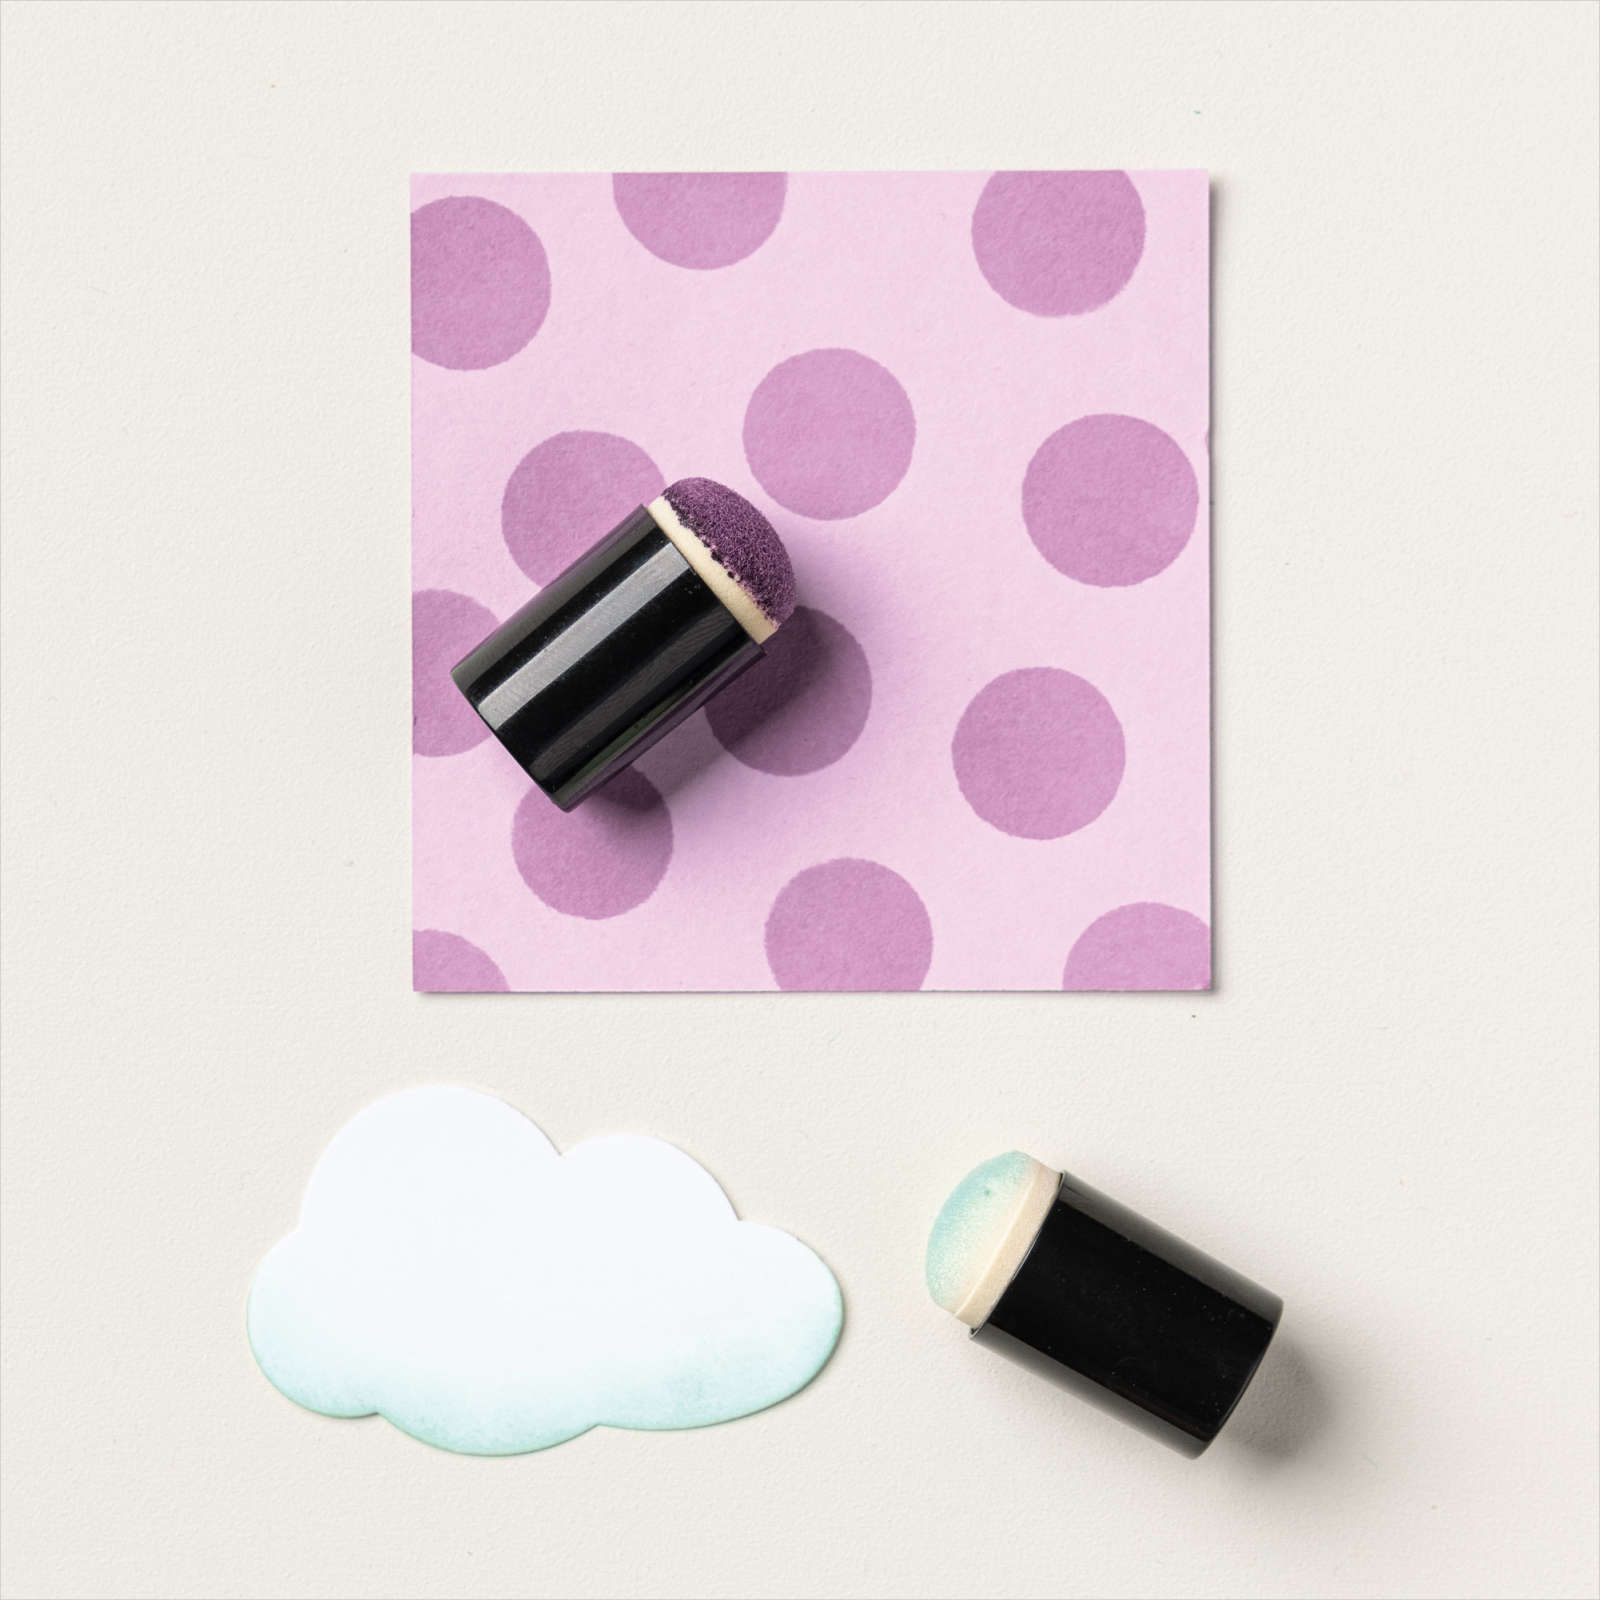
- The flowers were colored with sponge daubers using Pear Pizzazz and Blushing Bride inks
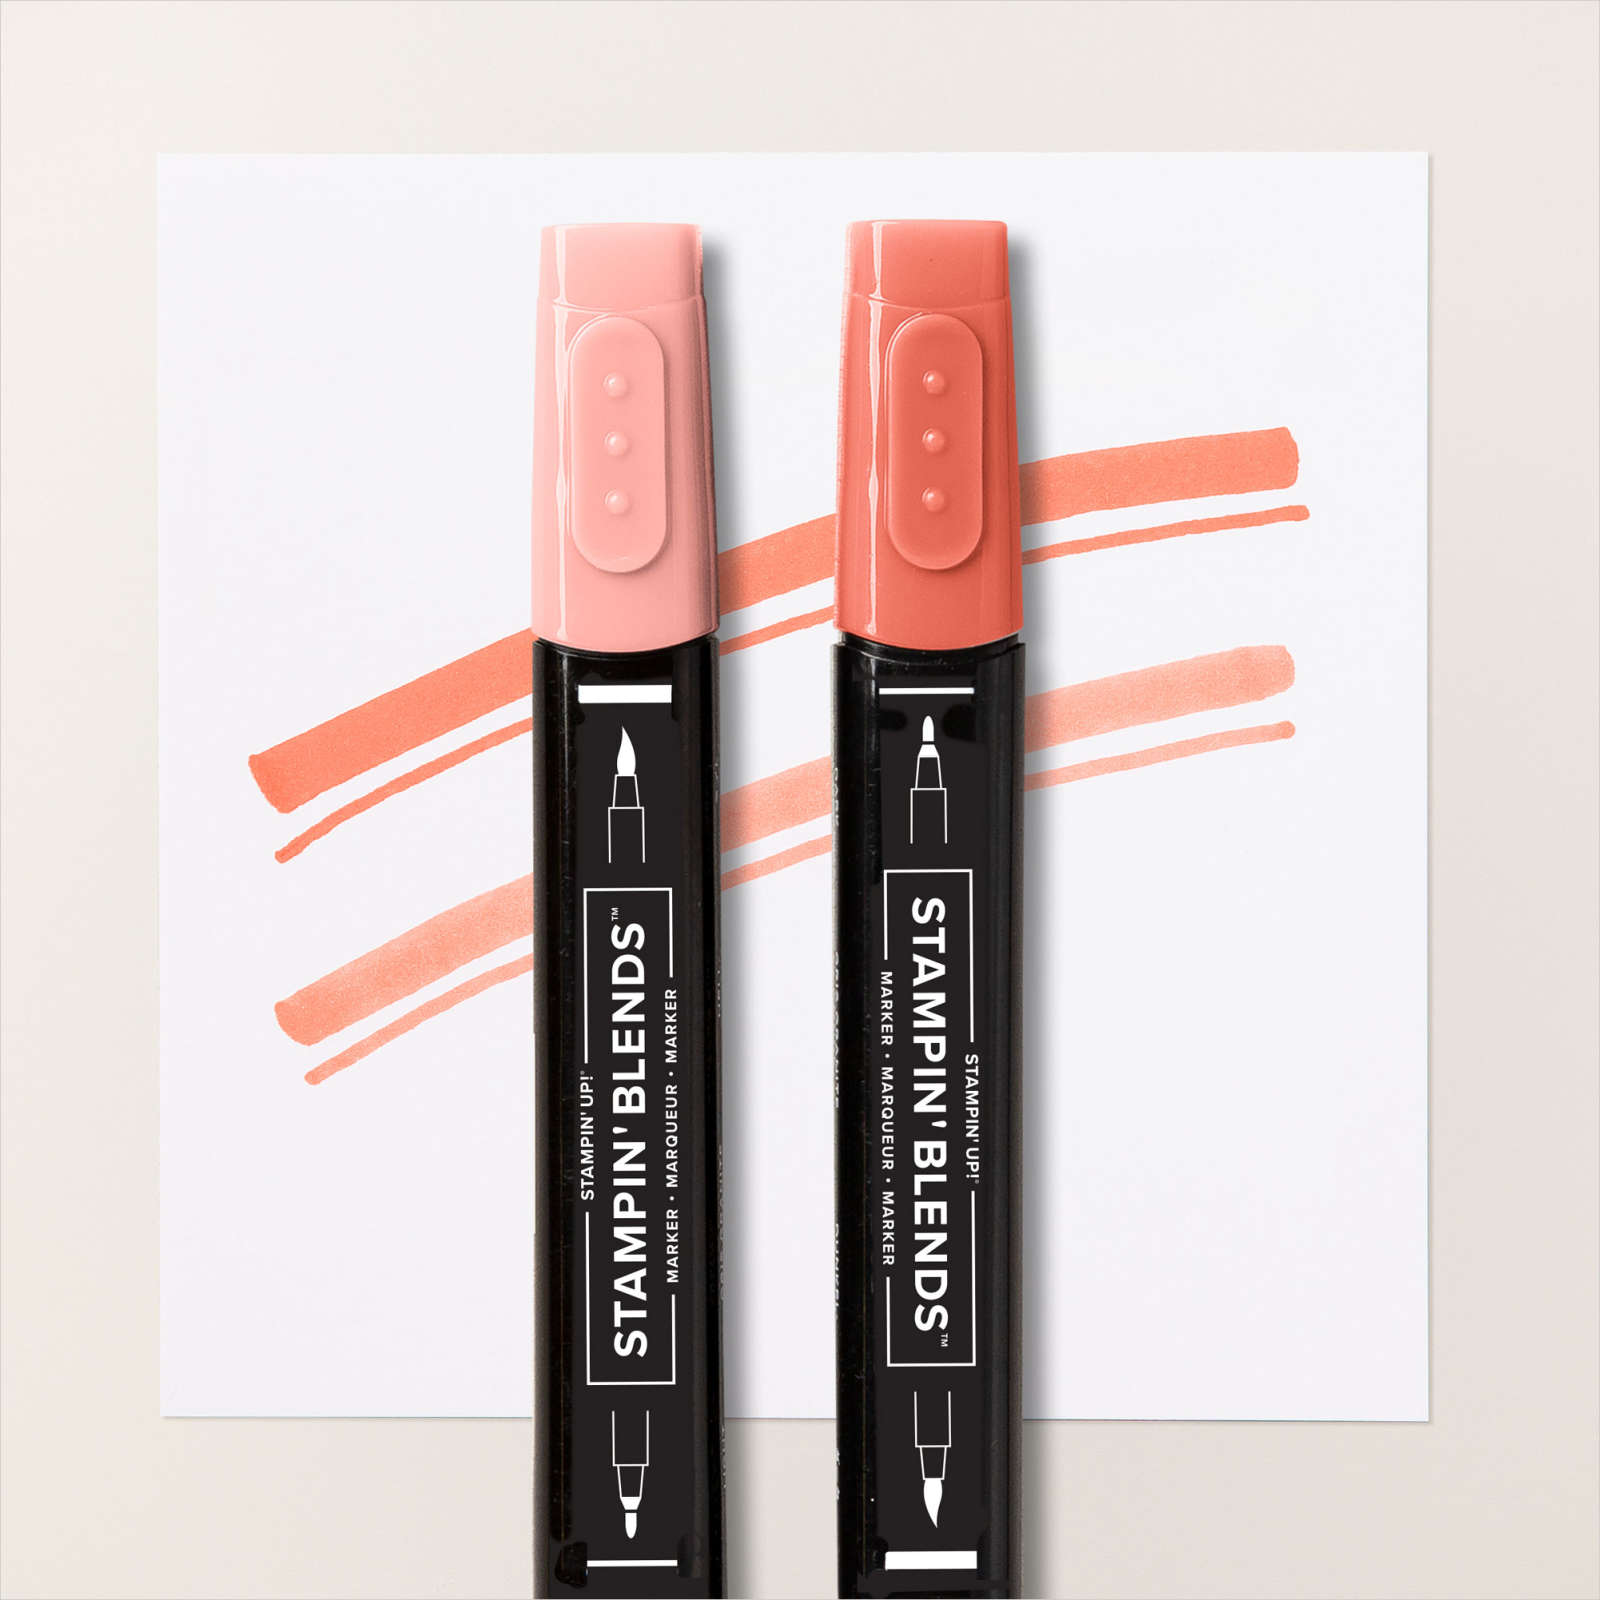
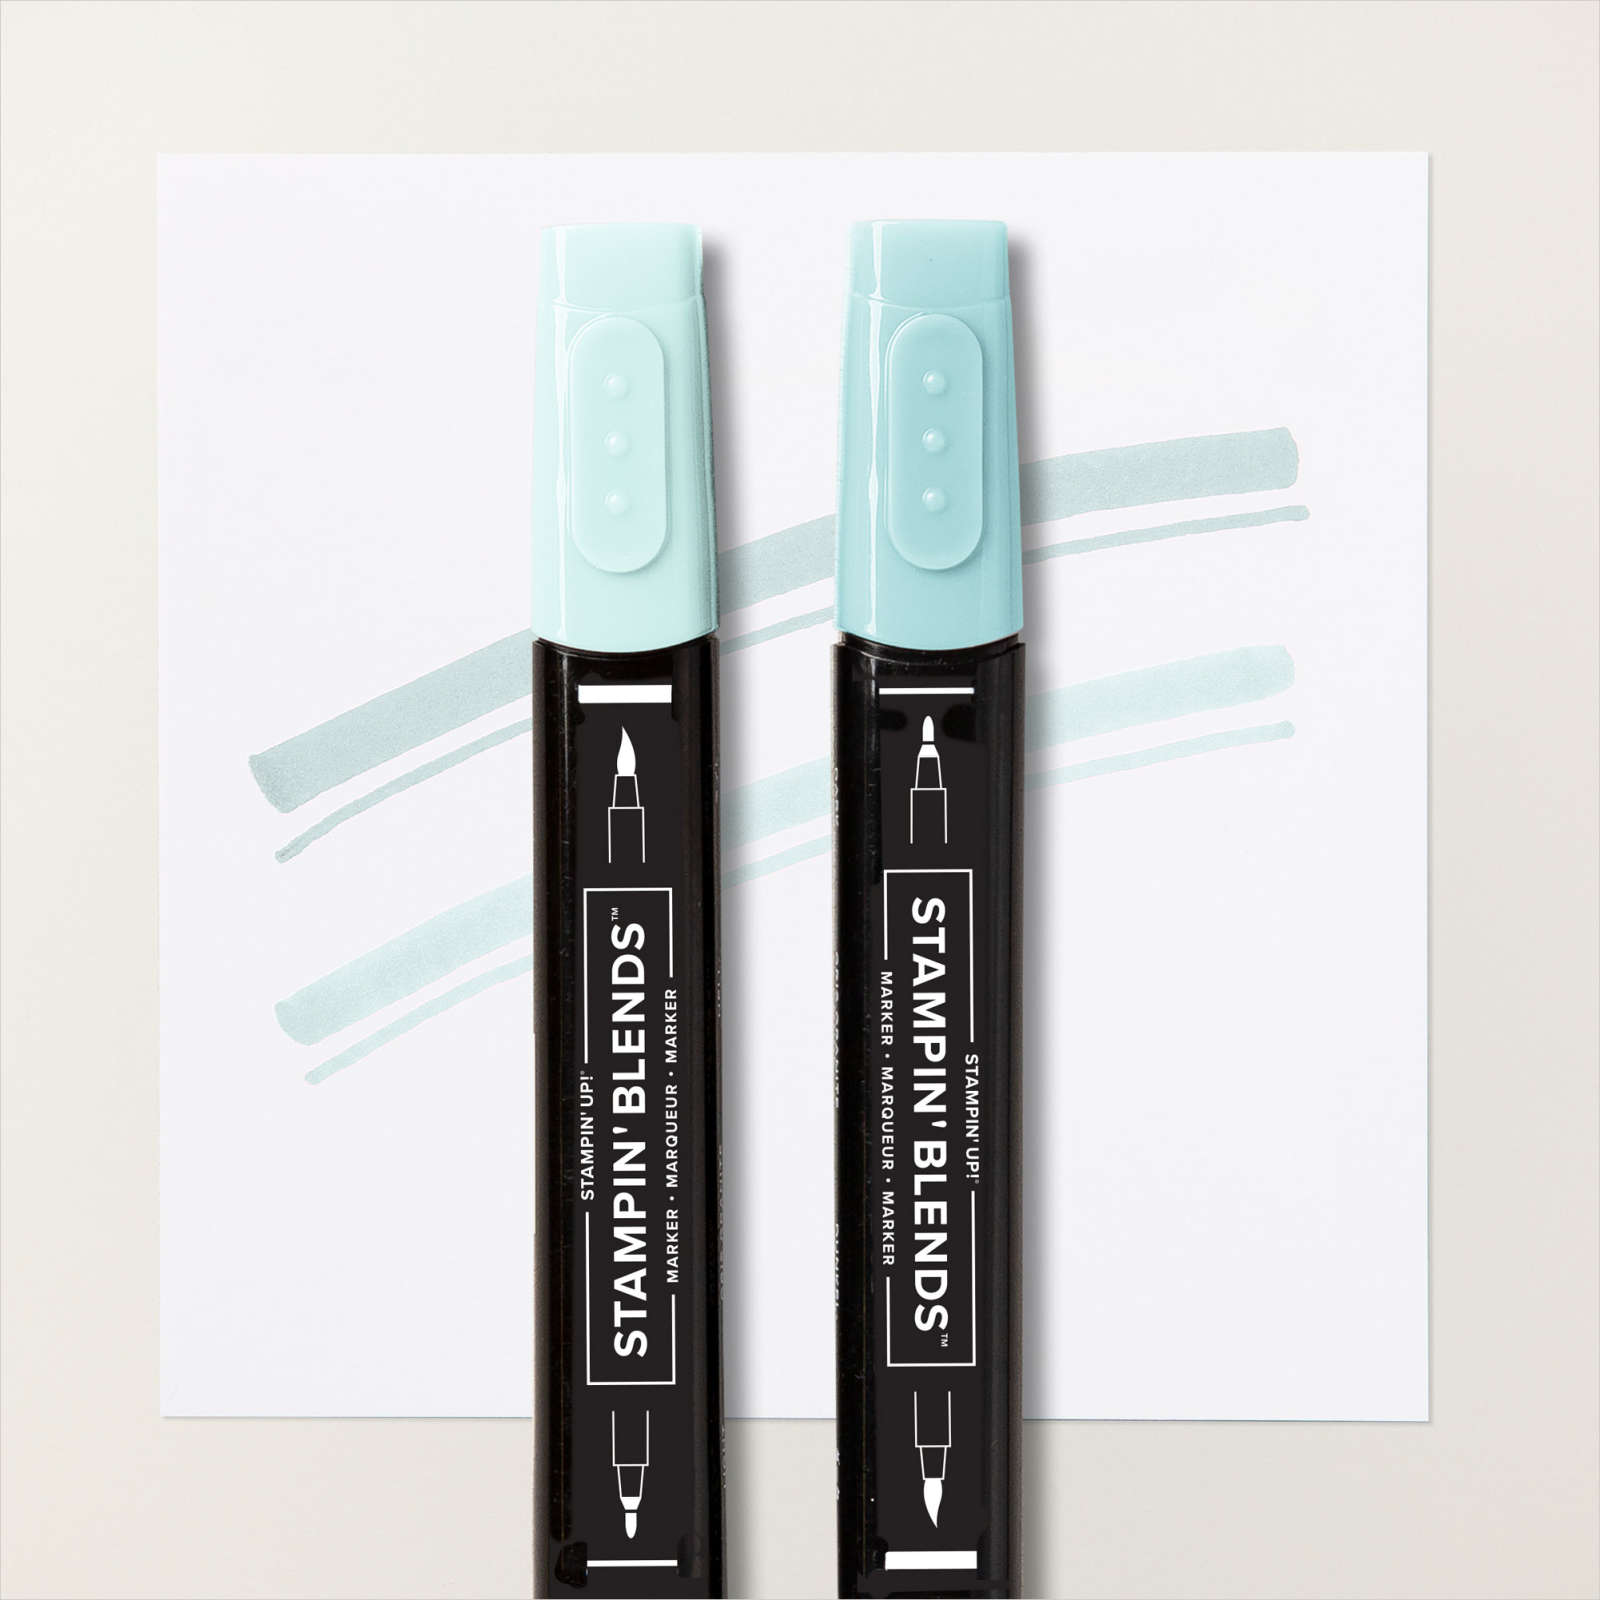
- The bird was stamped with Memento Black ink and colored with Light Pool Party Stampin’ Blends.
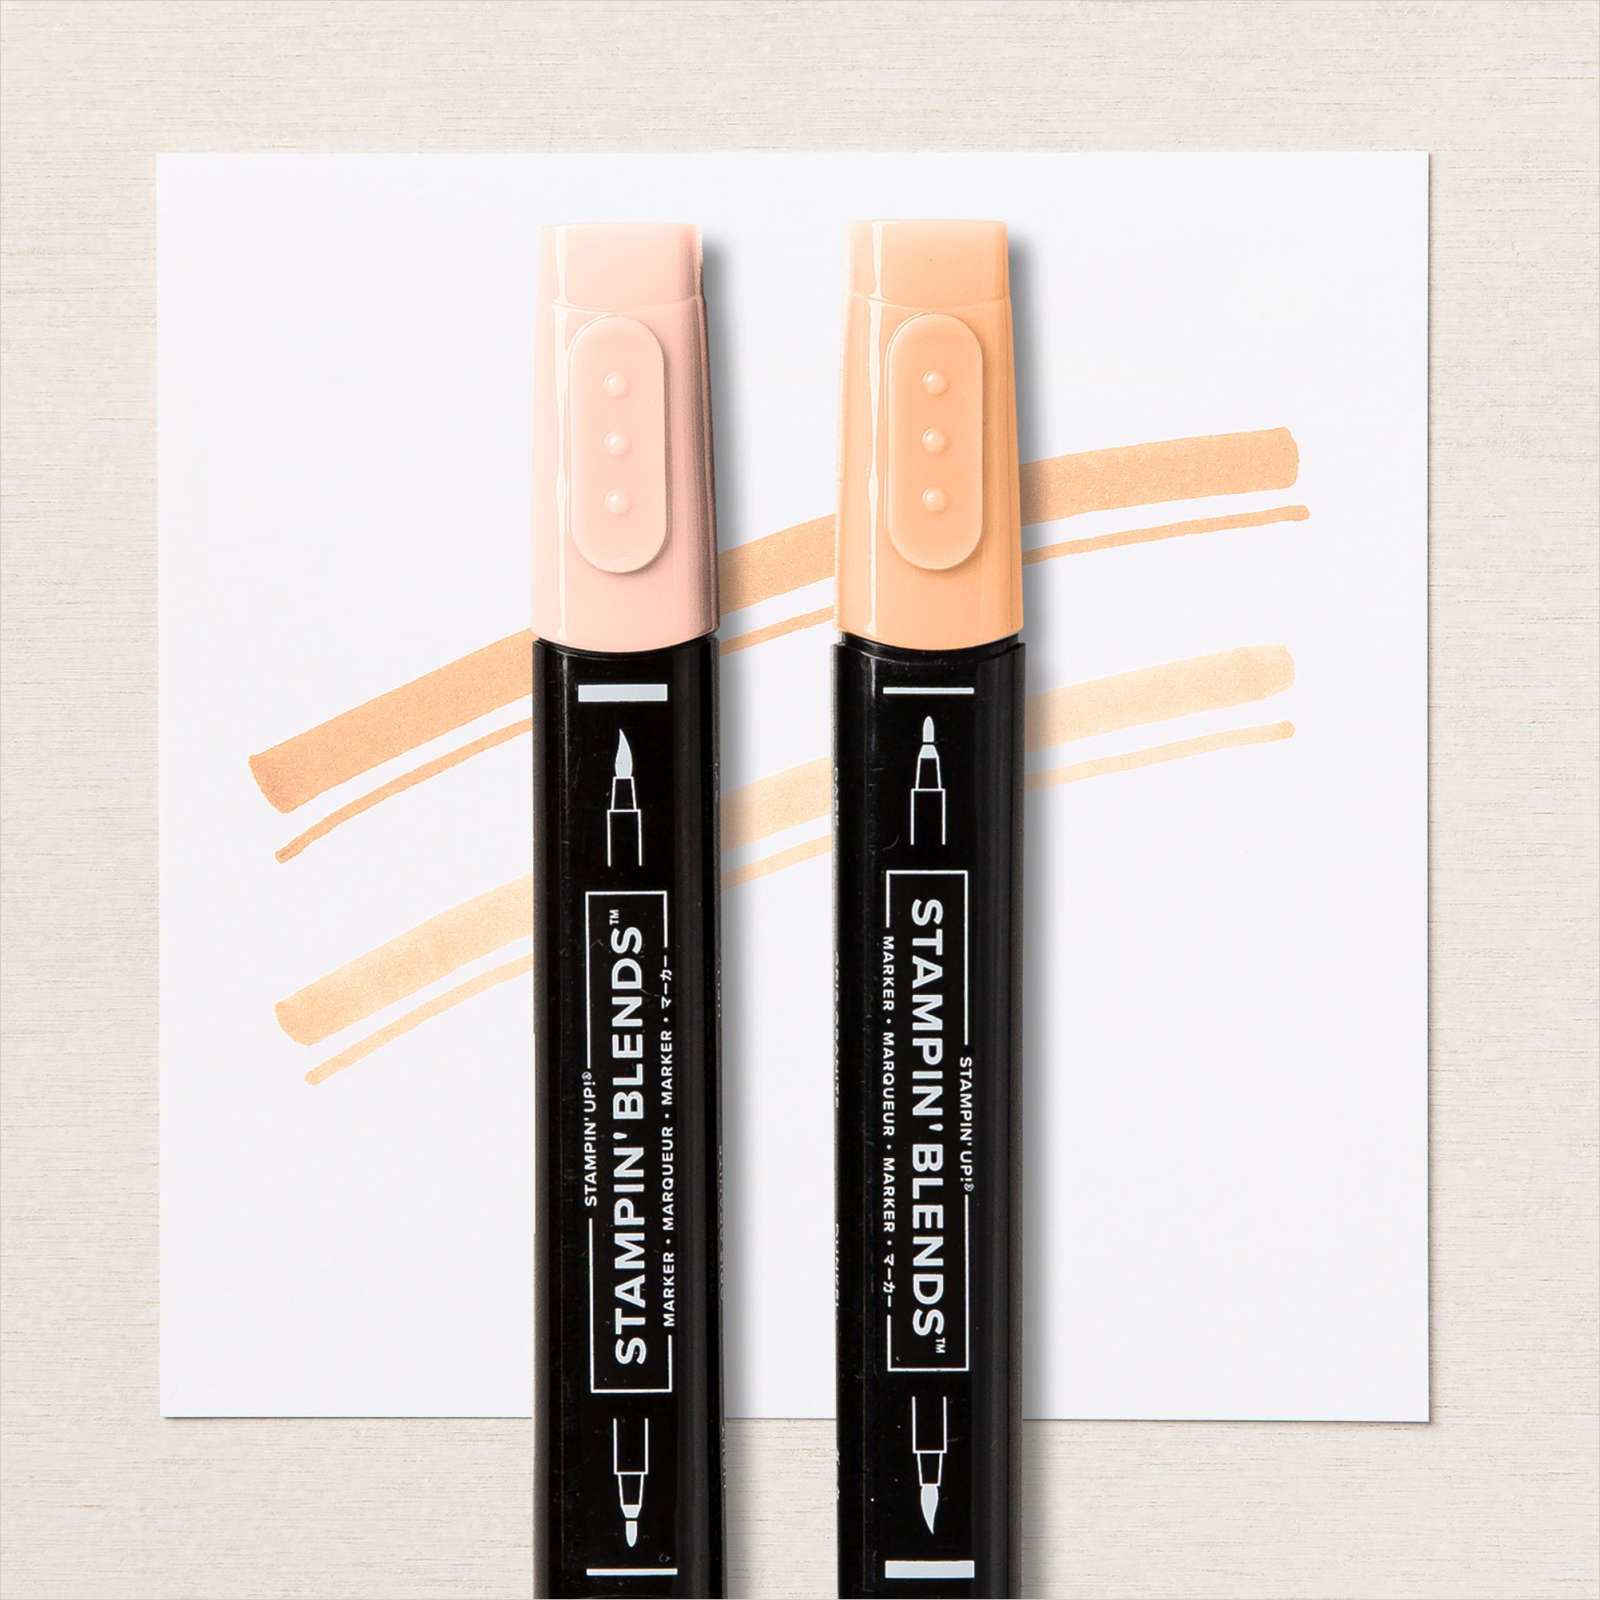
- Birdhouse was stamped with Memento Black ink and colored with Light & Dark Pale Papaya and Light Calypso Coral Stampin’ Blends.
- Leaves were stamped with Pear Pizzazz before I mounted the card front.
- Card front was adhered to card base with adhesive foam strips.
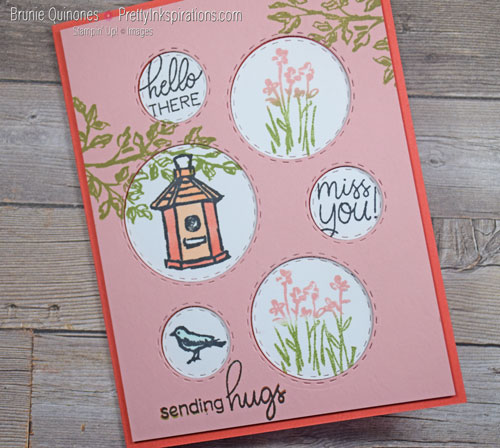
If you look closely at the bottom sentiment, you may see some shadowing and that’s because I first stamped it with Pear Pizzazz ink but didn’t like it so I stamped it with Calypso Coral. Again I didn’t like it so I stamped it with Memento Black ink. Unfortunately, I didn’t use my Stamparatus which would’ve made it much easier to align, but because it was a photopolymer stamp, I was able to get it done without messing it up too much.
Picture This & Your Stamps
Not sure which stamps in your collection would go with these dies? If you get this die, my suggestion would be to die cut it and place the cardstock over your stamps. You’ll be surprised how many fit nicely in these window fronts. That’s exactly how I made my discovery.
Don’t forget to check out my promotions page for all the latest news. You don’t want to miss out!
Thanks for stopping by . . . till next time . . .
Below are the Stampin’ Up! supplies used for today’s project. If you would like to purchase any of the supplies, click on the Add All to Cart button below it will take you to my online store. From there, you can see your cart and remove or add any products you like.