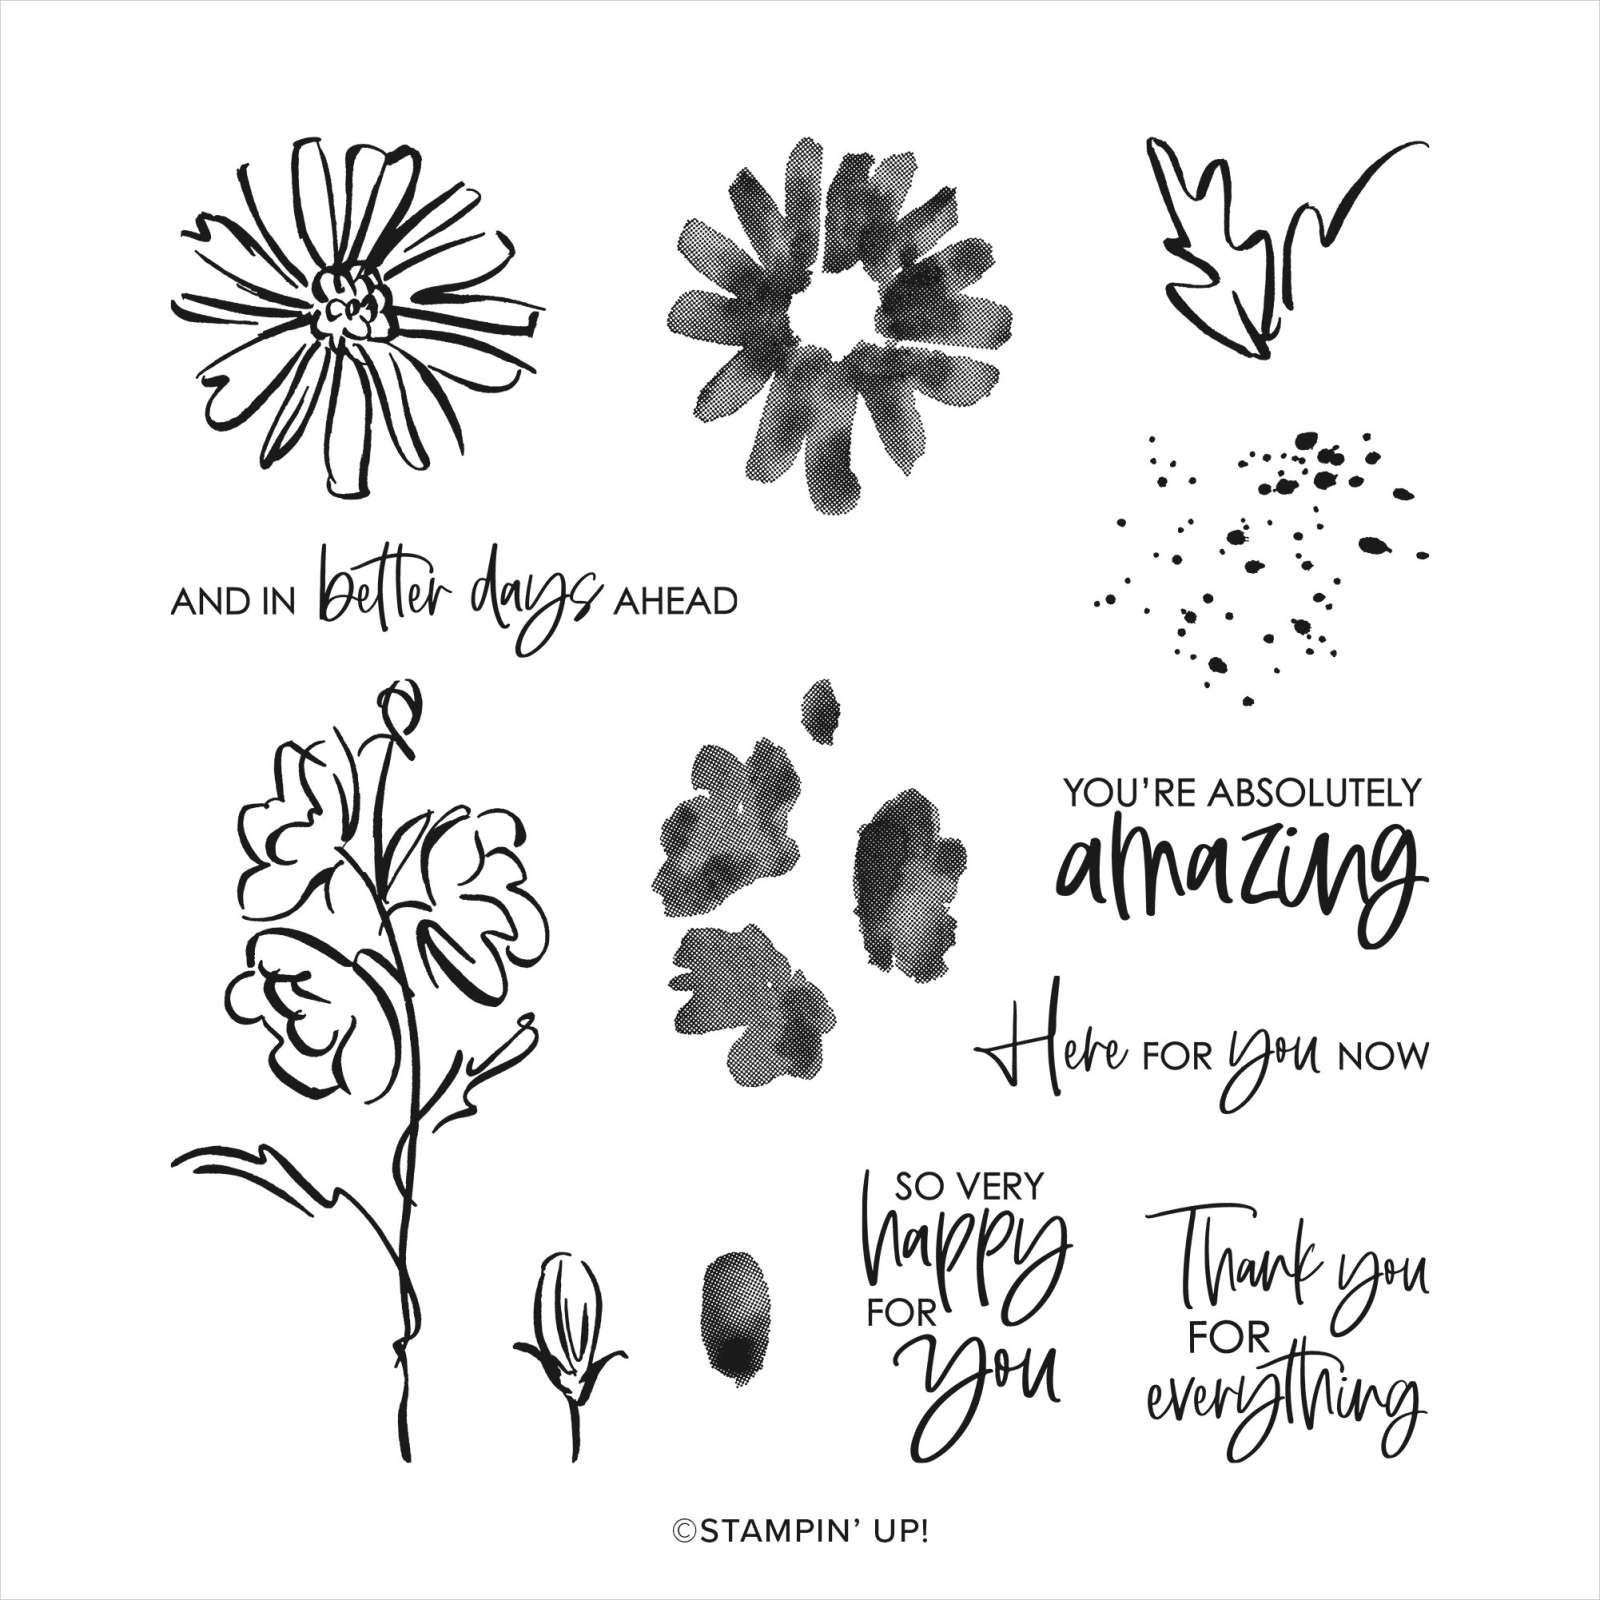
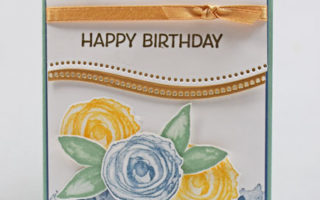
Mother’s Day is around the corner and so I used the Color & Contour stamp that has a Mother’s Day greeting. You can make so many different card variations using this set and the coordinating Scalloped Contours Dies.
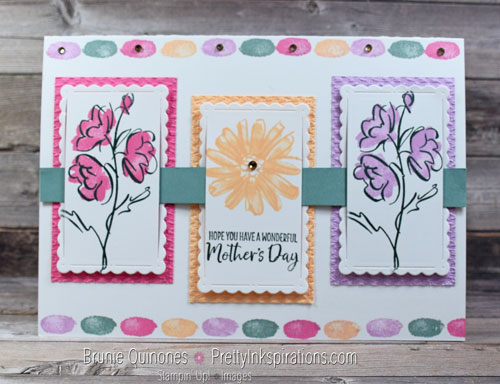
You can see another card here using Color & Contour. In that card, I used Memento black for the outline of the flower in the middle and then used the different inks to fill in the flower. Every time I get a new stamp, I categorize it right away by stamping all the images in the appropriate category in my greetings & images binders. This serves two purposes – one I can find whatever sentiment or image I want immediately and second, I can see how the stamp looks once it’s inked.
Scalloped Contours Dies
When I get a new die, I take them out of the package it comes with and put them on a magnet sheet and then insert it back into the pocket. I also die cut all of the dies in that set and glue them onto cardstock. If a die has a coordinating image, then I stamp that image and die cut. All other dies without a coordinating image, also get die cut and adhered onto a cardstock. These cardstocks are then inserted back into the die envelope. Die cutting all the images allows me to see how they work and a lot of times I discover something I didn’t see before die cutting.
I debated whether to get these dies because I already had the Stitched So Sweetly dies which have scalloped dies. I decided to buy the bundle because of the scalloped edge and the big die. When I was die cutting the dies, I discovered that the scallop die I used on this card has an opening in the middle which makes it perfect to insert a strip of cardstock or ribbon. By just looking at the dies, you wouldn’t be able to tell.
Card Details
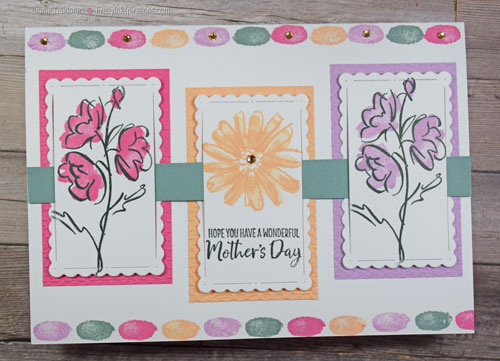
Lately, I’ve been trying to look at my stamps in a different way especially small images to see how I can use them as a focal point. This 5″ x 7″ card uses the filler for the small bud to make an inked line across the top and bottom. I used all the 2021-2023 In Colors on this card and as you can see, they go so well together.
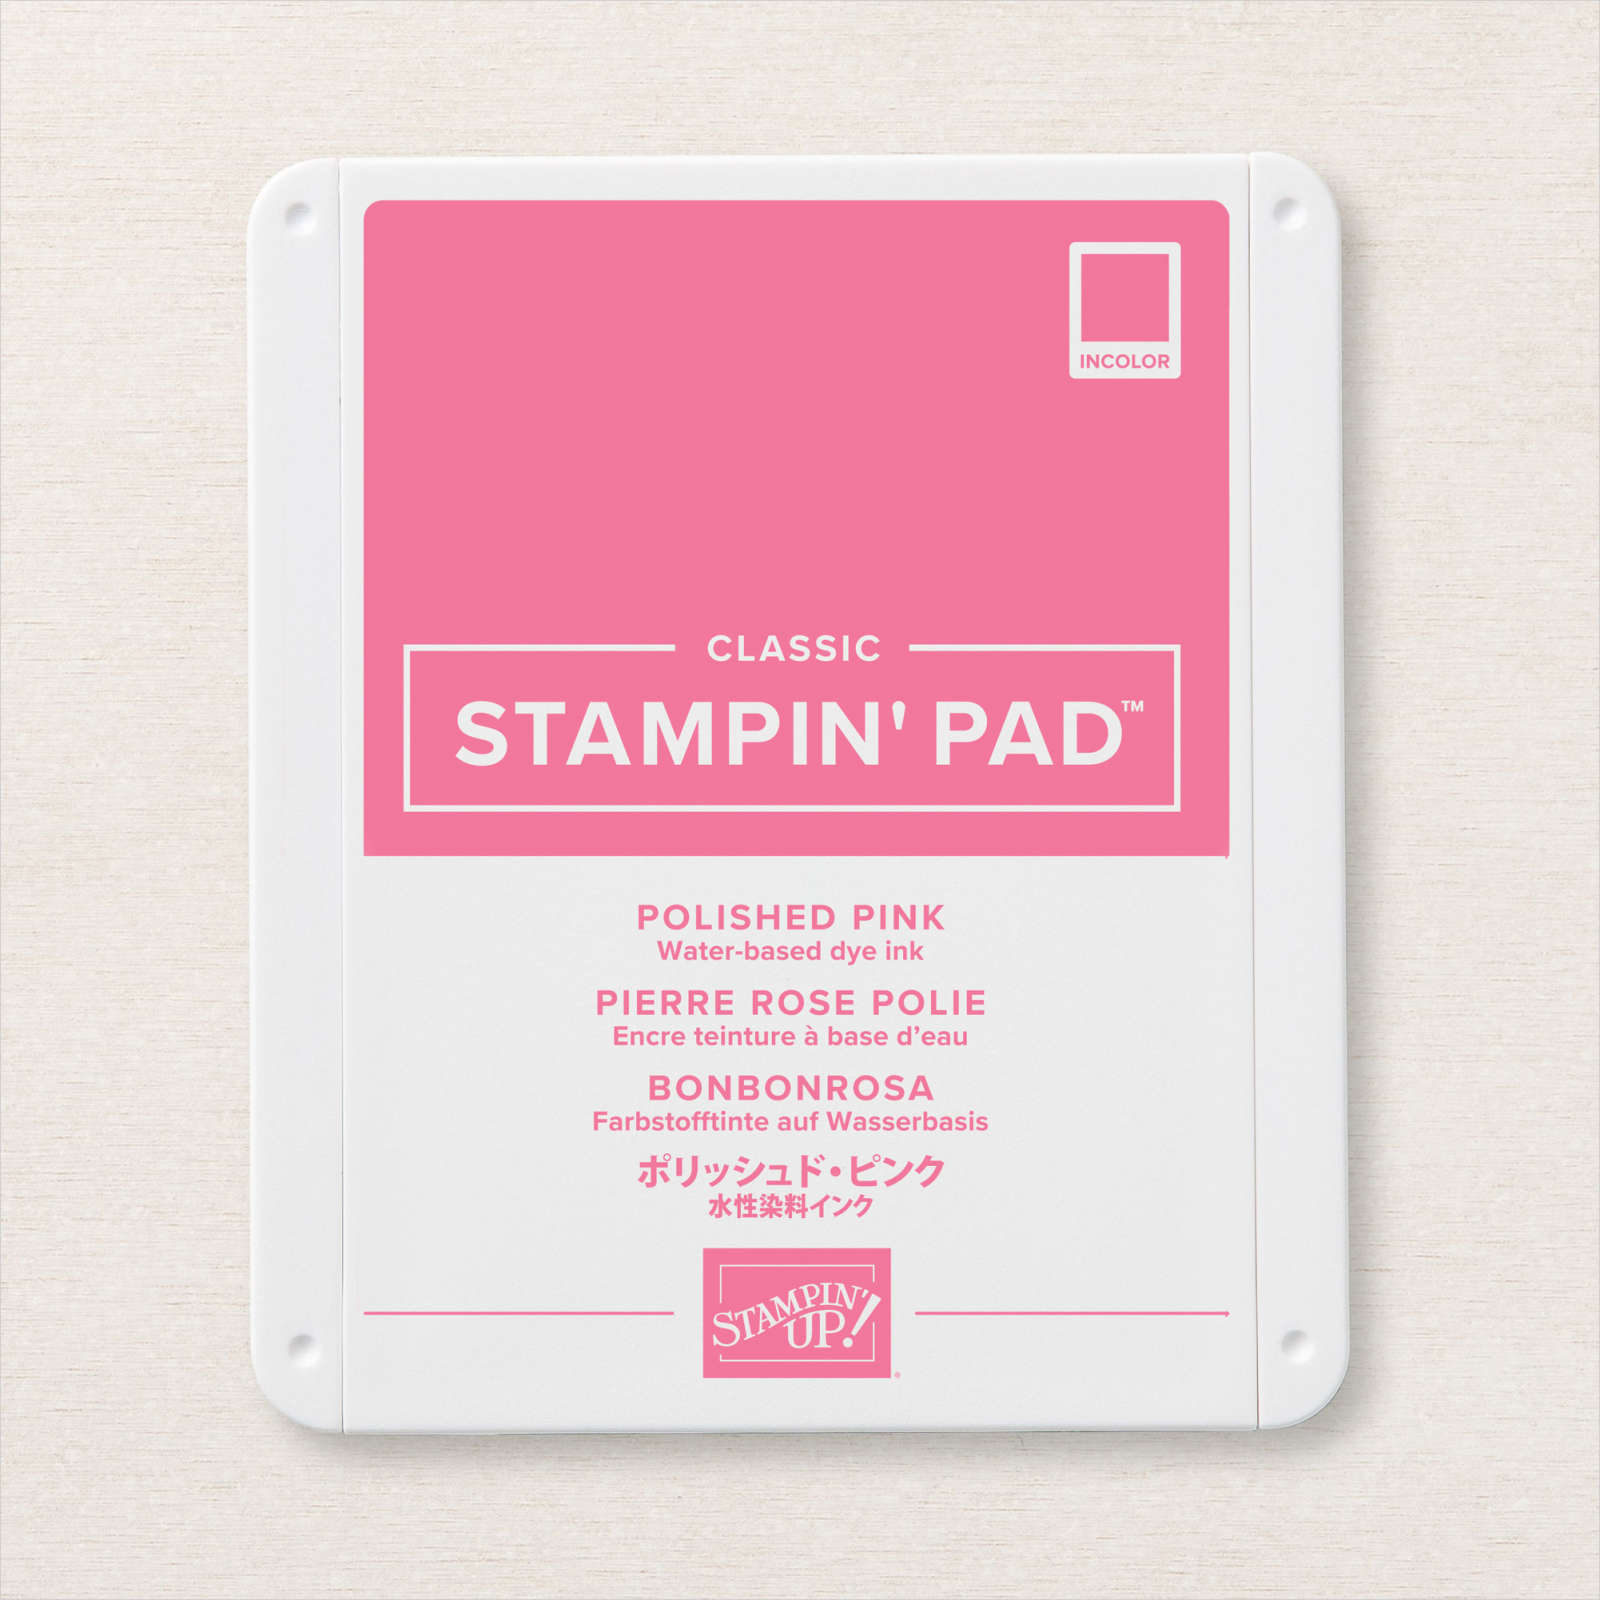
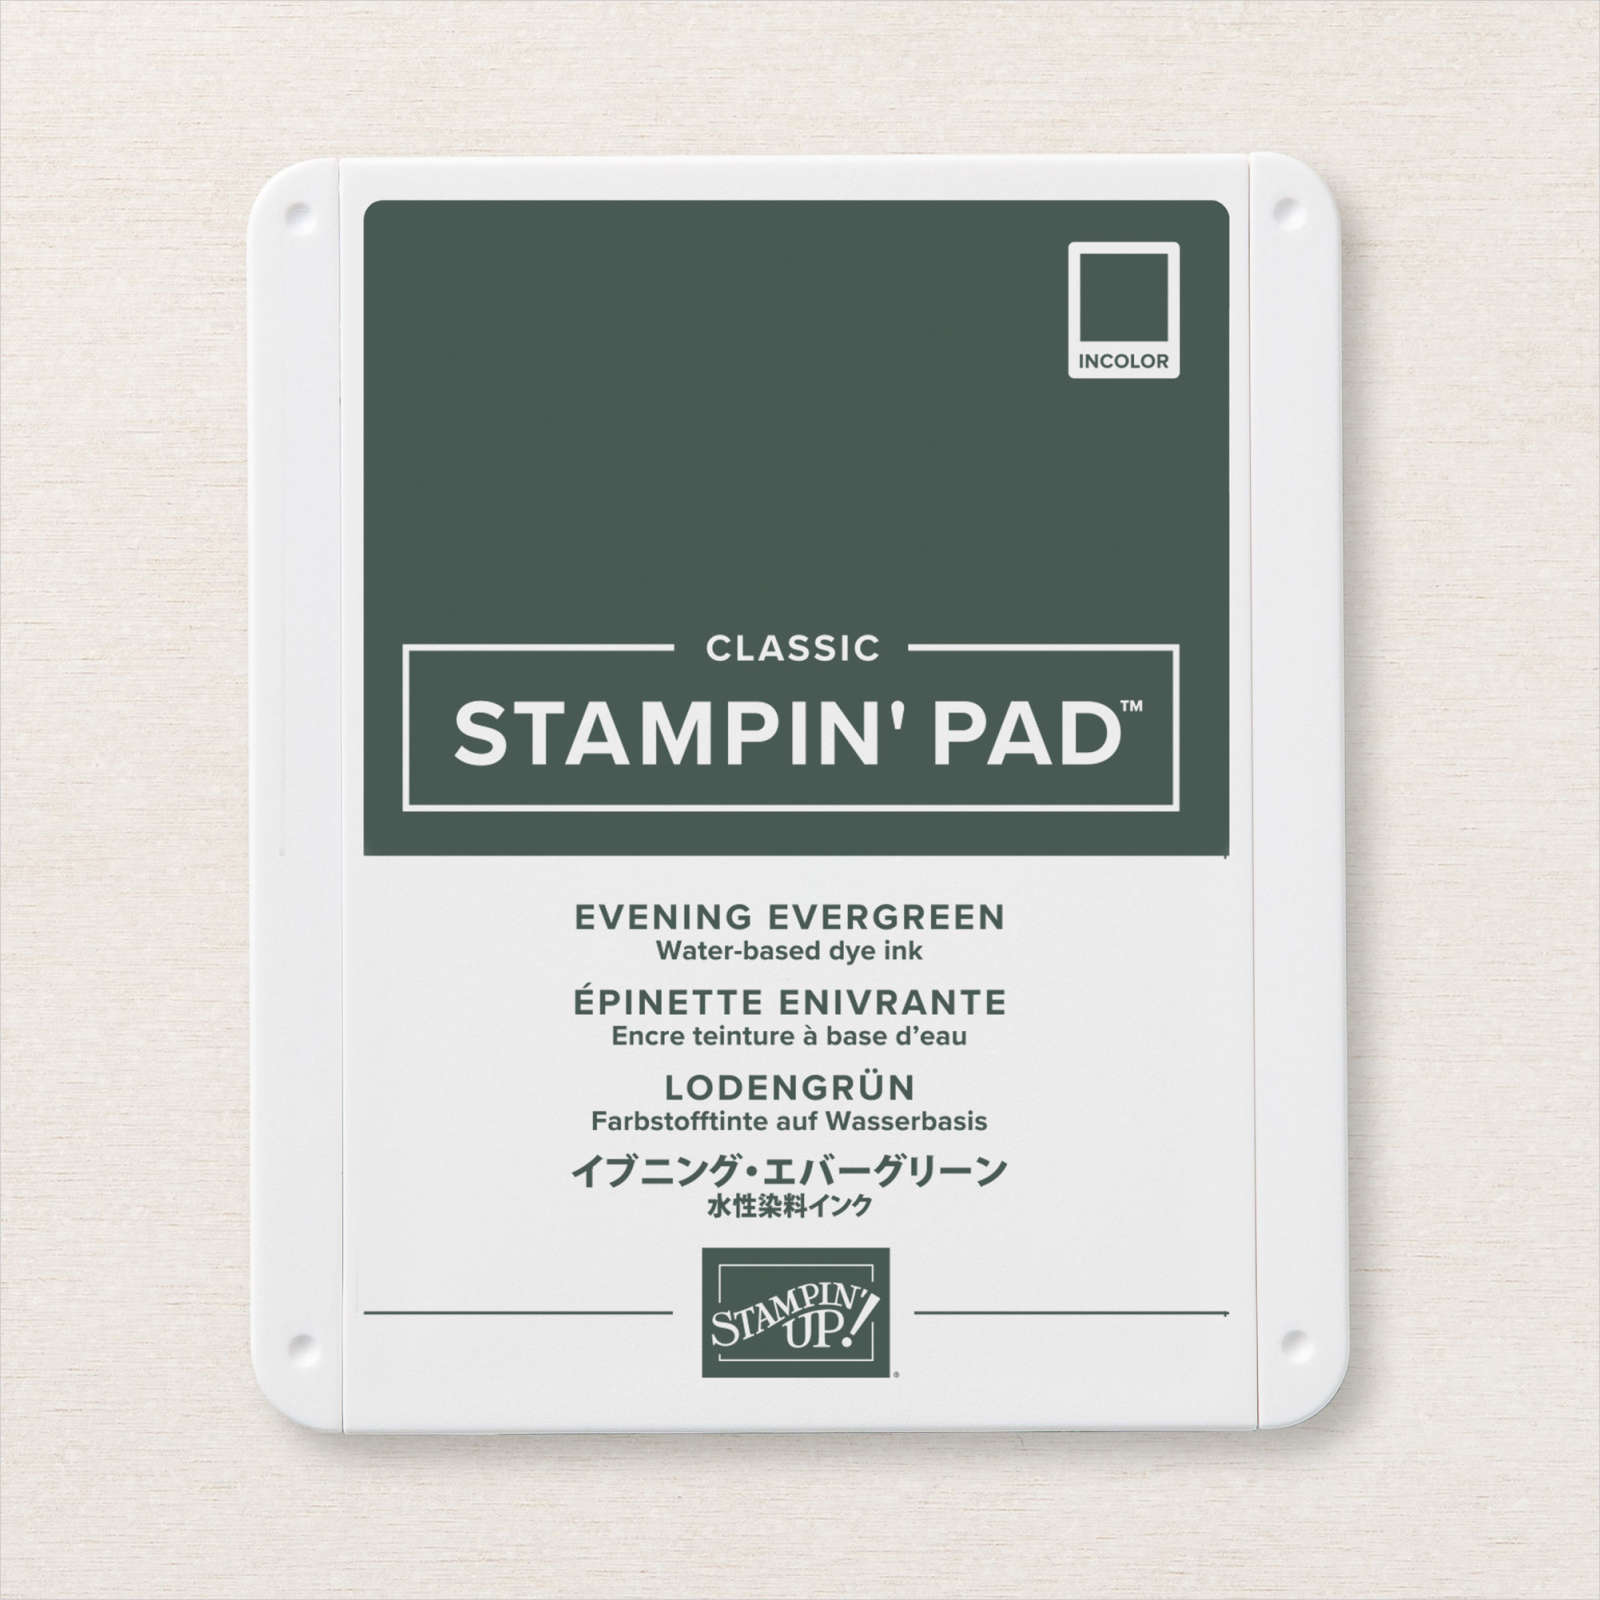
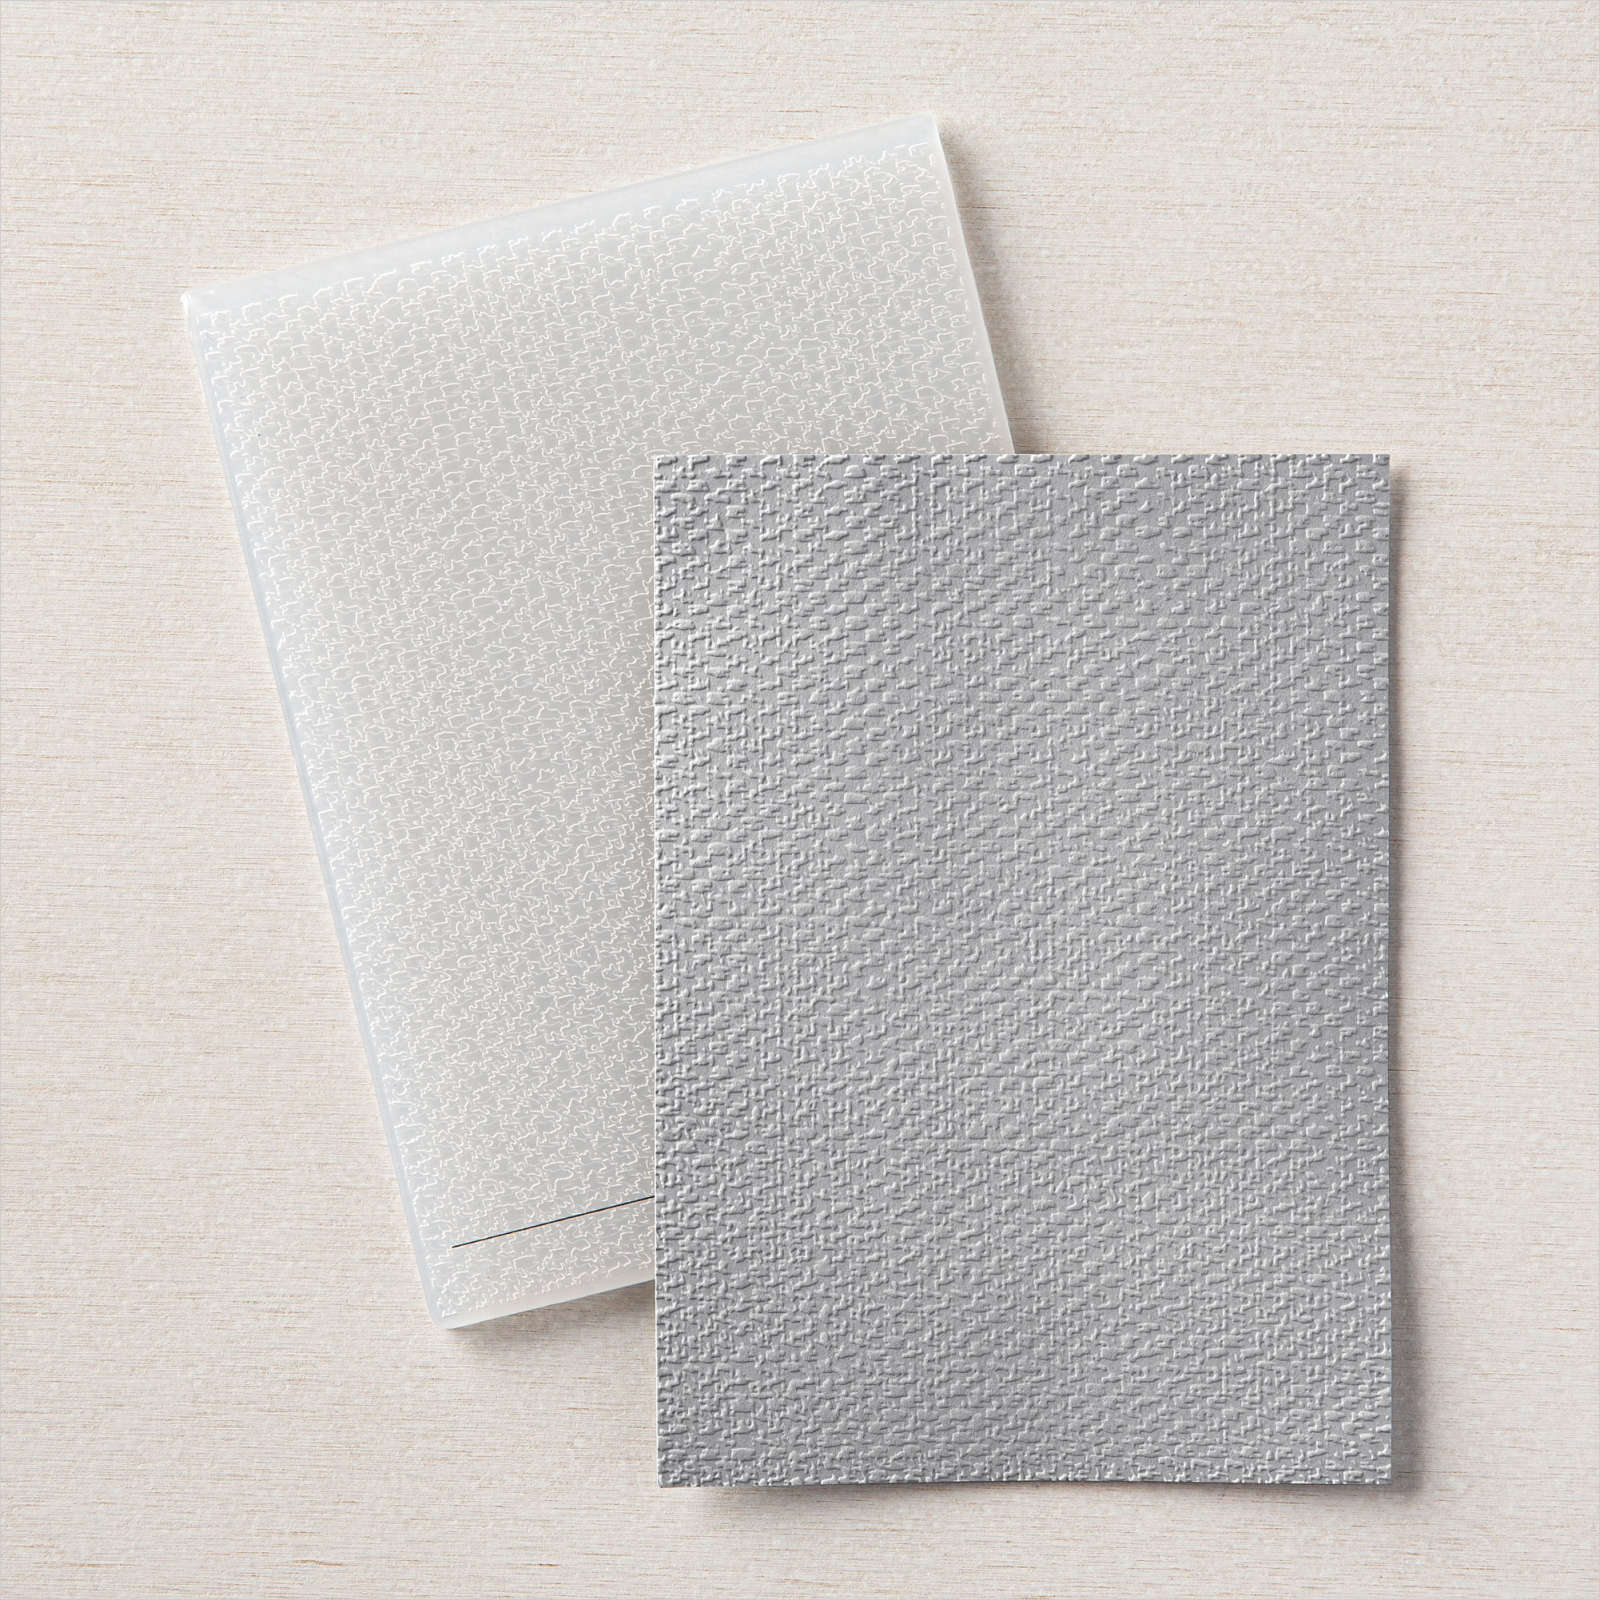
The outline and filler for the middle flower was stamped with Pale Papaya ink. The two flowers on the ends were stamped with Evening Evergreen and then filled in with Polished Pink and Fresh Freesia. I used the Tasteful Texture 3D embossing folder to emboss the cardstock behind each flower. The Soft Succulent cardstock strip weaved into each scalloped die cut was adhered with a glue dot on each end.
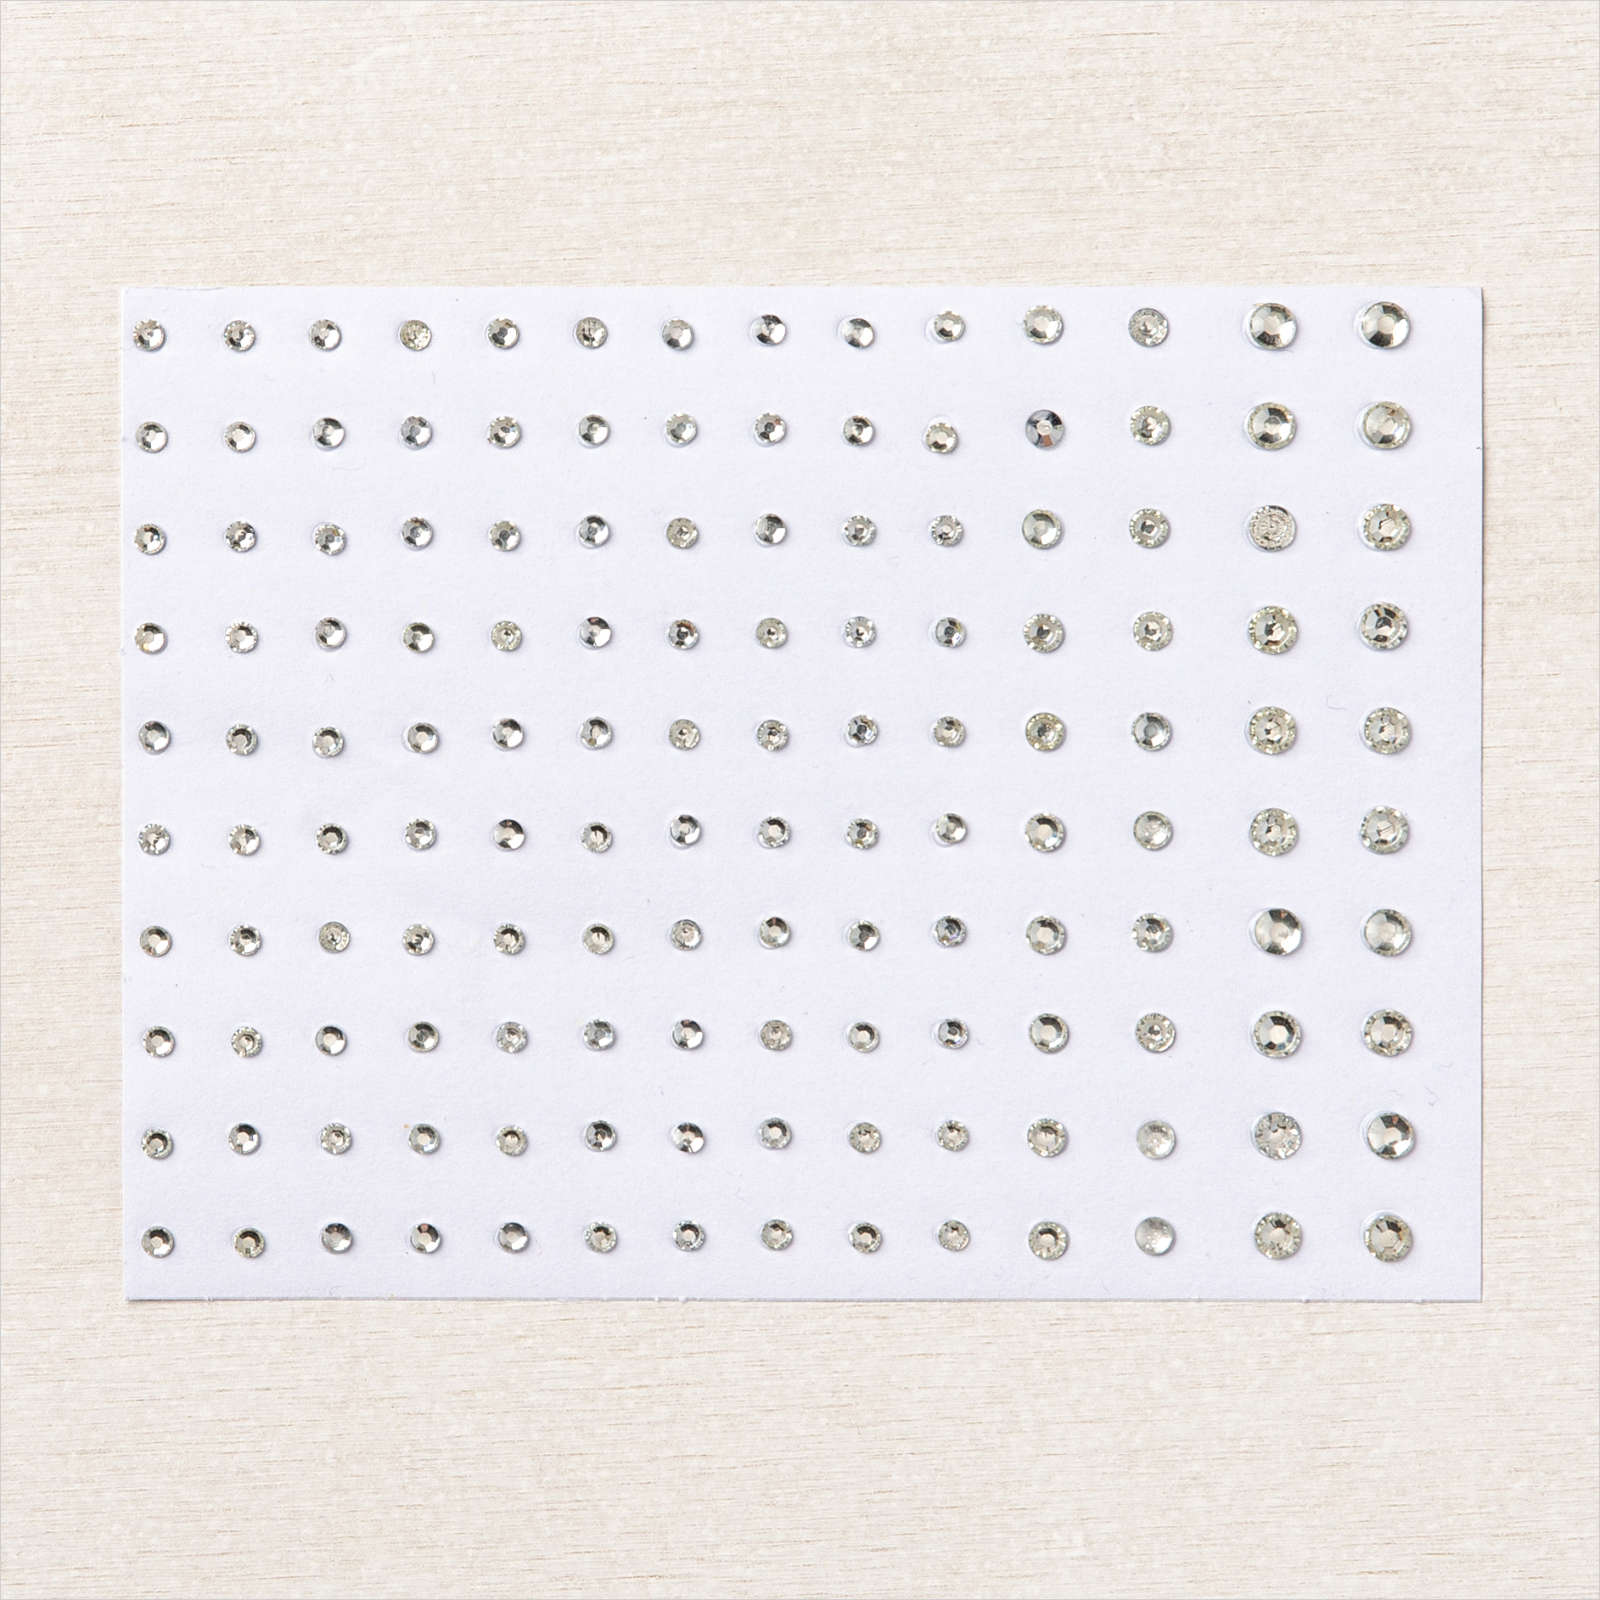
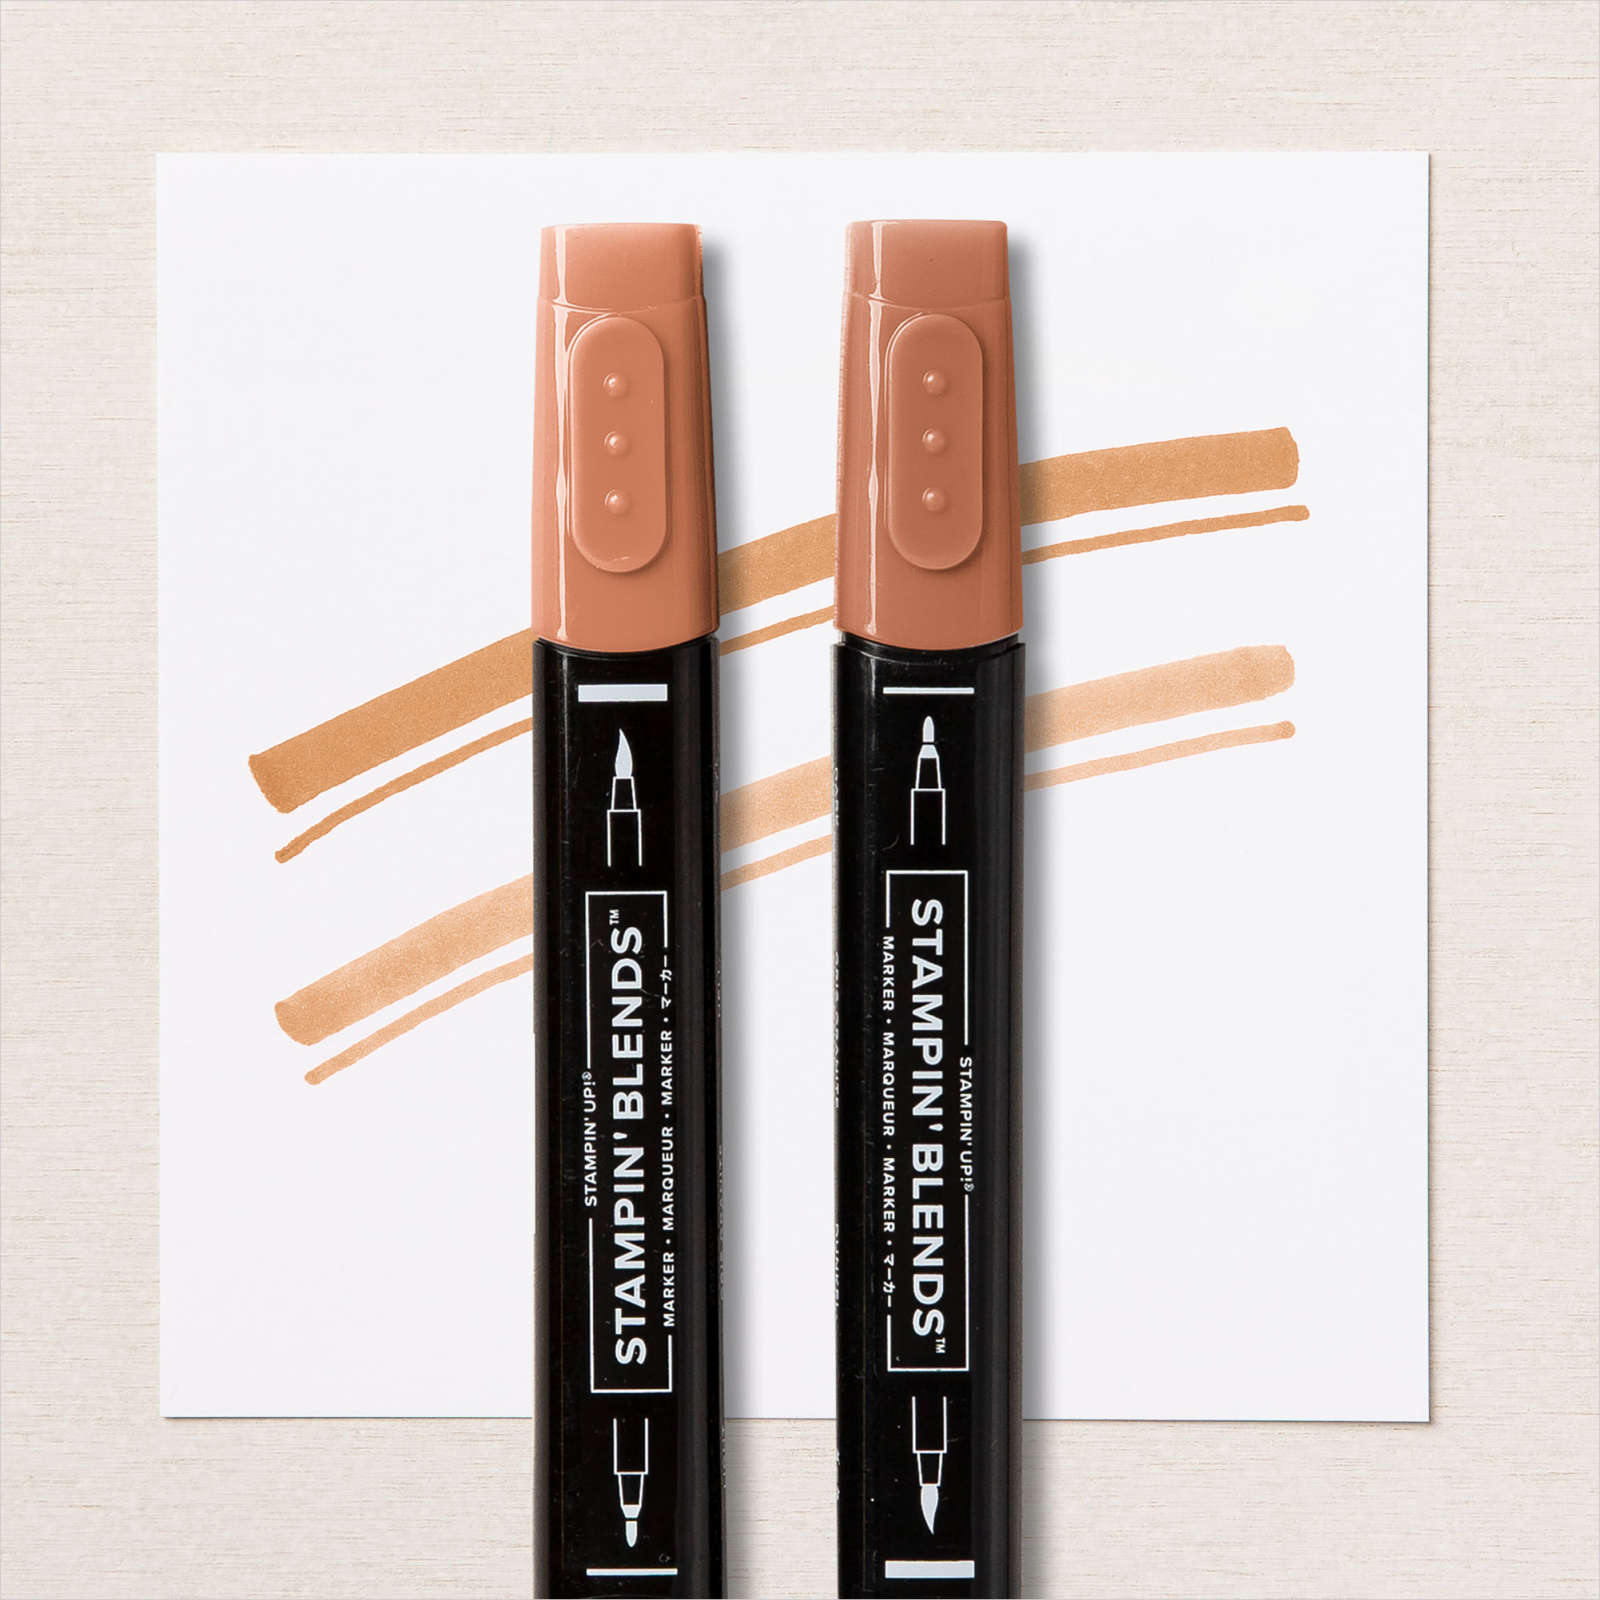
The greeting was stamped with Evening Evergreen ink and the scalloped die cuts were adhered wtih dimensionals. The basic rhinestones were colored with the Light Cinnamon Cider blends and adhered to the top and middle flower. Basic rhinestones are good to have in your craft collection because whenever you need to embellish with a specific color, you can color them with Stampin’ Blends.
Stampin’ Up! Catalog Sample
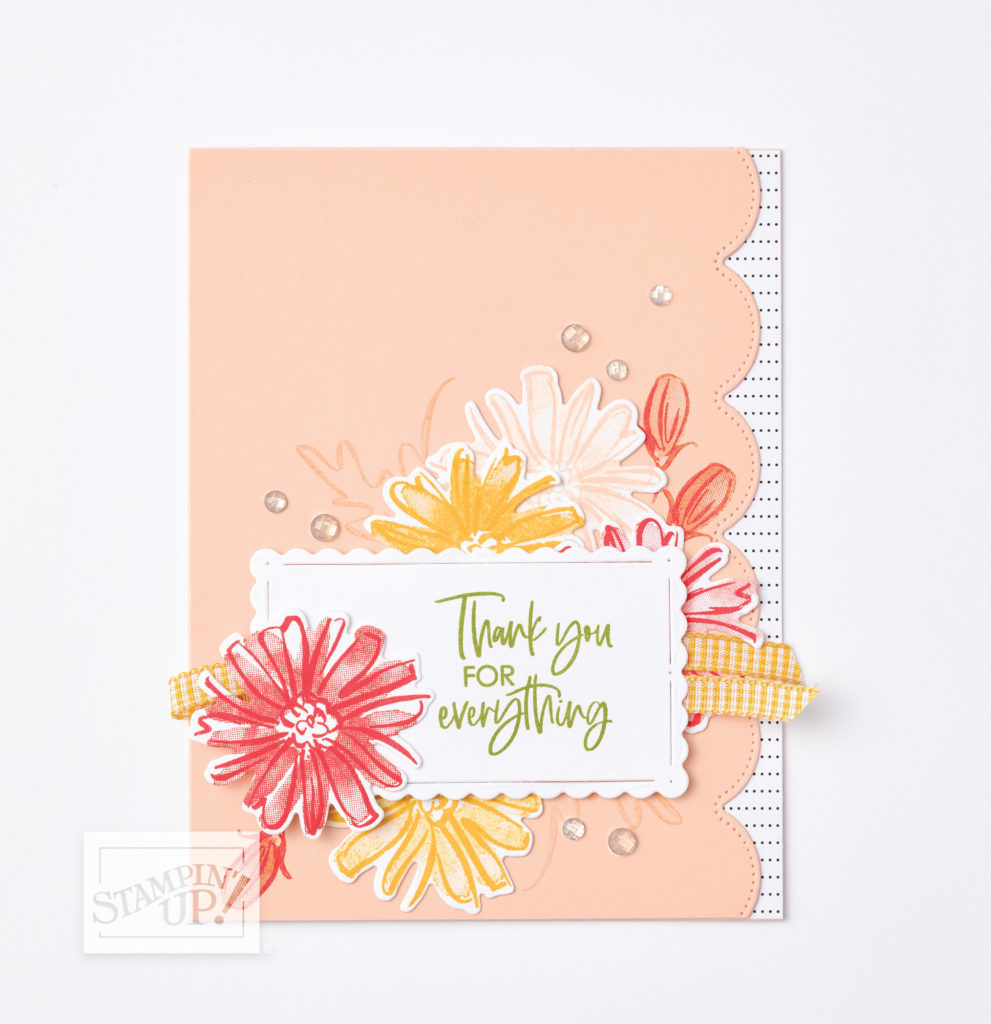
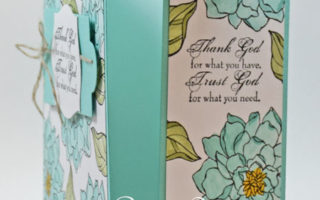
Here’s a card sample from the 2021-2022 Annual Catalog. See the stitched scallop on the side? And see the small buds? The filler to those buds is what I used on my card.
Did you know you can save 10% when you purchase a bundle which includes a stamp and coordinating dies or punch? If you look in the back of the new catalog on pages 148-149 you will see stamp and punch bundles and page 157-161 has the stamp and die bundles.
I’m looking forward to finding more ways to use this bundle. What do you think of this bundle?
Thanks for stopping by . . . till next time . . . Brunie
Card Supplies
Below are the Stampin’ Up! supplies used for today’s project. If you would like to purchase any of the supplies, click on the Add All to Cart button below it will take you to my online store. From there, you can see your cart and remove or add any products you like.
