It’s been a while since I’ve posted – to be exact my last post was on May 31, 2019. Time goes by so quickly! So why the absence? Life just happened. Busyness with trying to balance many different aspects of family, church, classes and life in general. Can you relate? I thought this was the perfect time to get back to blogging now that I have a little more time since we’re in our homes due to the virus. I hope you are doing well.
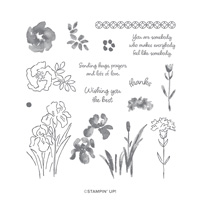
Although I have not been posting, I have been creating and holding classes. I’ve made many cards since my last post, so let’s start with a card that uses the Inspiring Iris stamp as the focus.
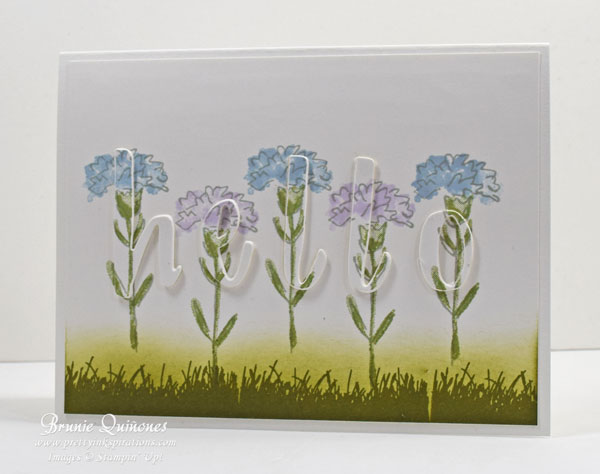
I used the hand-lettered prose dies to spell out the word ‘hello’ in combination with the pretty flowers and colors. This card technique looks similar to this one but there’s a difference. Check it out and see if you see the difference?
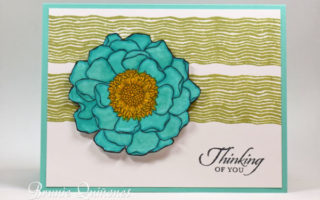
The letters in the Guy Greetings post were raised with Stampin’ Dimensionals and had a different color cardstock in the background for the eclipse look. This one is glued right onto the opening.
Want to try it on your own? Here’s how:
- Cut the Whisper White cardstock to 5-1/4″ x 4″ and stamp flowers in the center.
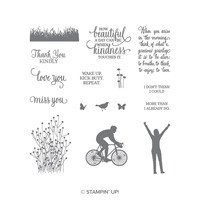
- Stamp grass on the bottom of cardstock and sponge above it.
- Place a letter die on each flower and die cut it with the Big Shot or any other die cutting machine you have.
- Die cut 2 more sets of the hello letters on white cardstock so that now you have 3 layers.
- Glue each of the same letter sets together.
- Adhere the stamped cardstock onto card base and then glue letters in each opening.
Create your own message. Make it short, make it longer, make it vertical or horizontal. You can use business size envelopes for a wide and skinny card.
Leave me a comment below and tell me what you think.
Thanks for stopping by . . . till next time . . . Brunie
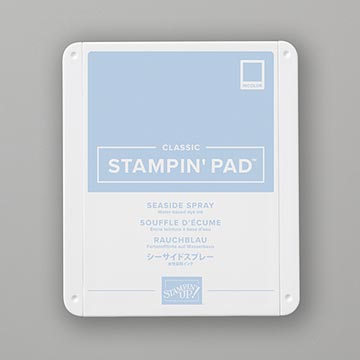
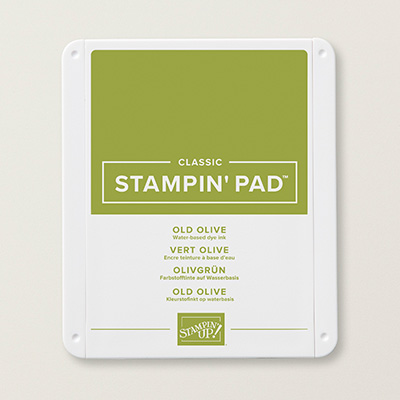
Stamping Supplies for this card: I also used Purple Posy ink, Gray Memento ink and the retired Big Shot.
